Adding Deceased to Contracts
Step 1
Step 2
You must add at least one property or one merchandise item before adding a decedent.
Step 3
Add an Owner/Purchaser/Beneficiary to the contract.
Step 4
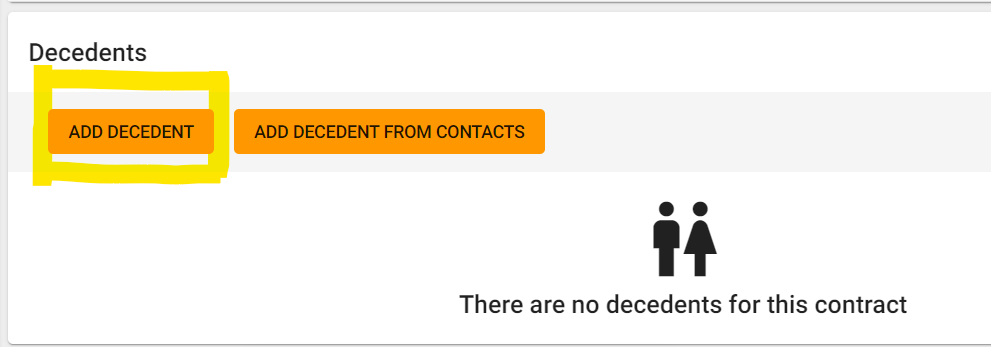
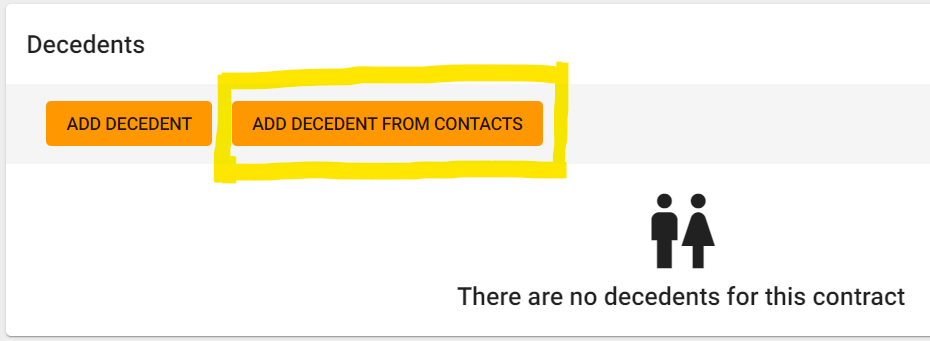
Click “ADD DECEDENT" if this is a new person being added to your cemetery or "ADD DECEDENT FROM CONTACTS" if this person was a contact or customer and now being interred.
ADD DECEDENT
Click ADD DECEDENT.
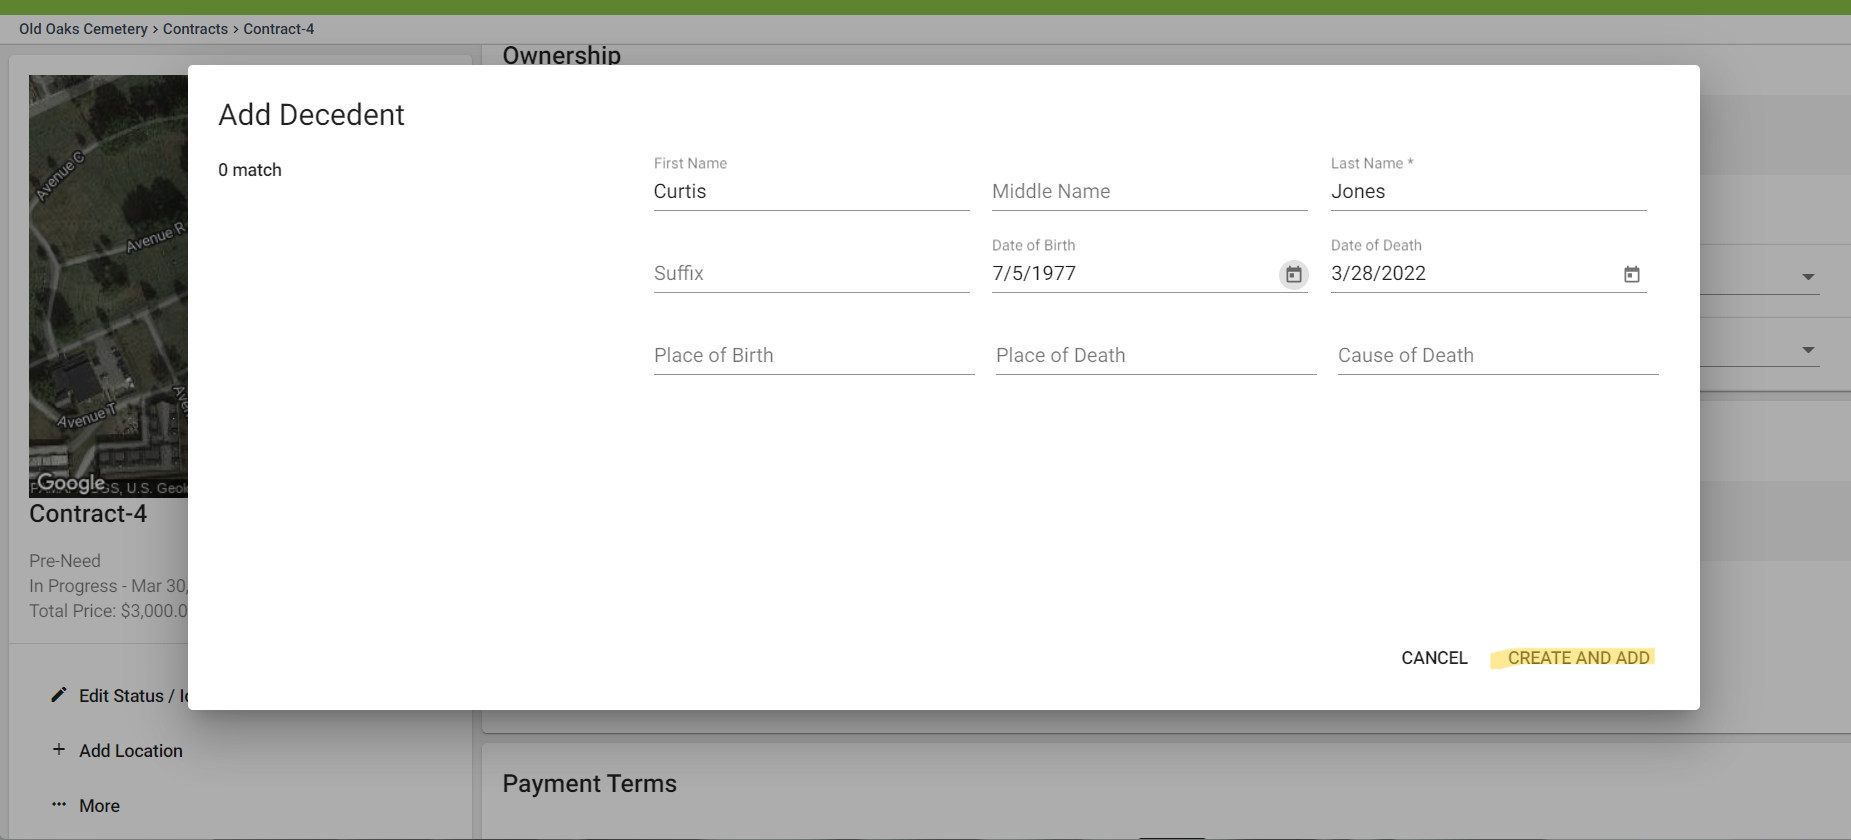
Fill in the deceased information and then click "CREATE AND ADD." If this is a pre-deceased individual and you are just reserving the space for them, you can skip the dates and add them later.

ADD DECEDENT FROM CONTACTS
This will allow you to select someone who already is in your CRM and convert them to a decedent.
- If they are an Ownership Stakeholder, they will still be searchable in the Owner Search.
- If they were added as a Contact to another Deceased Record, you will still be able to click on their name from the other deceased record and navigate to their CRM profile.
Click ADD DECEDENT FROM CONTACTS.

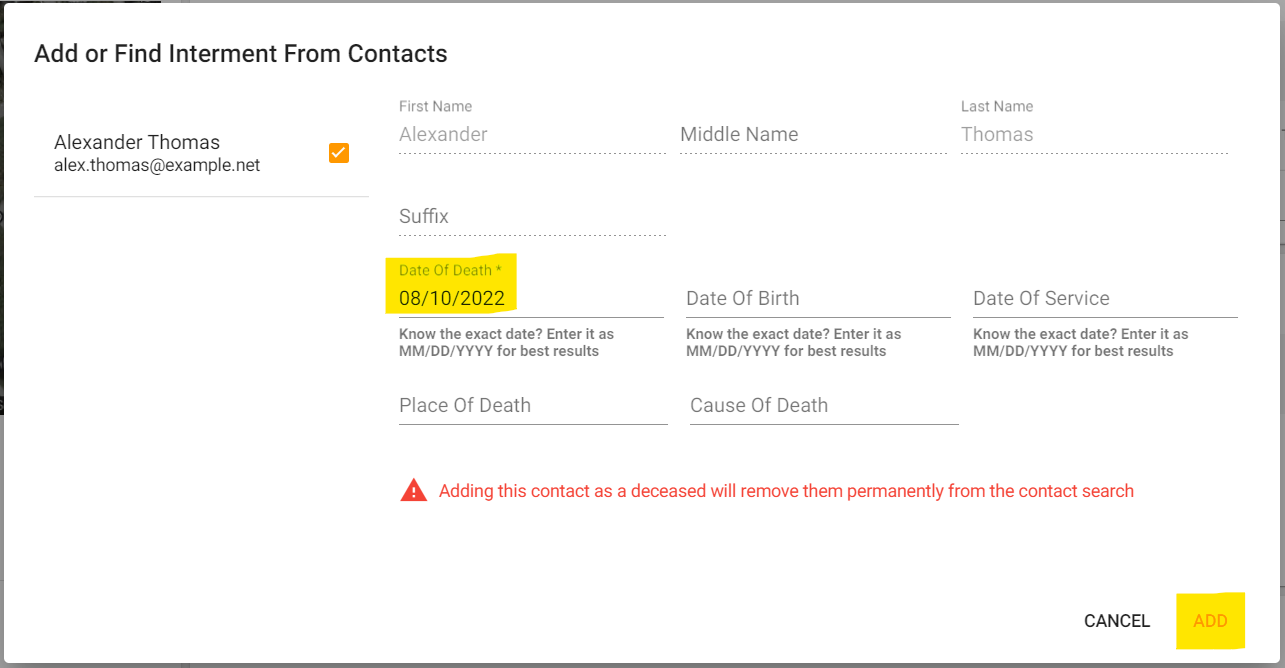
Click their name from the auto-populated list on the left. Make sure to add the Date of Death, which is a required field, and then click ADD in the bottom right corner

If this Deceased had any remaining credits on their CRM profile, you will see a credit card icon appear. You can apply these credits toward the contract.

Step 5
If this is At-Need, you can designate a location for the deceased record at the time of creating the contract.
If this is a Pre-Need situation where only the Open & Close service was purchased (and location was added to the contract), you can select “None” for the location. A deceased record will in your system and you can inter them in a location at a later date.

Step 6
The deceased record will be added into the identified burial right as soon as the contract status is updated to "Signed."
