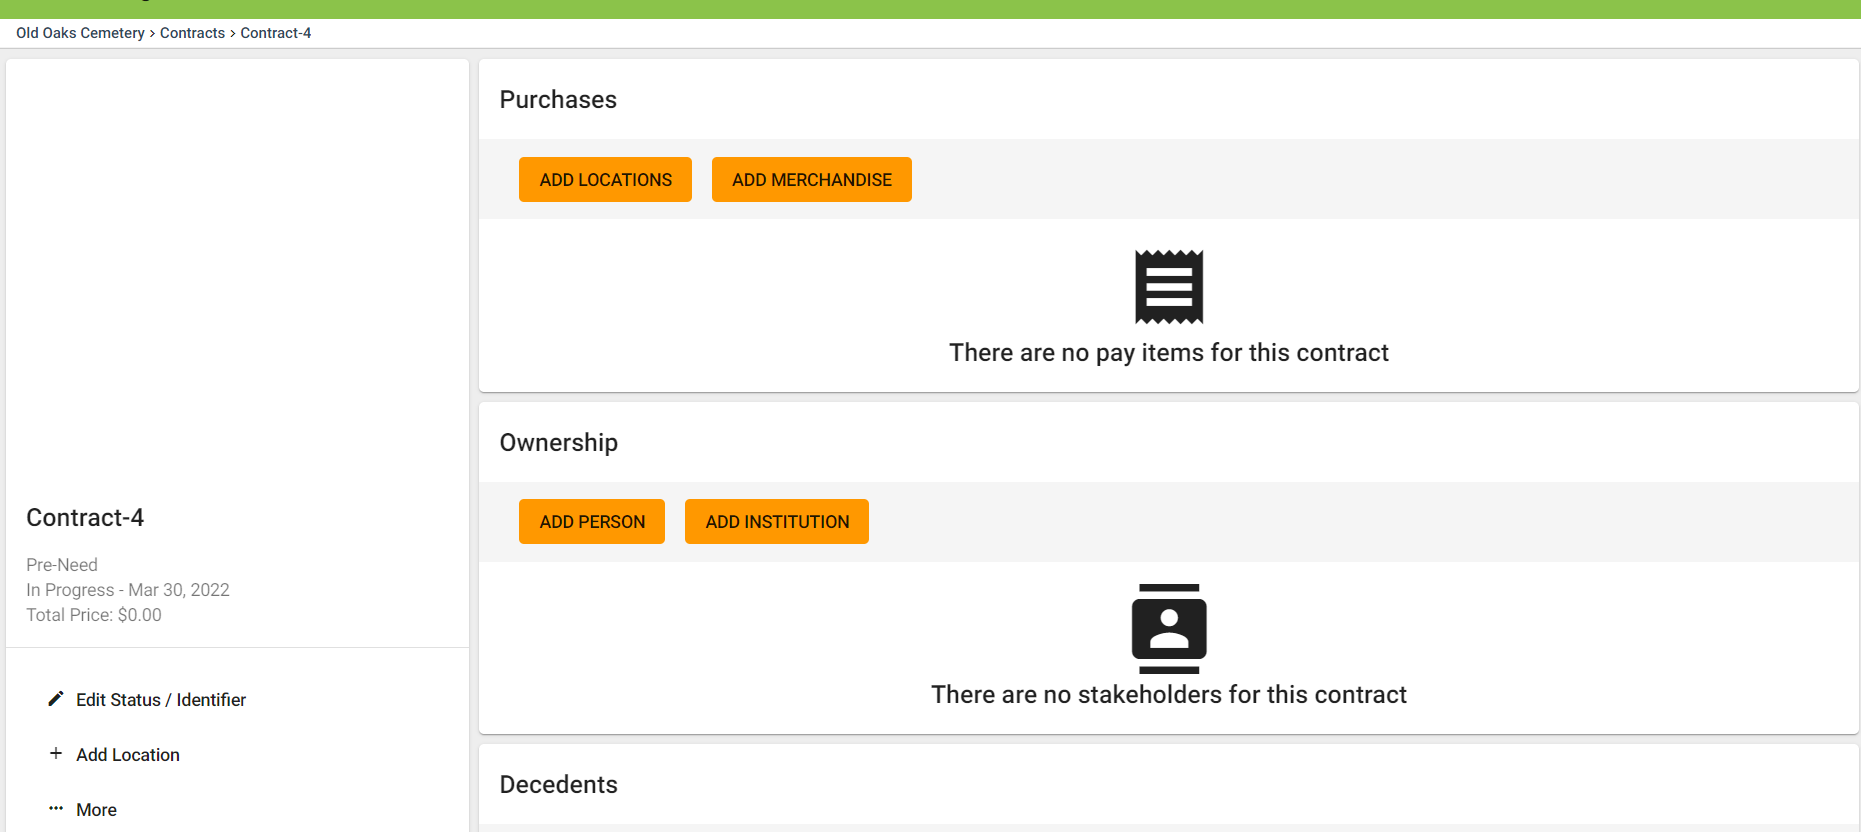
How to Add Merchandise to a Contract
Step 1
Customers can purchase any combination of property and merchandise/services.
-
In a pre-need circumstance, customers might purchase opening/closing a grave service and designate a decedent, but not choose a location yet.
-
Some customers might be purchasing merchandise after the burial is complete (such as vases, flowers, wreaths, cameos, memorials, etc), and won’t need to purchase property.
-
Some customers may wish to only purchase property, or may with to add property along with merchandise/services: Add Locations/Properties to the contract.
Step 2
To add Merchandise, click “ADD MERCHANDISE” under Purchases.

Step 3
Select a Category, such as Services, and click SEARCH. Once you find the item you wish to add to your contract, click the Add Item symbol (three lines and a plus sign).
Merchandise and Services Inventory
You can customize your Merchandise and Services Inventory in your Settings. See this support article for reference: How to Add Inventory.

Step 4
You can designate the property that the merchandise or service is allocated to if you have added a location to your contract.
If this is a pre-need contract, and you are just purchasing an item such as an Open and Close service to be used at a later date, you can choose “<Search Non-Contract Locations>” in order to not apply this item to a specific location.

Step 7
Continue to add merchandise and services as needed. You can also add a quantity of merchandise (you can only select one burial right at a time, so those default to x1).

Step 8
Continue completing contract, such as adding ownership to the contract and adding a decedent to the contract.
