Adding Photos to a Deceased Record's Memorial Page
Remember My Journey has been updated and managing memorial pages is now being done entirely through webCemeteries Management. To find out more information about the new Memorial pages and how they work, check out this article: How to Customize a Deceased Record's Memorial Page.
Step 1
Log in to webCemeteries Management.
Step 2
Navigate to the Deceased Record.
Step 3
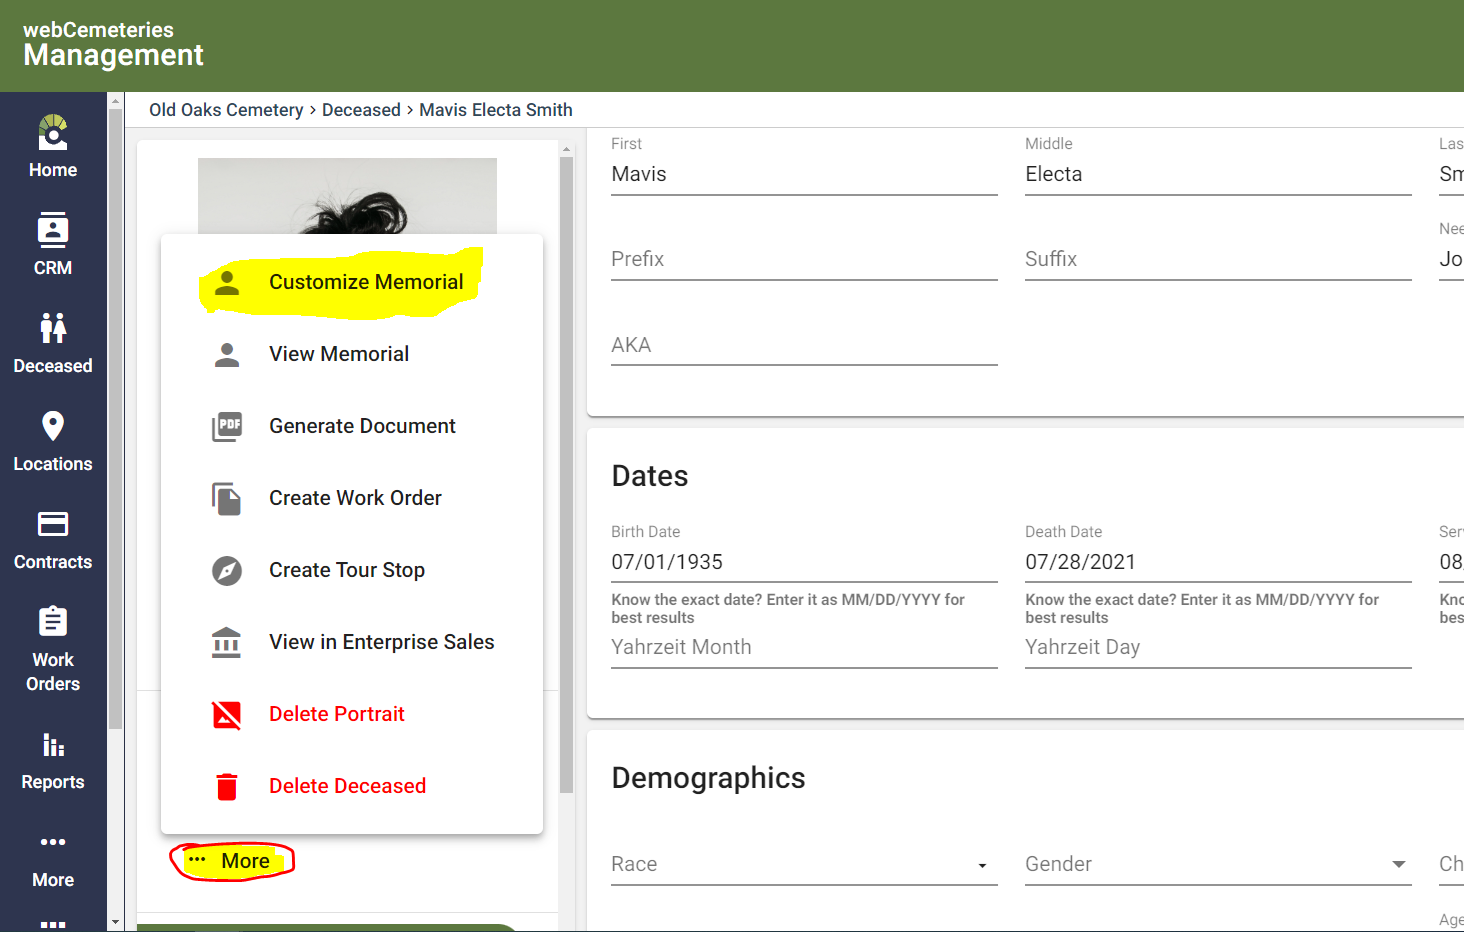
At the top of the Deceased profile page. Click on the "...More" button to expand the menu, and select "Customize Memorial".
Step 4
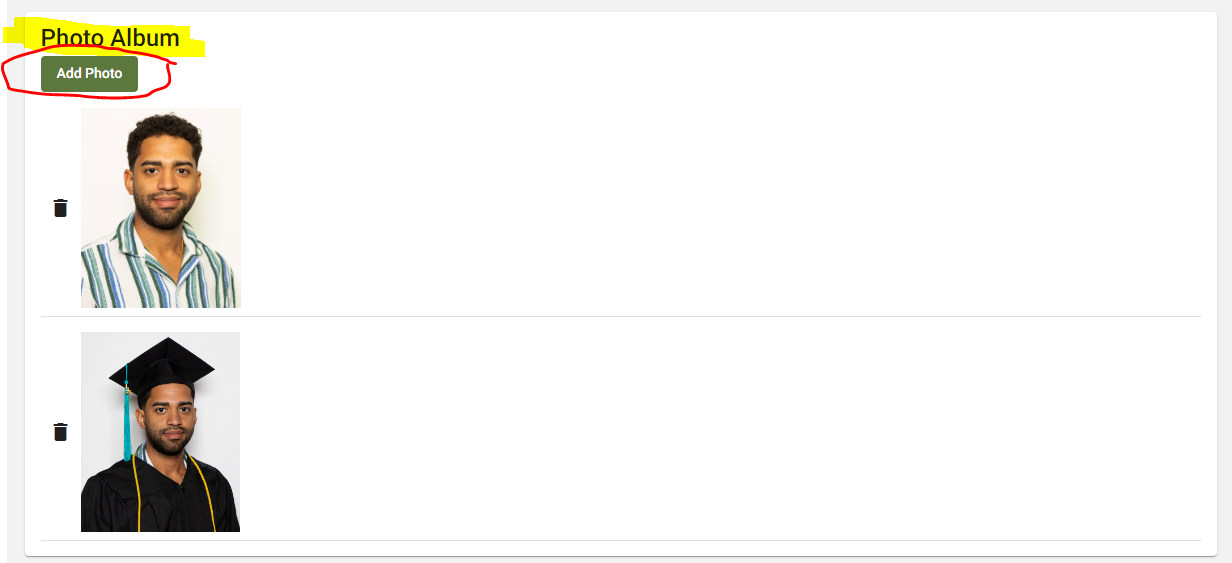
Scroll down to "Photo Album" and select "Add Photo" to create a photo album.
- You can drag the order of the Photo by hovering over the picture, clicking and dragging.
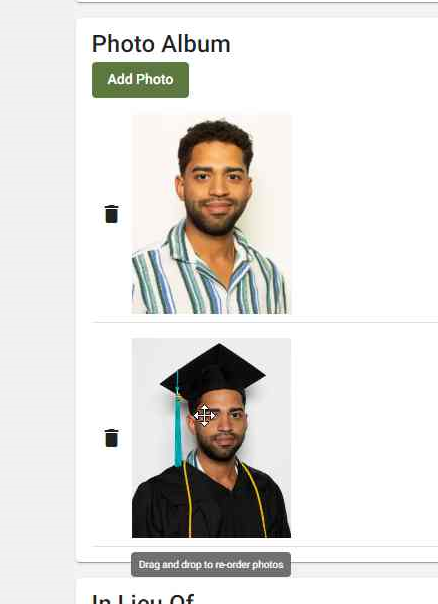
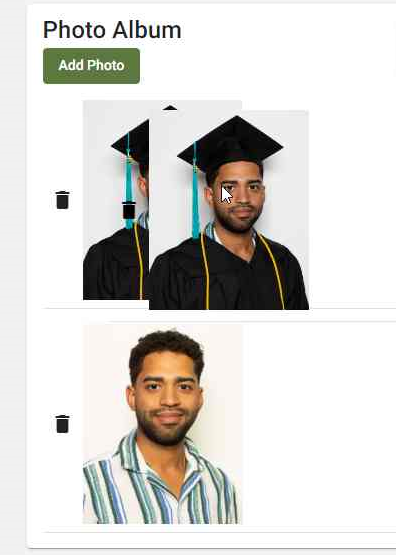
- Or delete a photo by simply clicking on the Trash Icon to the left of the Photo.

Step 5
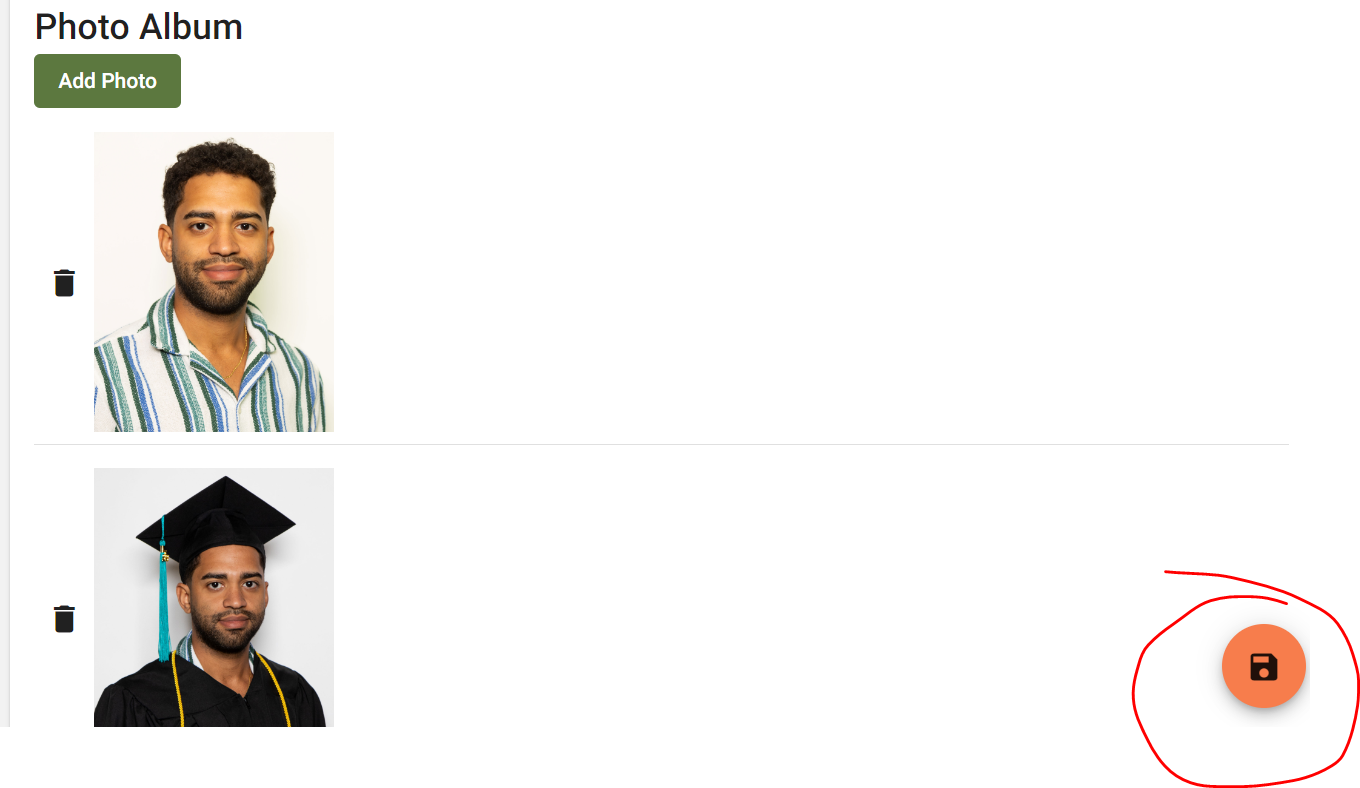
Once you are finished, save by clicking on the orange Floppy Disk Button on the bottom right:
Step 6
Scroll up and click "View Memorial" to see what the photo album looks like on the memorial page:

Step 7
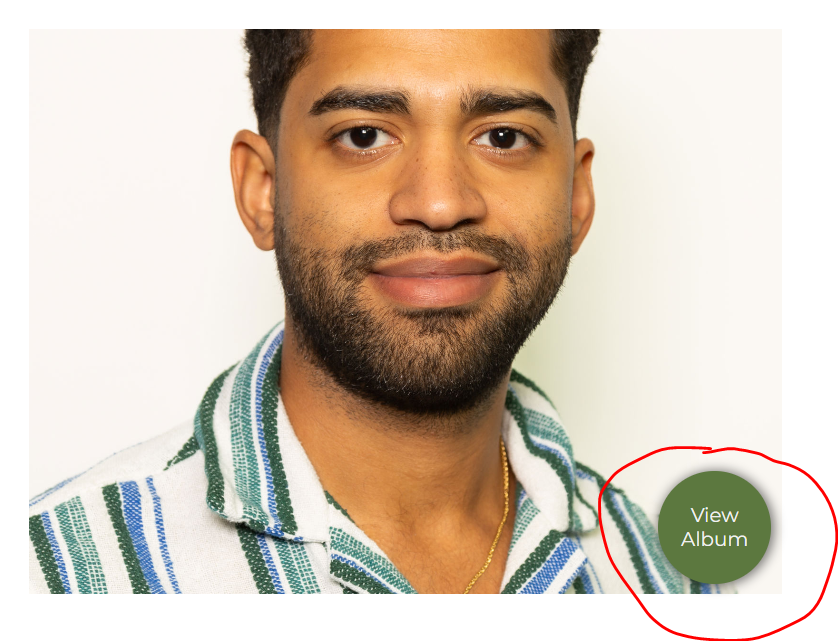
Scroll down on the memorial page and see the entire Photo Album by selecting "View Album".
Step 8
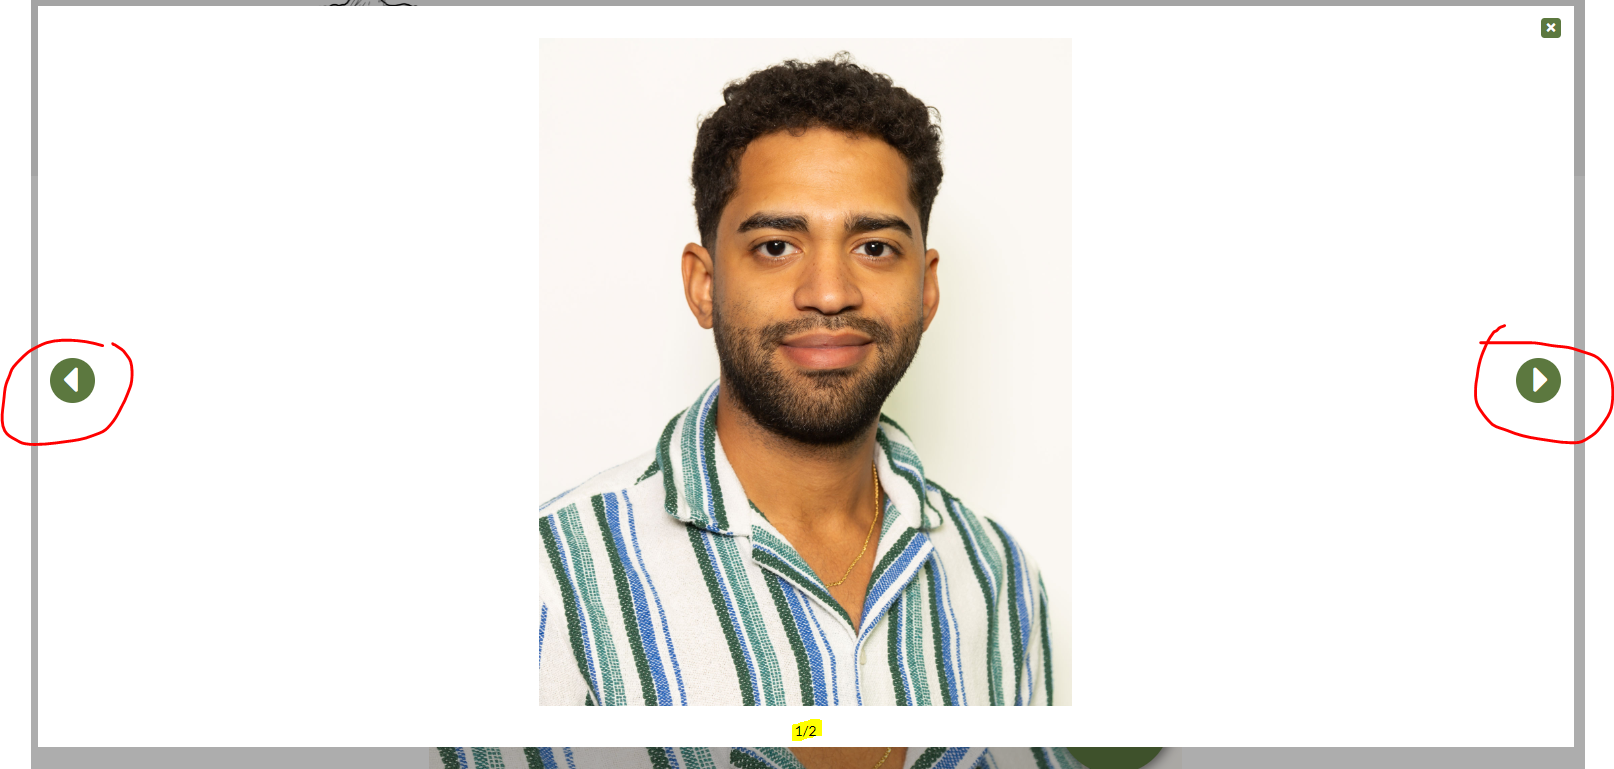
You can click the left and right arrows to scroll through the pictures in the order you set them.
