Grave Statuses are the color-coded labels — like "For Sale," "Reserved," or "Occupied" — that appear on your map and help your staff instantly see the state of any grave or plot at a glance.

With webCemeteries, you're not locked into a fixed set of statuses. You can create new ones, rename existing ones, and choose the exact colors that appear on your map. Whether your cemetery uses unique terminology or just wants colors that are easier to tell apart, customizing your Grave Statuses keeps your map accurate and meaningful for the people who use it every day.
Getting there
Step 1
Log into webCemeteries Management.
Step 2
Click the Settings icon at the bottom of the left-hand menu.

Step 3
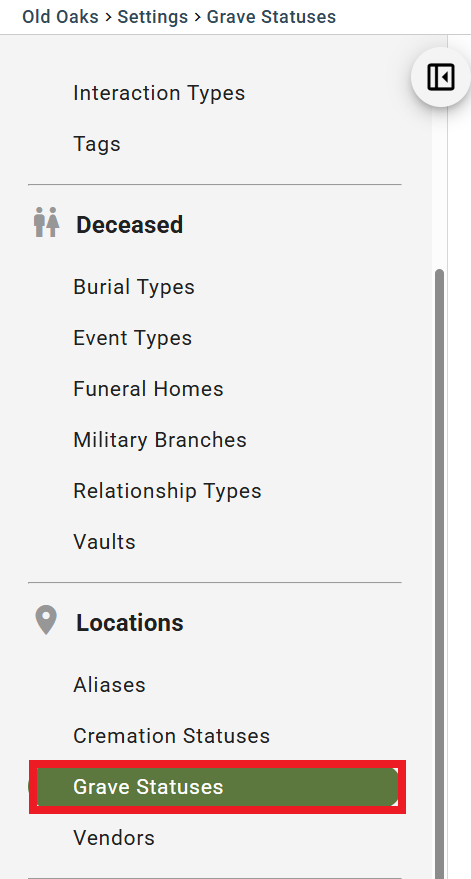
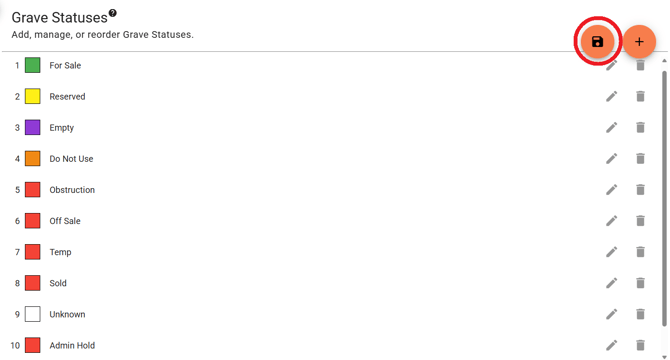
Select "Grave Statuses" under Locations from the left Sidebar.
All cemeteries start with these default statuses:
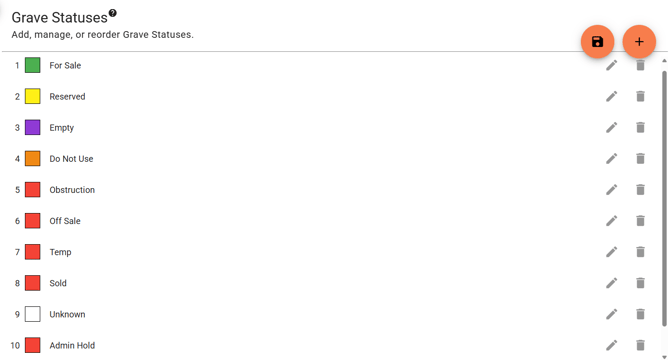
Occupied Status cannot be edited. And the color for the Occupied status Mirrors the color of the "Admin Hold" status. If the Admin Hold status is deleted, Occupied status will default to Red permanently.
Grave Status Order
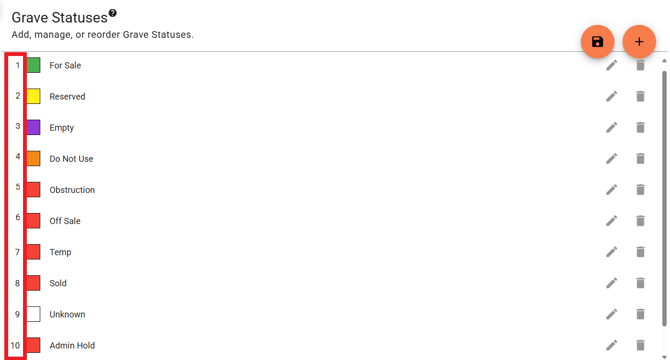
How the order affects your map
When a single mapped location (like a family plot or mausoleum) contains multiple graves with different statuses, the map can only show one color for that spot. The order of your Grave Statuses list decides which color "wins."
Think of it like a priority queue, the system works its way down your list from #1 to the bottom, and shows the color of the first matching status it finds at that location.
Example: If your order is For Sale → Reserved → Empty, and a plot contains one "For Sale" grave and one "Occupied" grave, the map will show green (For Sale), because For Sale is higher on the list than than Reserved or Empty.
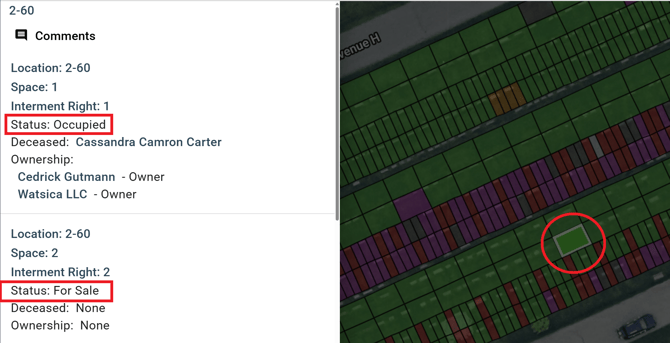
If there were no For Sale graves but there was a Reserved Grave, it will instead be Yellow (Reserved), and if no For Sale or Reserved, then Purple (Empty) and so on.
Occupied Status is always last in priority.
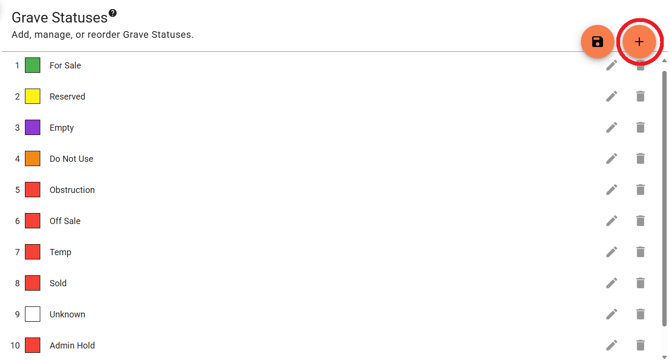
Adding a New Status
Step 1
To add a New Status, select the orange "+" button on the top right.
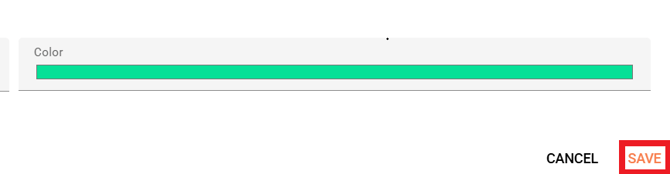
Step 2
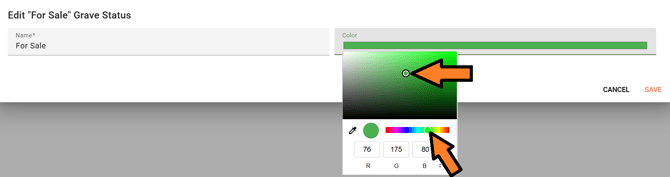
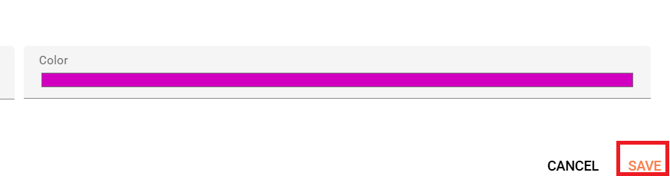
Fill in the Name Field and select your Color.

Step 3
Save your New Status.
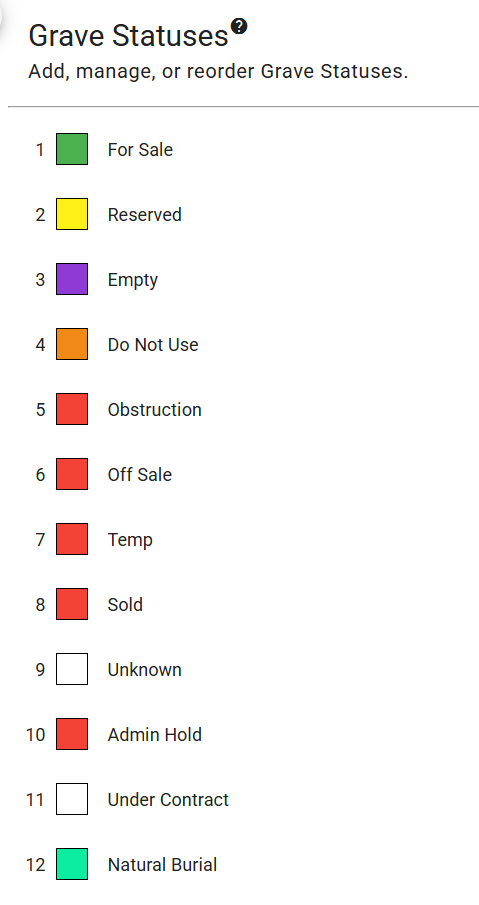
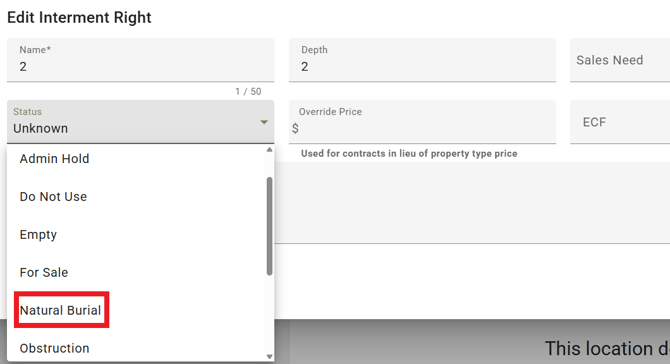
Step 4
Your new status is now available to assign to any property on your map.
Edit Status Name and Color
To edit an existing status, select the pencil icon (![]() ) to the right.
) to the right.
- To edit the name of the Status, simply replace the text in the field.

- To edit the Color, select the color and use the Color Editor to pick the color you'd like.
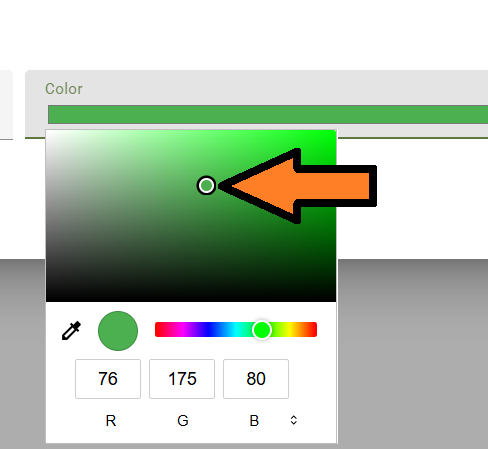
- This circle adjusts the shade (Light to Dark).
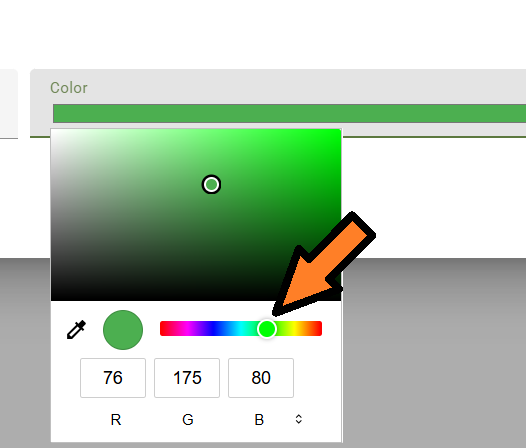
- This circle adjusts the hue (The Color itself).
- You can also use the "Eye Drop" tool, to "copy" another color from anywhere on the screen.
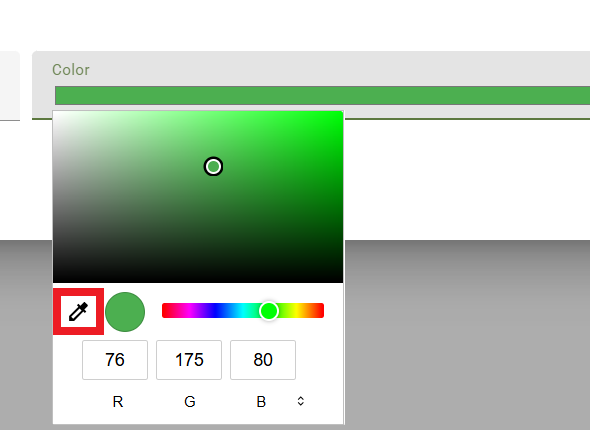
- Alternatively, you can enter the "Red, Green, and Blue" values manually. The higher the number, the stronger that Color value will be. The max for each value is 255.

- Select "Save" when you're done with your changes.
-
Save your changes by selecting the orange "Floppy Disc" button on the top right.
Deleting a Status
To delete a Grave Status, select to Trash Bin (![]() ) icon on the far right.
) icon on the far right.
- You will be asked if you are sure, select Yes to continue.

You will be warned that the action cannot be undone, select Delete to remove the status. 
Important: If the status is currently assigned to any property, it cannot be deleted until it has been removed from those properties first. When you attempt to delete it, you'll see a View Properties button — select it to see a full list of every property currently using that status.
