How to Set Up Recurring Statements or Recurring Auto Payments
In order to use Payment Processing, you will need to contact us to help you set up an integrated account with Global Payments. Please reach out to support@webcemeteries.com.
Step 1
Log in to webCemeteries Management.
Step 2
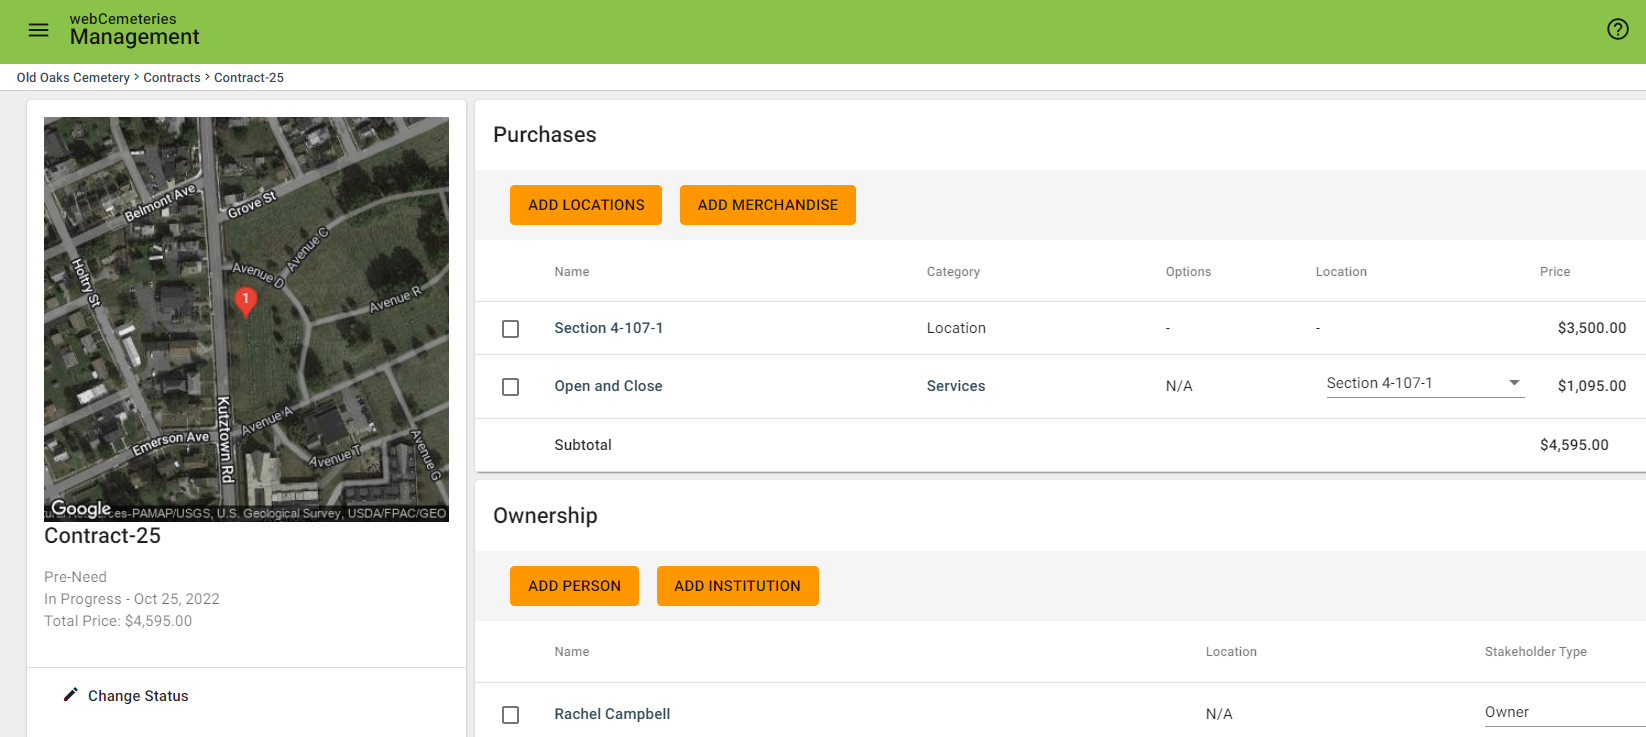
Create a contract or search for an existing contract.

Step 3
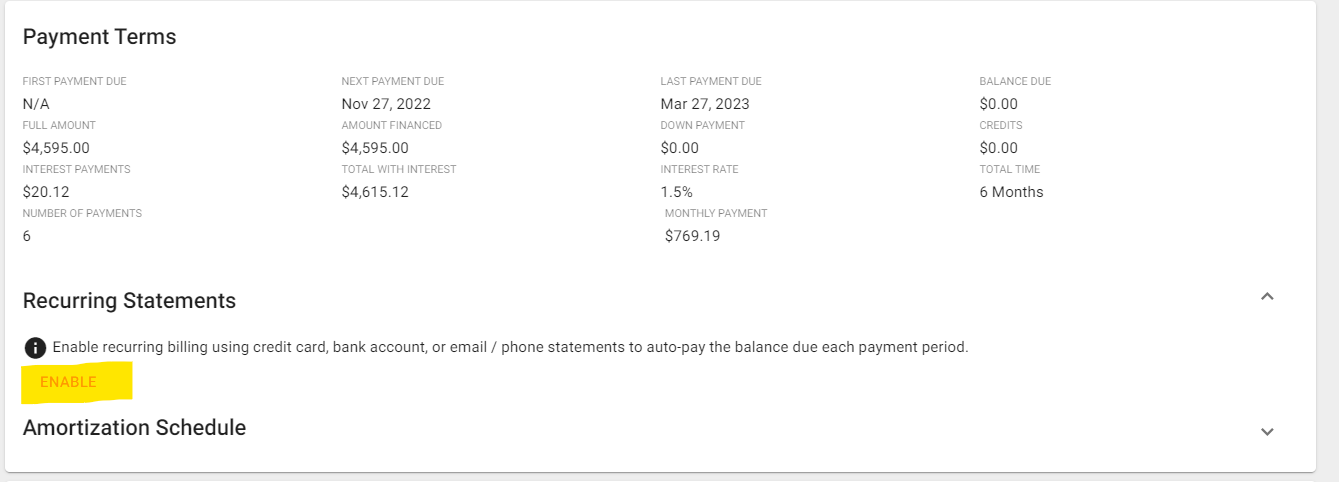
To enable Recurring Statements, the contract must have payment terms. Once you have your payment terms ready, you can click "ENABLE" under Recurring Statements.

Step 4
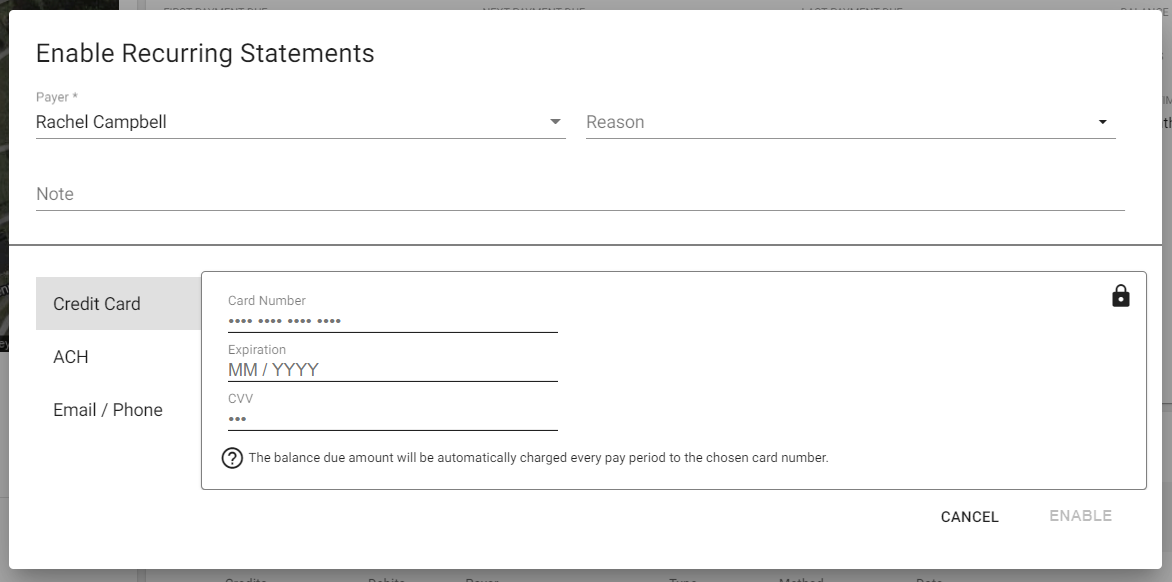
Fill out the Enable Recurring Statement details for the appropriate payer to whom you wish the statements to go.
Recurring Auto Payments
If you are setting up Recurring Auto Payments, you must enter with their recurring method of payment for the debtor.

Step 5
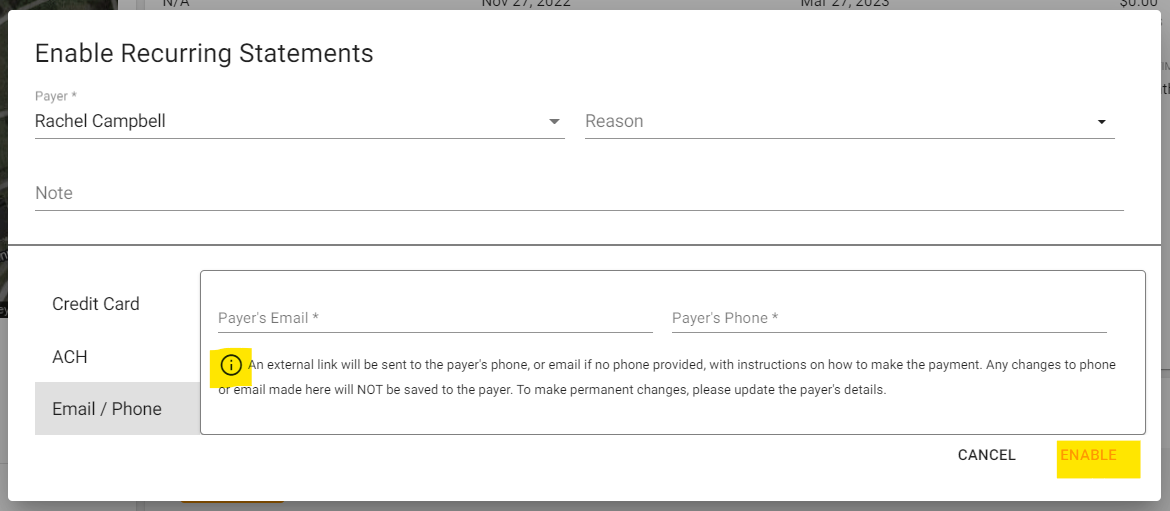
Make sure the correct email and/or phone are added to those fields.
An external link will be sent to the payer's phone, or email if no phone provided, with instructions on how to make the payment. Any changes to phone or email on this pop up window will NOT be saved to the payer. To make permanent changes, make sure to navigate to their contact profile in the CRM and update their CRM contact details.
Email/phone is only for the customer statements.
Step 6
Once this window is filled out, click ENABLE.

Recurring Auto Payments - Timing
ACH and Credit will be taken out automatically at 9PM EST time.
Recurring Auto Payments - Final Payment
Once the final auto payment is made, the contract will be moved to the Paid In Full status automatically. The only exception is if there are unpaid penalties (Late Fee, Finance Fee, Returned Fee).
