How to Process a Transaction with Payment Processing
In order to use Payment Processing, you will need to contact us to help you set up an integrated account with Global Payments. Please reach out to support@webcemeteries.com.
Step 1
Log into webCemeteries Management.
Step 2
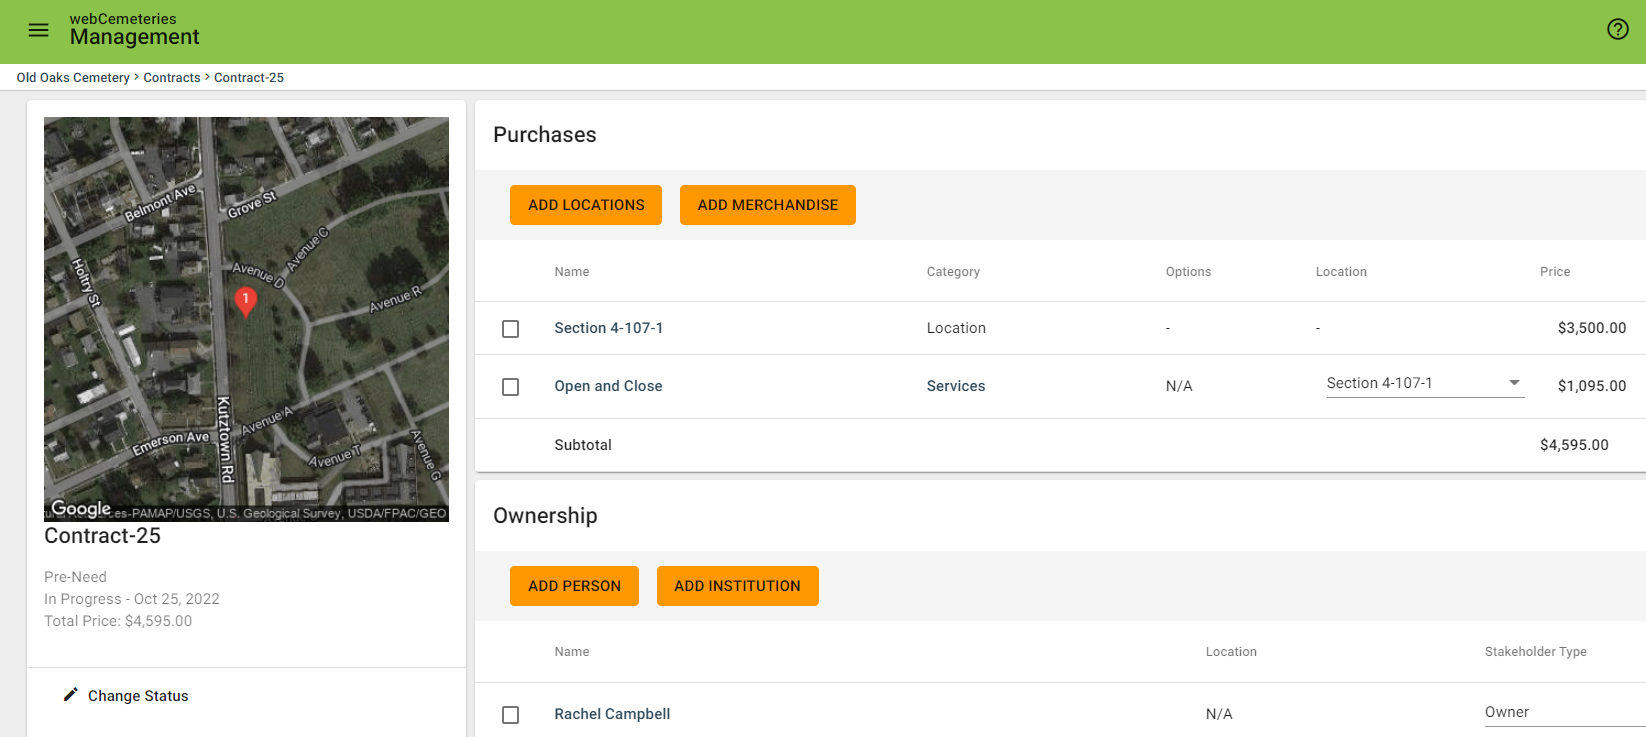
Create a contract or search for an existing contract.
Step 3
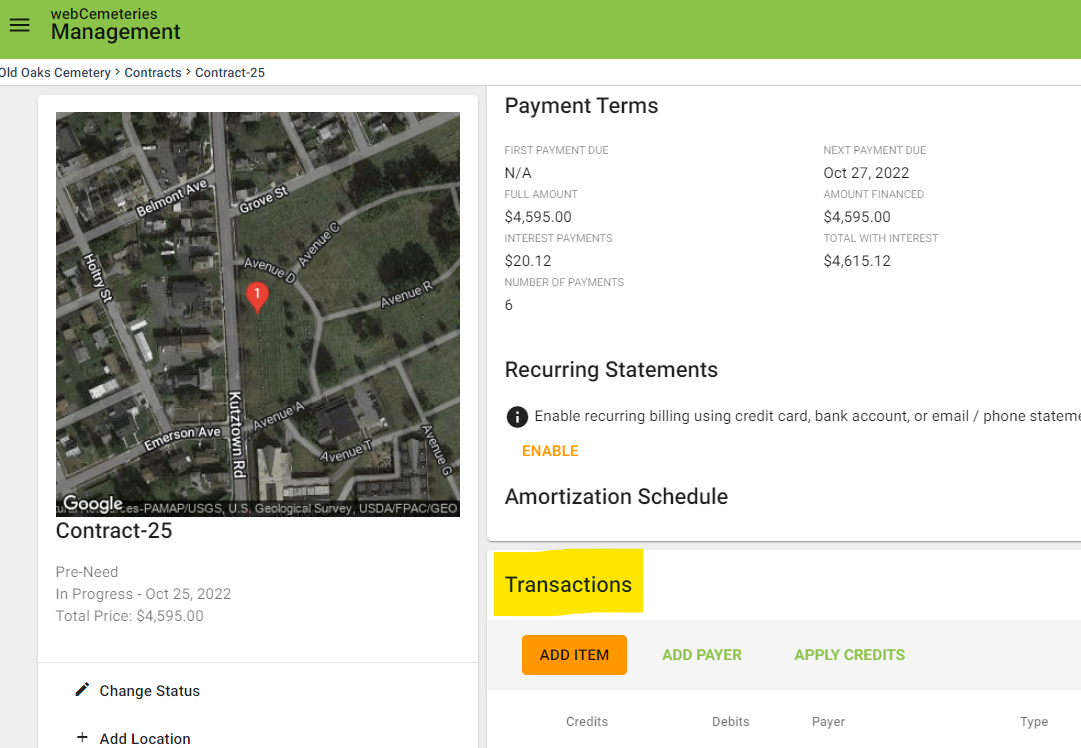
Scroll down to Transactions.
Step 6
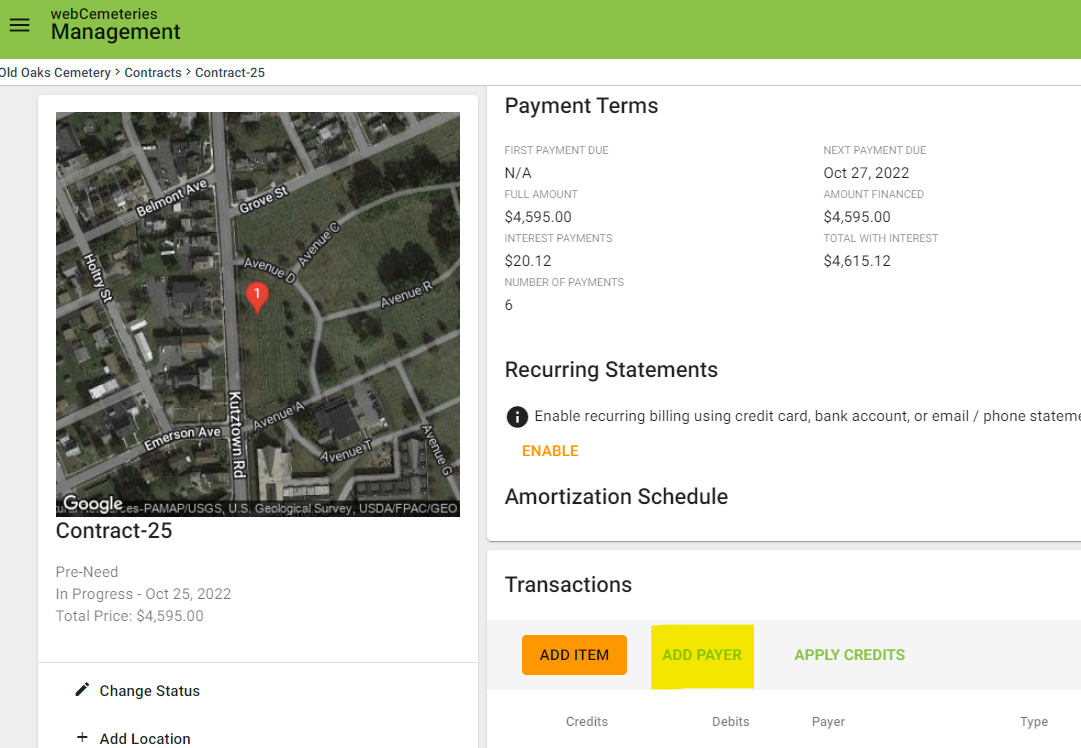
If the person making a payment is not the property owner, click ADD PAYER.
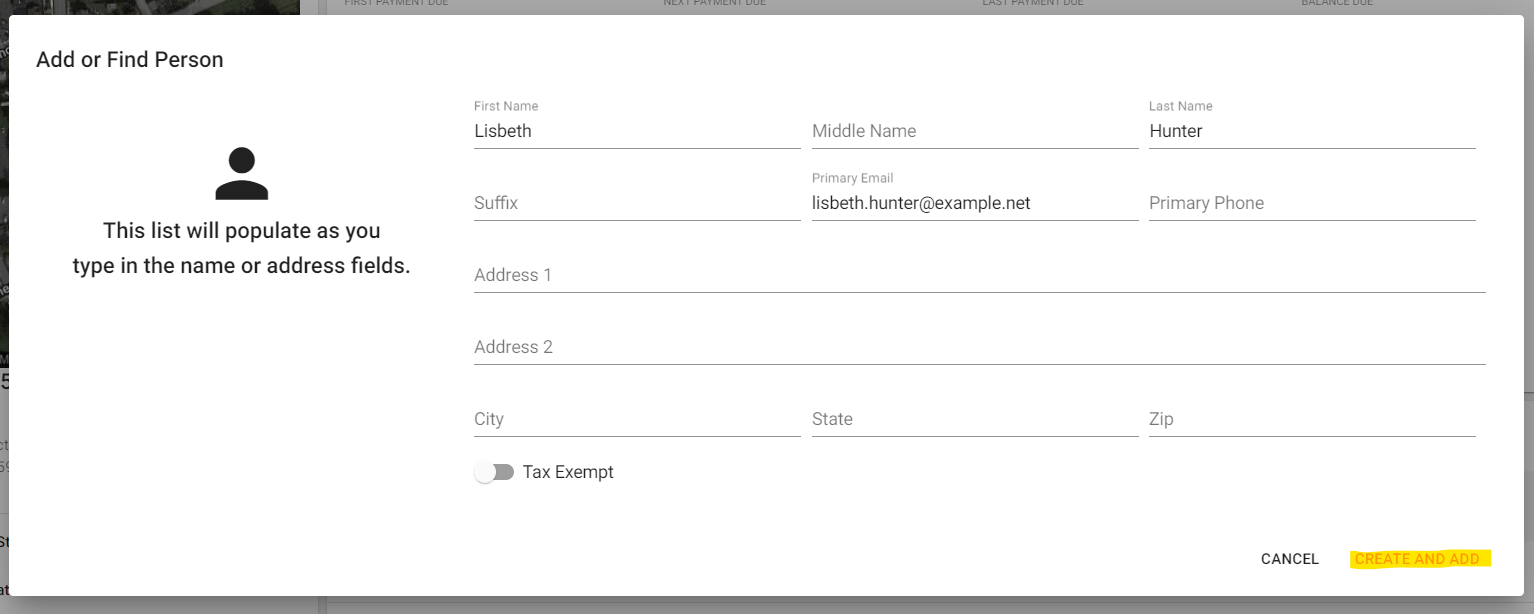
Fill out their contact details and click CREATE AND ADD.
Step 7
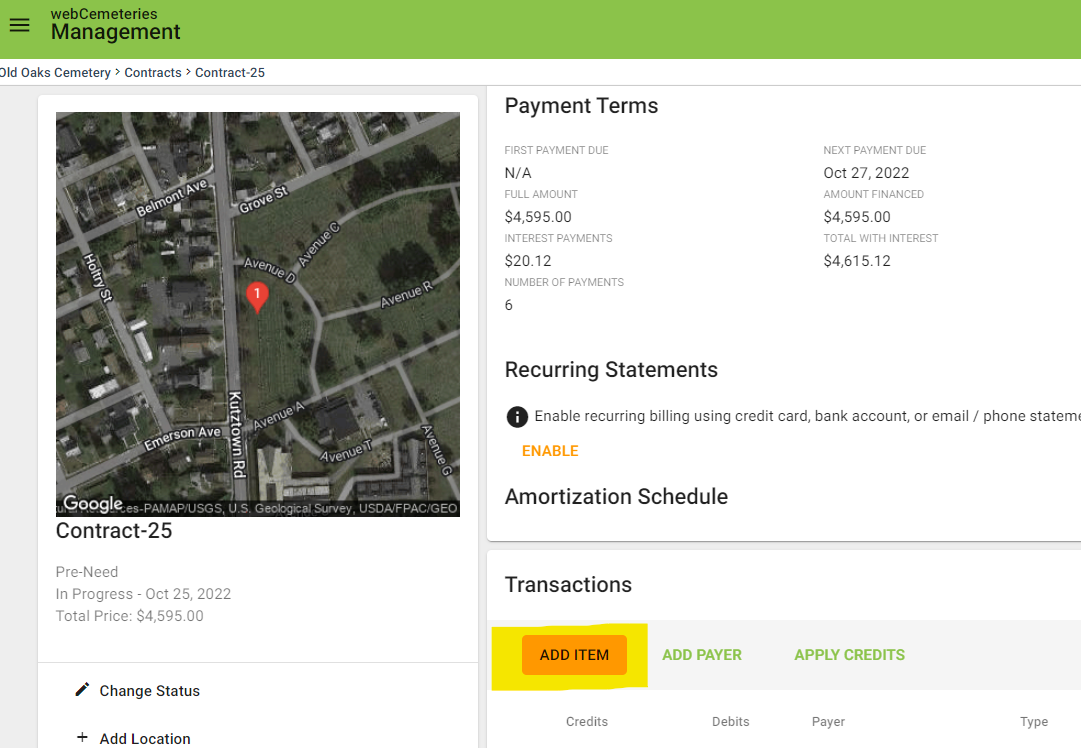
Click ADD ITEM.
Step 8
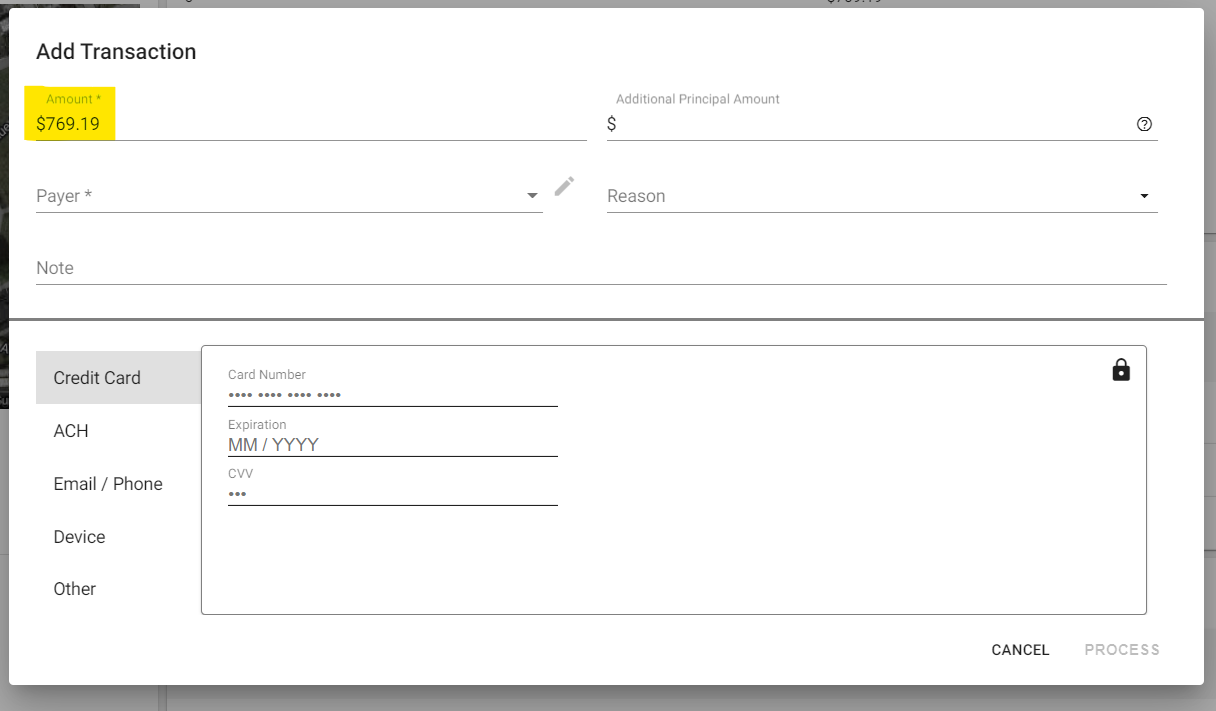
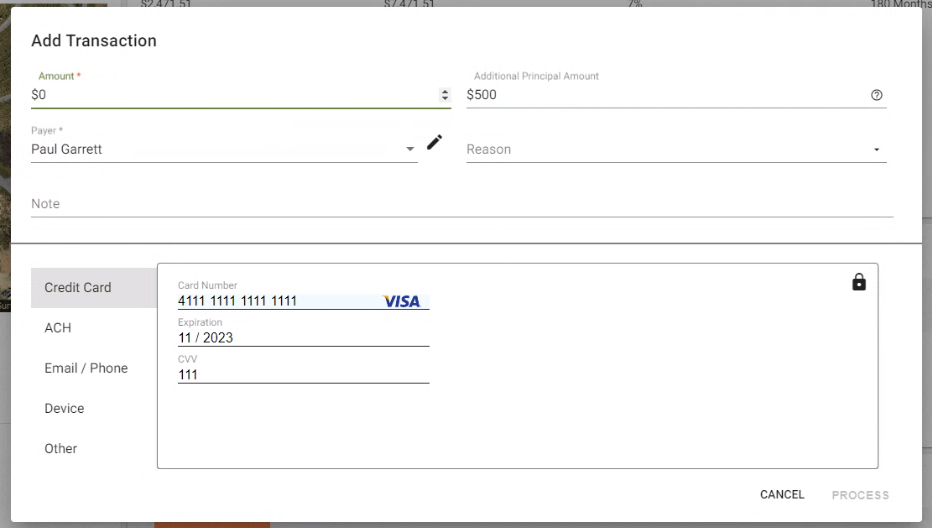
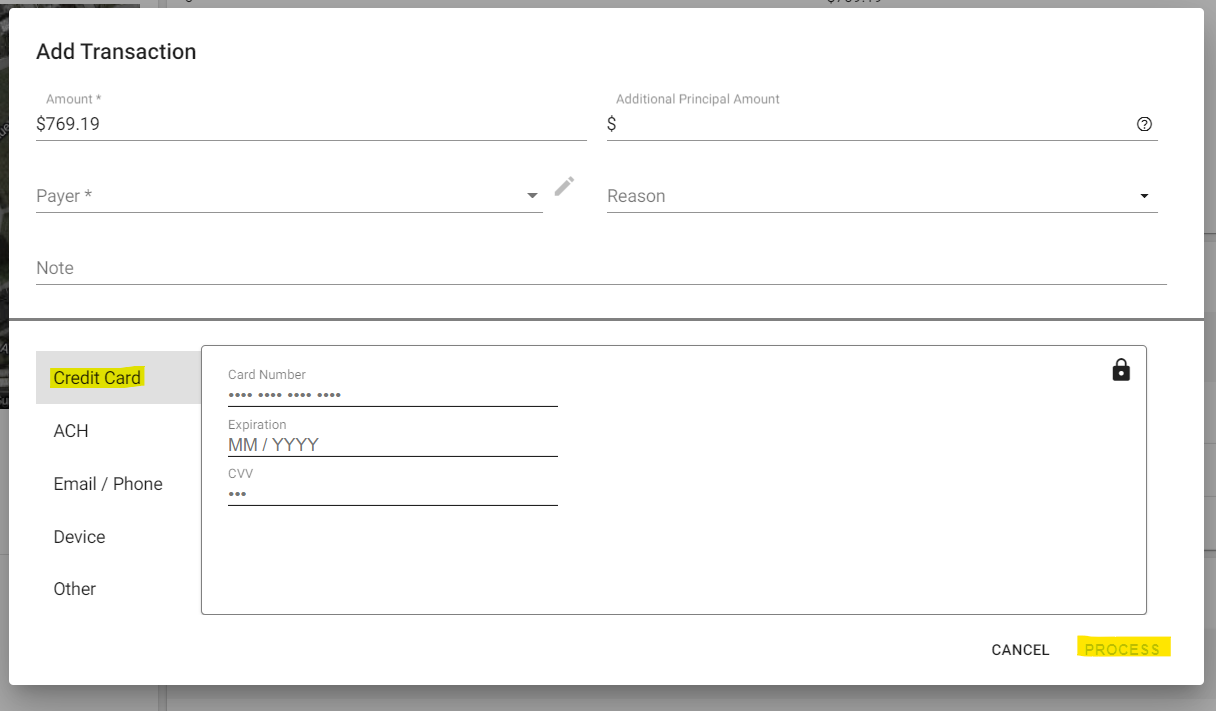
Enter the payment amount, and if possible, the additional principal amount.
You may also enter enter a principal only payment.
Step 9
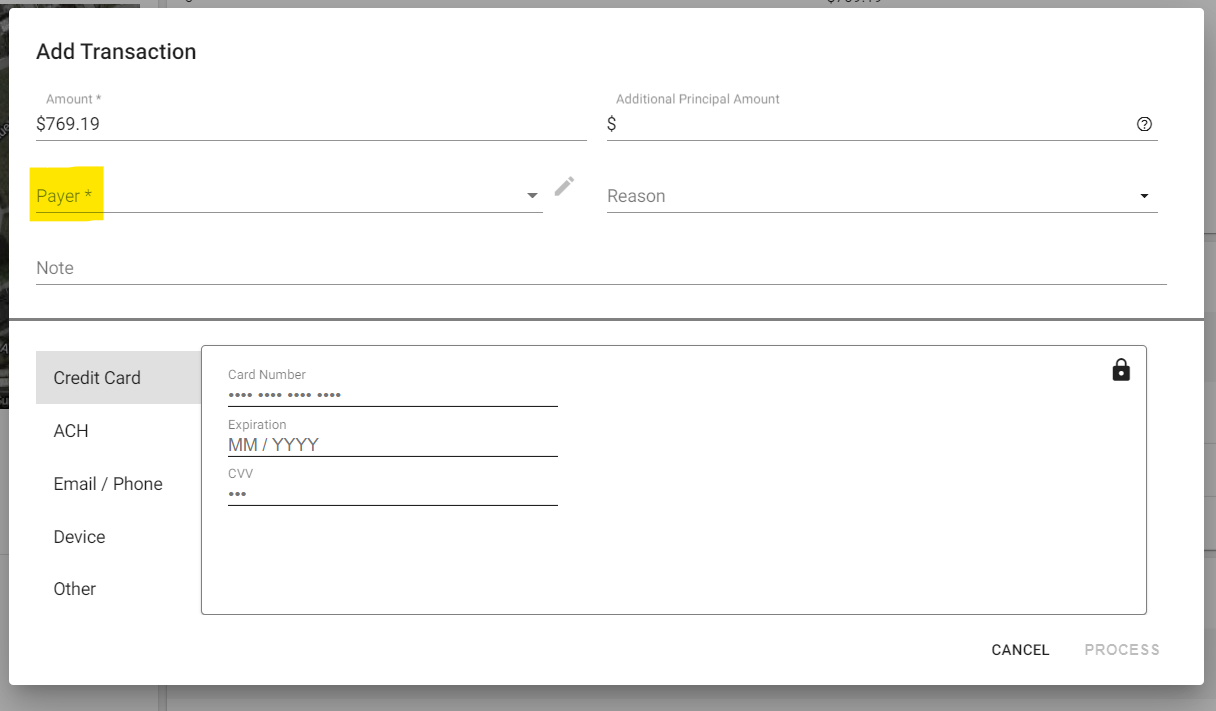
Choose the Payer from the drop-down menu.
Step 10
Fill out any additional details if desired such as the note or reason (these are optional).
Step 11
Choose the method of payment. Enter the information and click PROCESS. In order to use Payment Processing, you will need to contact us to help you set up an integrated account with Global Payments. Please reach out to support@webcemeteries.com to discuss setting up an account if you haven’t already.
Step 12
Once the payment is processed, you will see the transaction line item. The way you know it was a "payment processing" transaction is by the lock icon to the right within the transaction line.

Here are some articles if you want to send a payer a statement by Email/Phone so that they may pay from their device, void a transaction, or export transaction details.
