How to Send a Payment Statement to a Payer for a Balance Owed
In order to use Payment Processing, you will need to contact us to help you set up an integrated account with Global Payments. Please reach out to support@webcemeteries.com.
Step 1
Log into webCemeteries Management.
Step 2
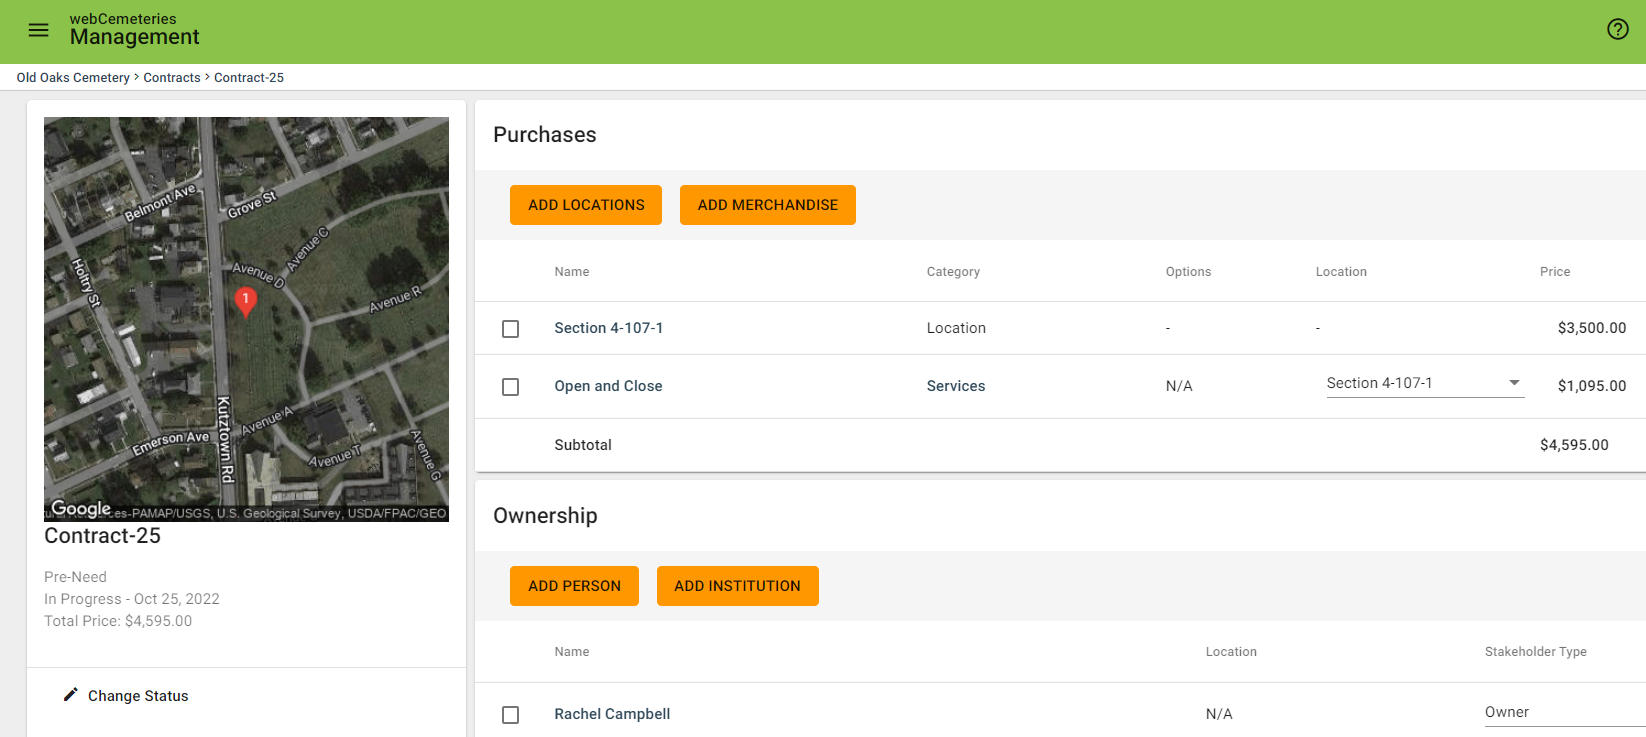
Create a contract or search for an existing contract.
Step 3
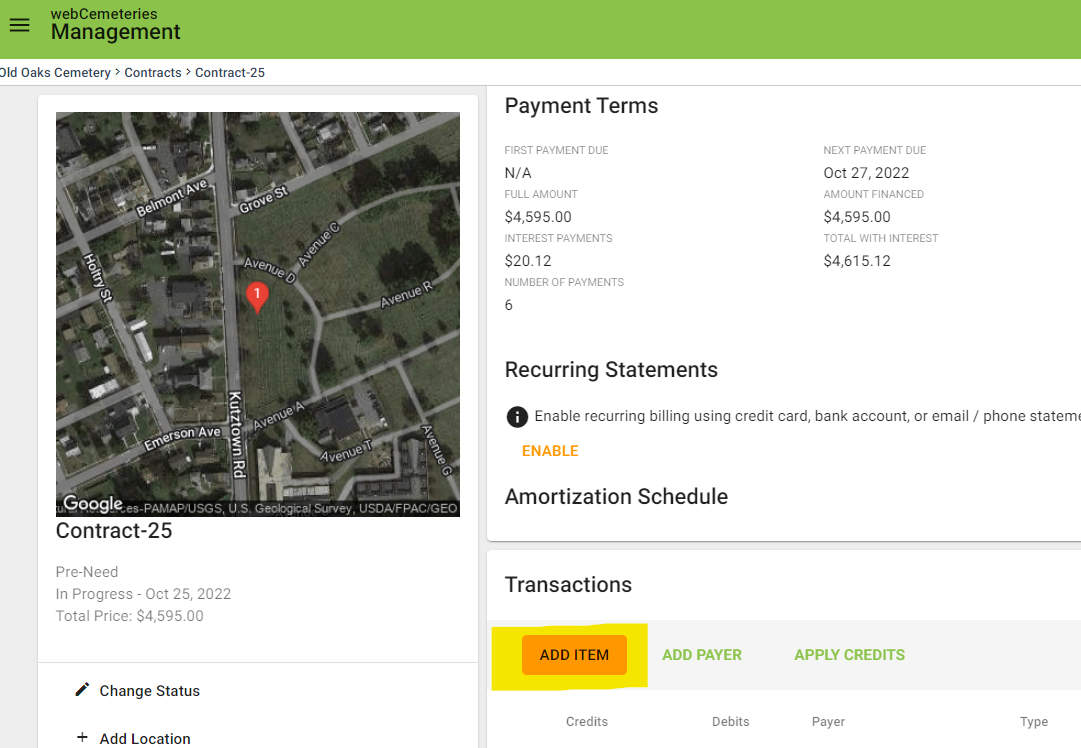
Scroll down to Transactions and click "ADD ITEM."
Step 4
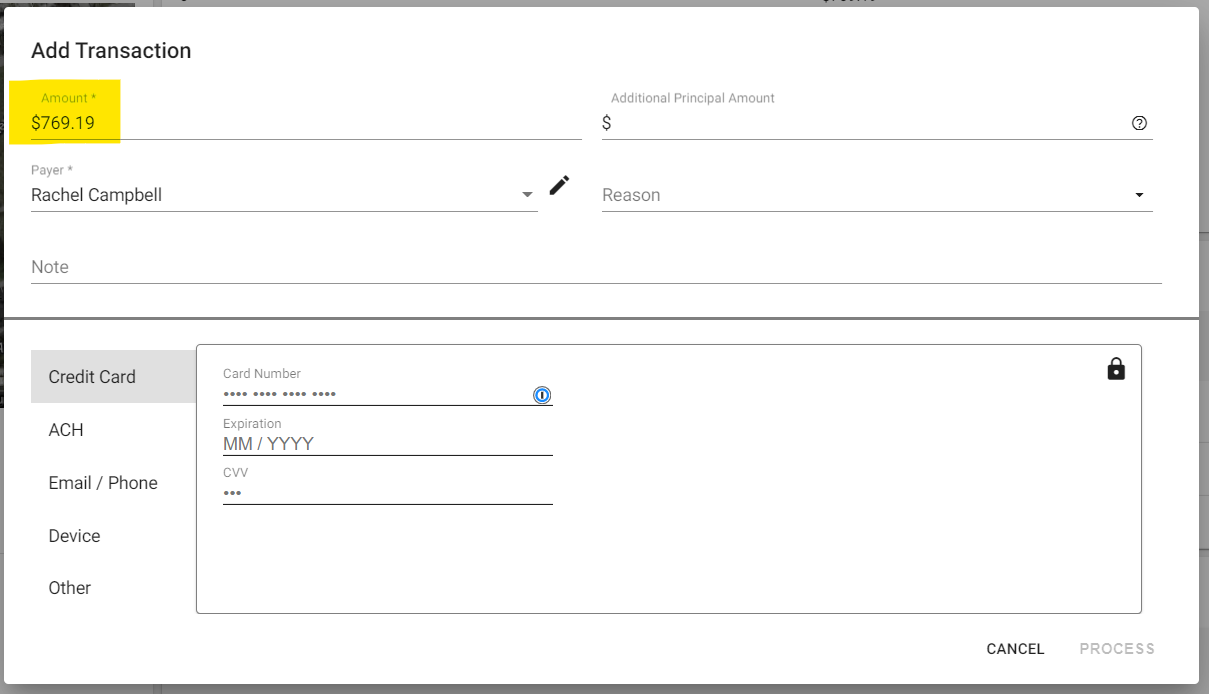
If you have payment terms set up, then the amount field will display the balance due for an individual payment based on the amortization schedule. If you don't have payment terms set up, then the amount field will display the full balance due for the entire contract.
You can customize the amount field by clicking and editing.
Step 5
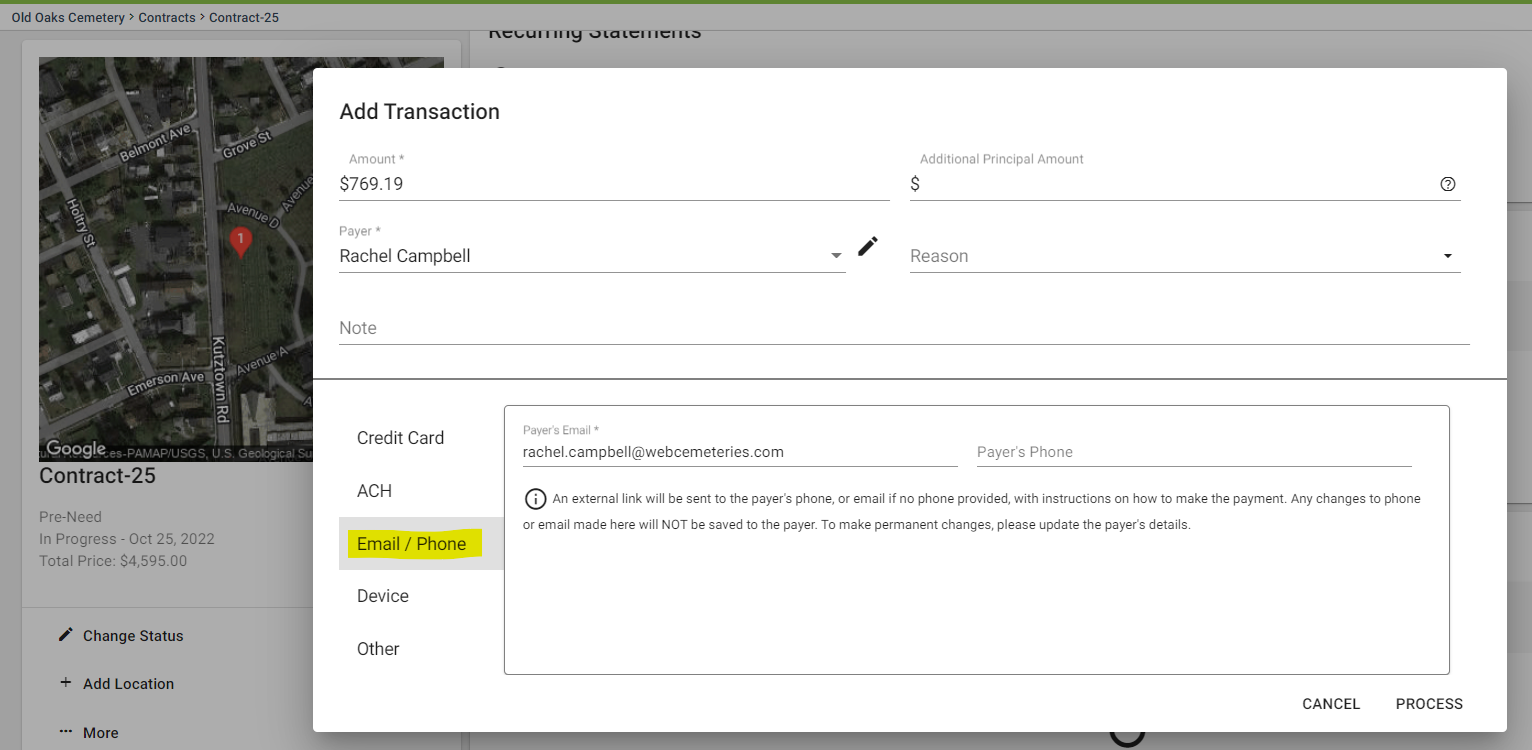
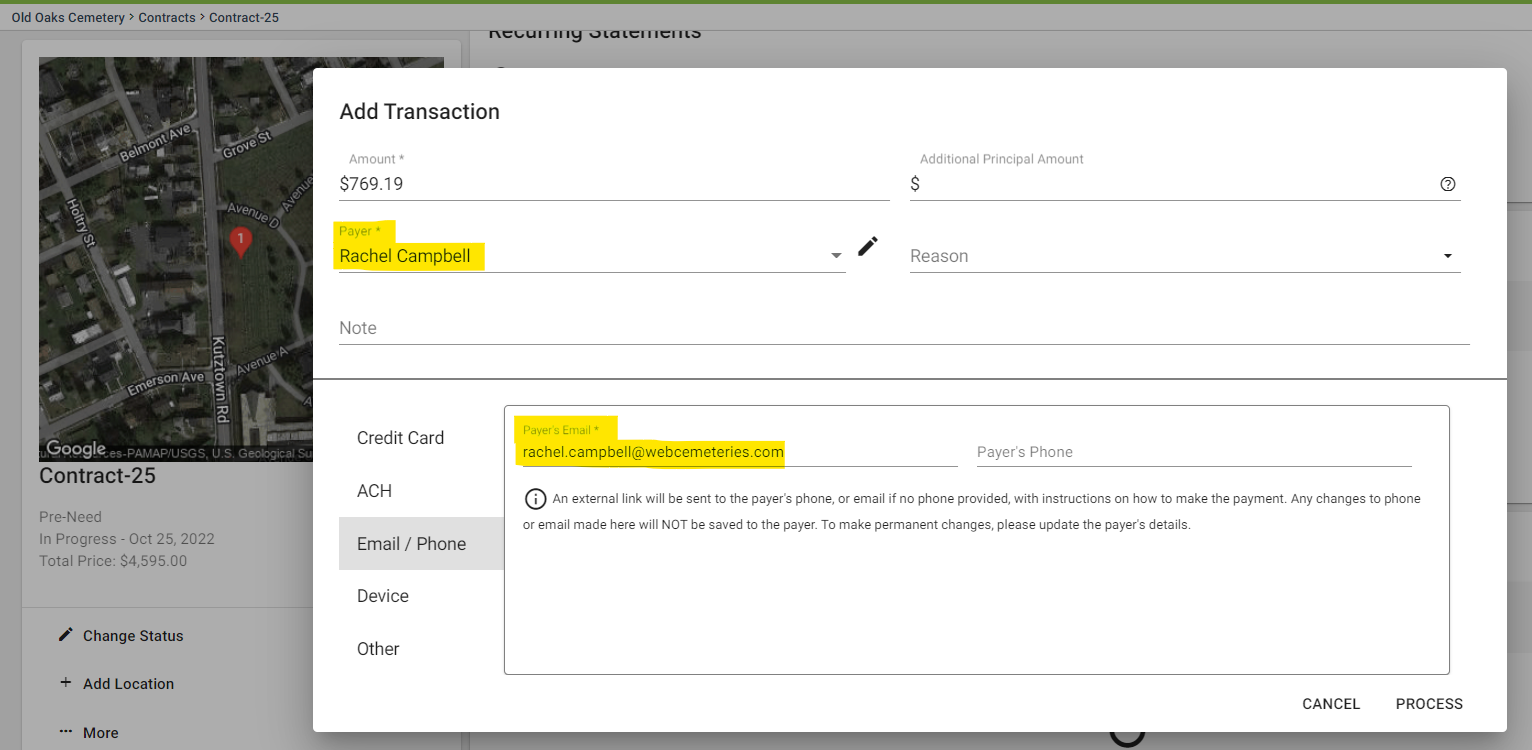
Make sure you've chosen Email/Phone on the left side at the bottom.
Step 6
You will see the payer's name and the payer's email address. If you entered a phone number when you created the contact, you will see a phone number populate.
If you want this statement notification to go to someone else, then click CANCEL and click "Add Payer" under transactions, and enter the other payer's information. If you want to use an alternate payer to the owner of the contract, when you click ADD ITEM, you can select the other payer from the "Payer" drop-down menu.
If you have a phone number and an email, the statement defaults to the phone number and sends a text message. If you remove the phone number, the statement will default to the email address.
Step 7
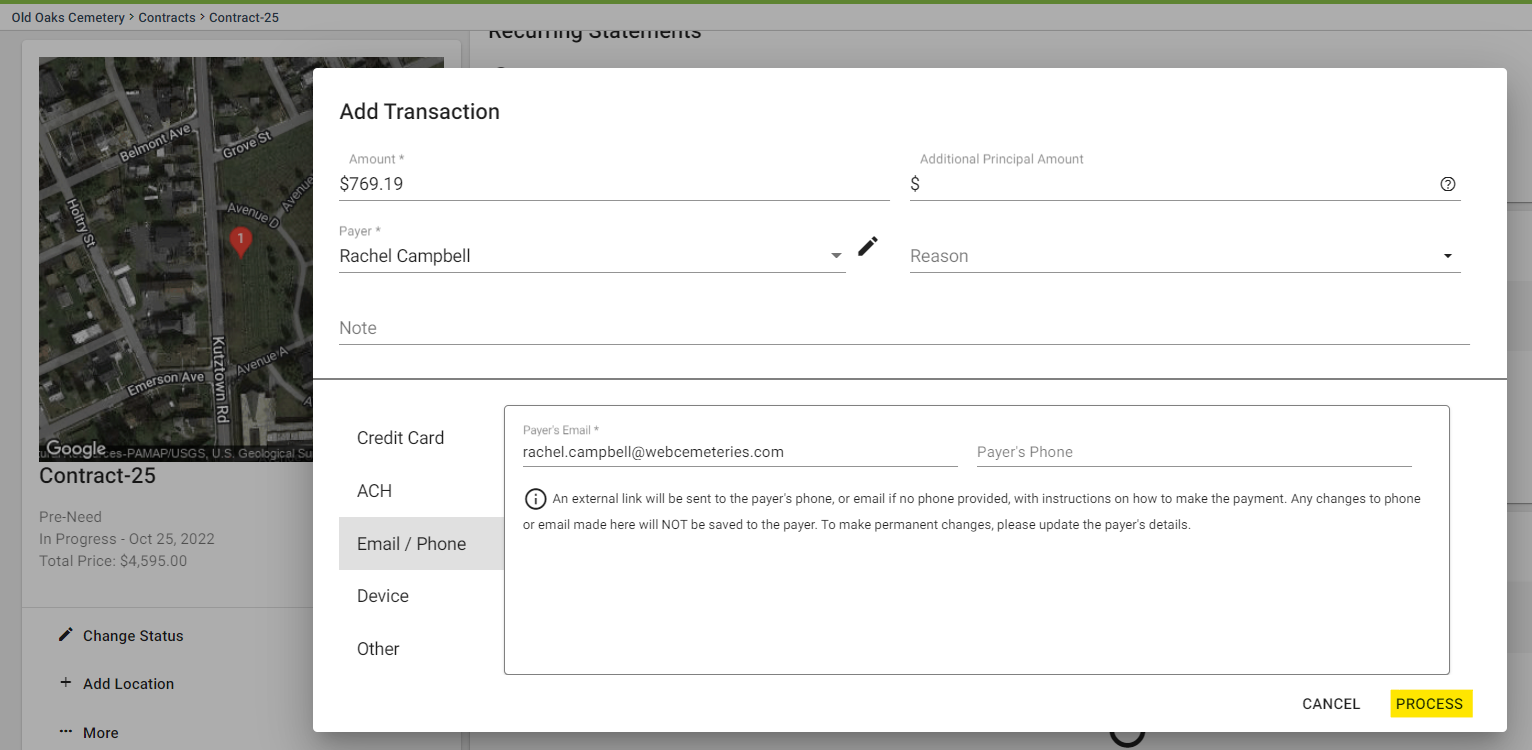
Click PROCESS.
Step 8
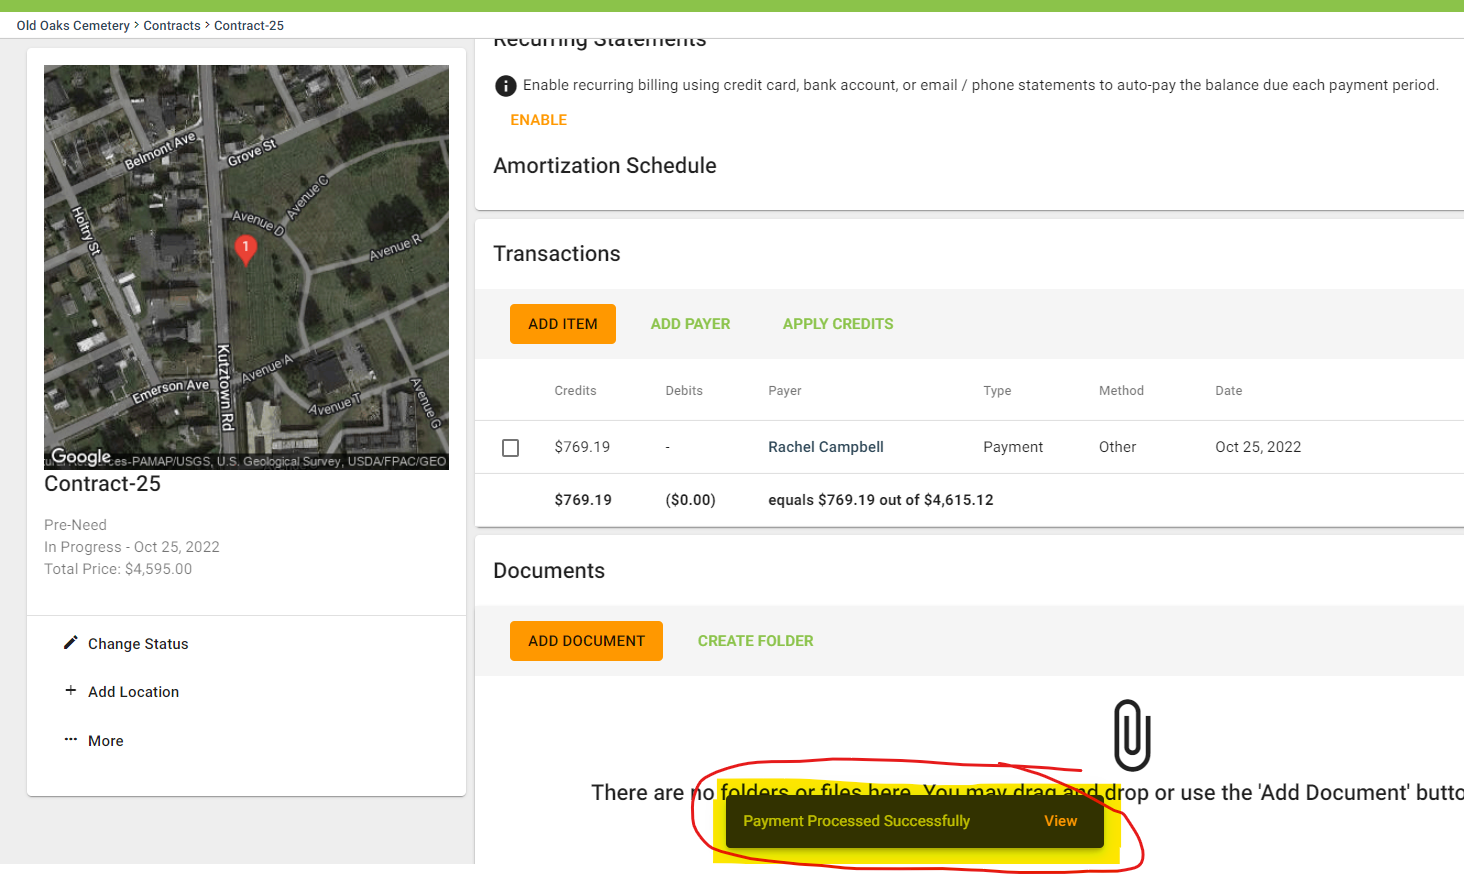
You will see a message pop up that says Payment Processed Successfully. When sending a statement, this doesn't mean that you received money at this moment. It means the Payment Statement was sent via whichever method you used (email or phone).
Step 9
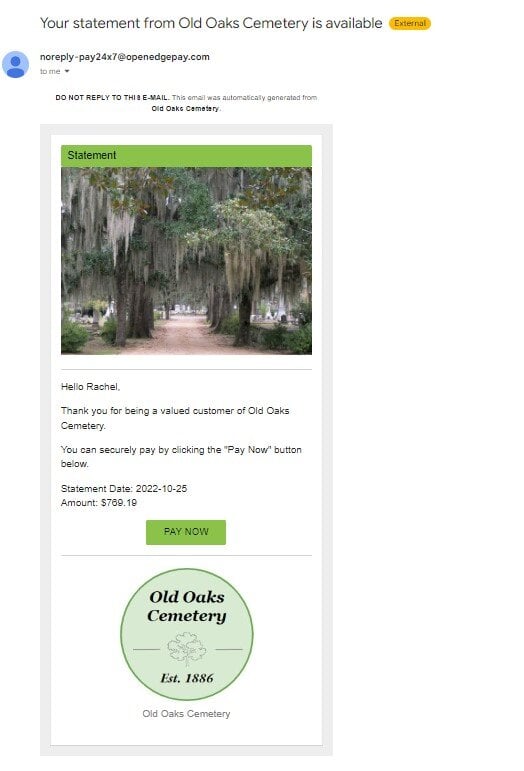
The payer will receive an email notification if you only had an email before clicking process. If you entered a phone number only or phone number as well, the payer will receive a text message.
The subject line of the email will be: "Your statement from [Cemetery Name] is available." If the statement email does not appear, check spam/junk.
Step 10
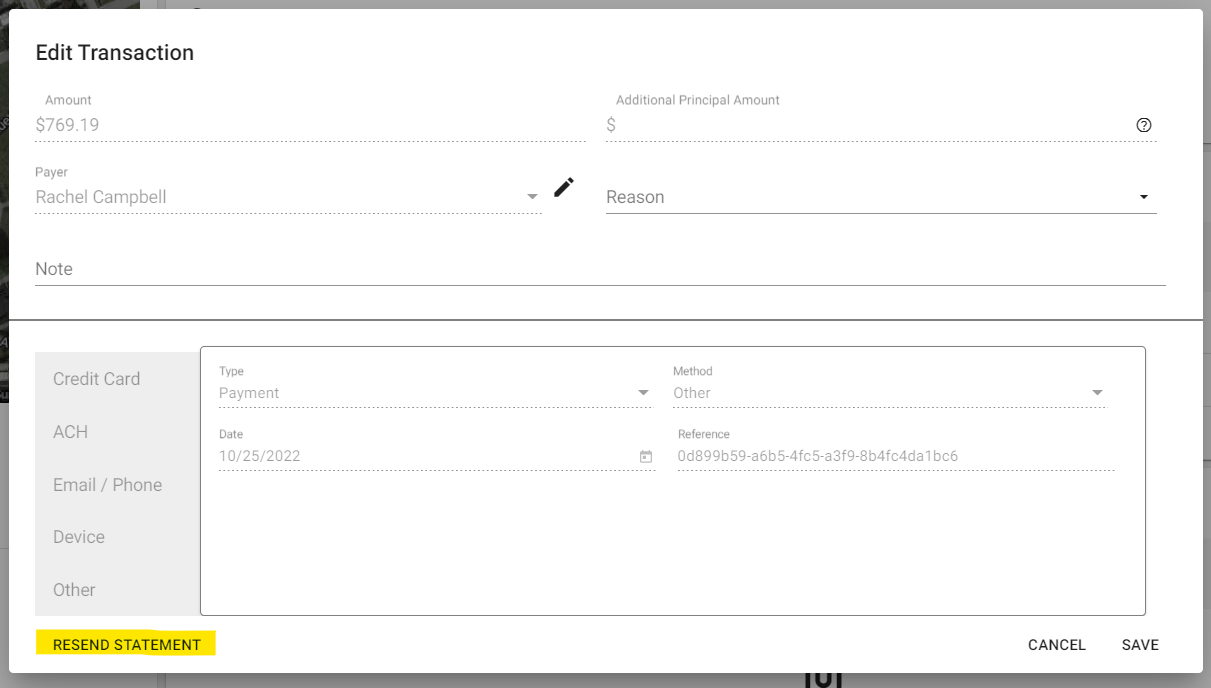
You can always re-send the statement by clicking the pencil icon on the test transaction line.

Any transactions pending payment will show a money sign ($) with a diagonal line ( \ ) through it.

Step 11
After you click the pencil icon on the transaction line, click RESEND STATEMENT.
Step 12
You can also always VOID a transaction and recreate it if you would like to send a new statement to the same payer or a different payer.
