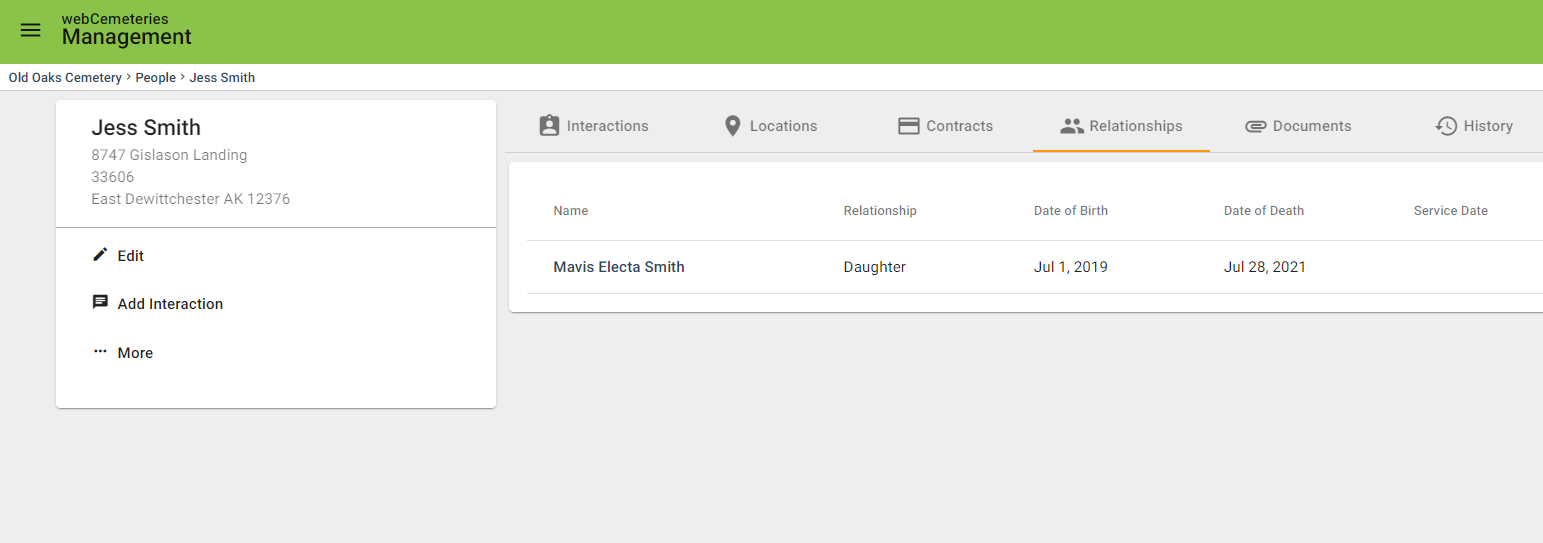
How to Add a Contact and/or Next of Kin to a Deceased Record
Step 1
Log into webCemeteries Management.
Step 2
Hover over "Deceased" on the left side menu and click "Search Deceased".

Step 3
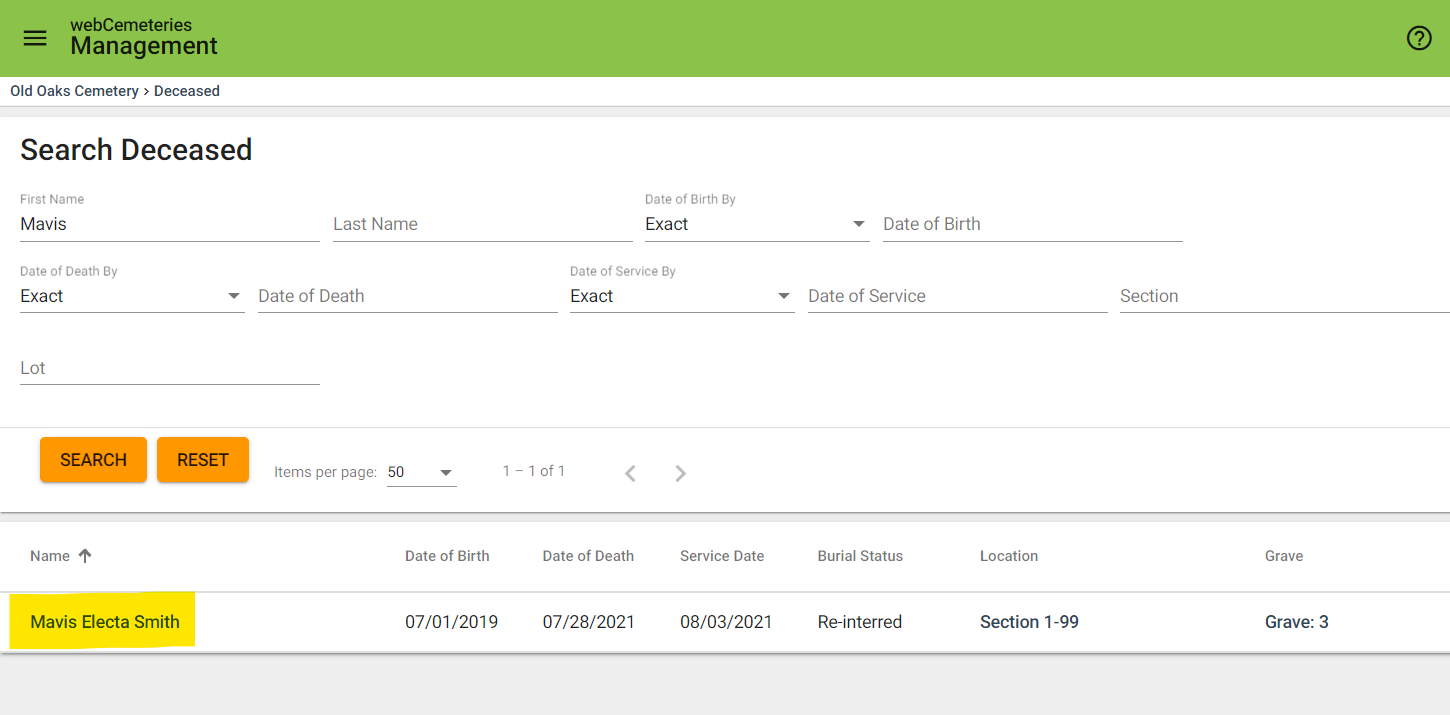
Search the deceased. Then click on the name of the deceased to open the deceased page.
Step 4
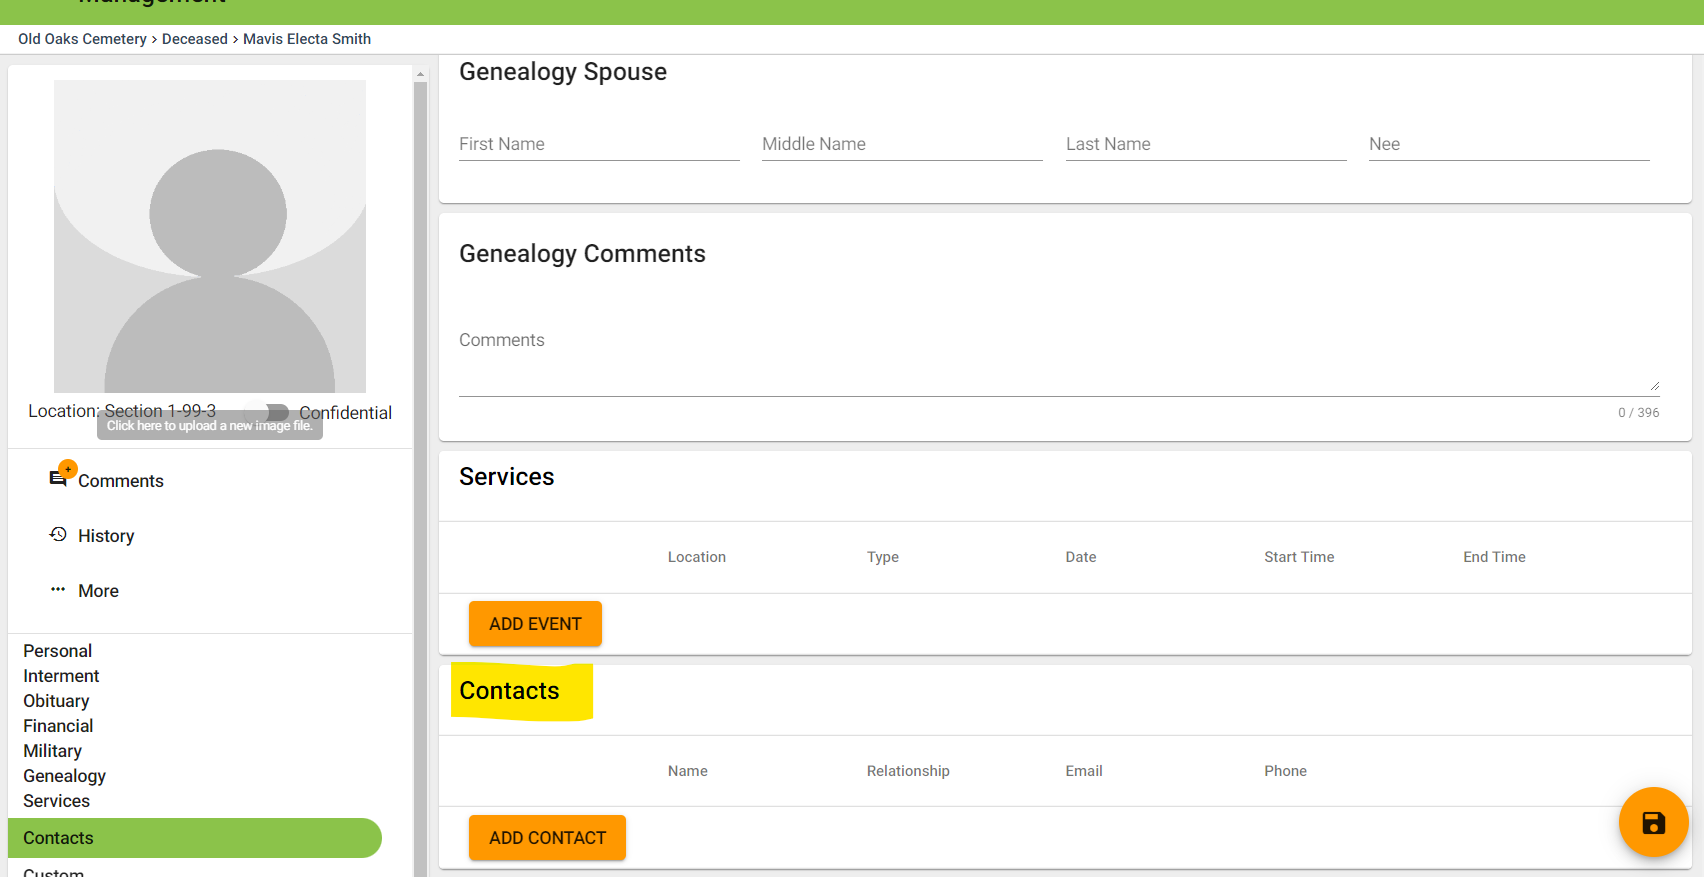
Scroll down or click on the quick jump menu on the left side to navigate to the "Contacts" section of the deceased record.
Step 5
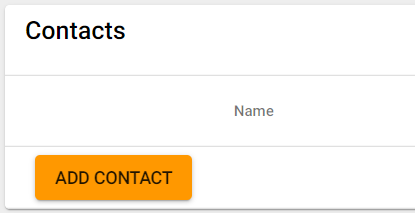
Click "ADD CONTACT."
Step 6
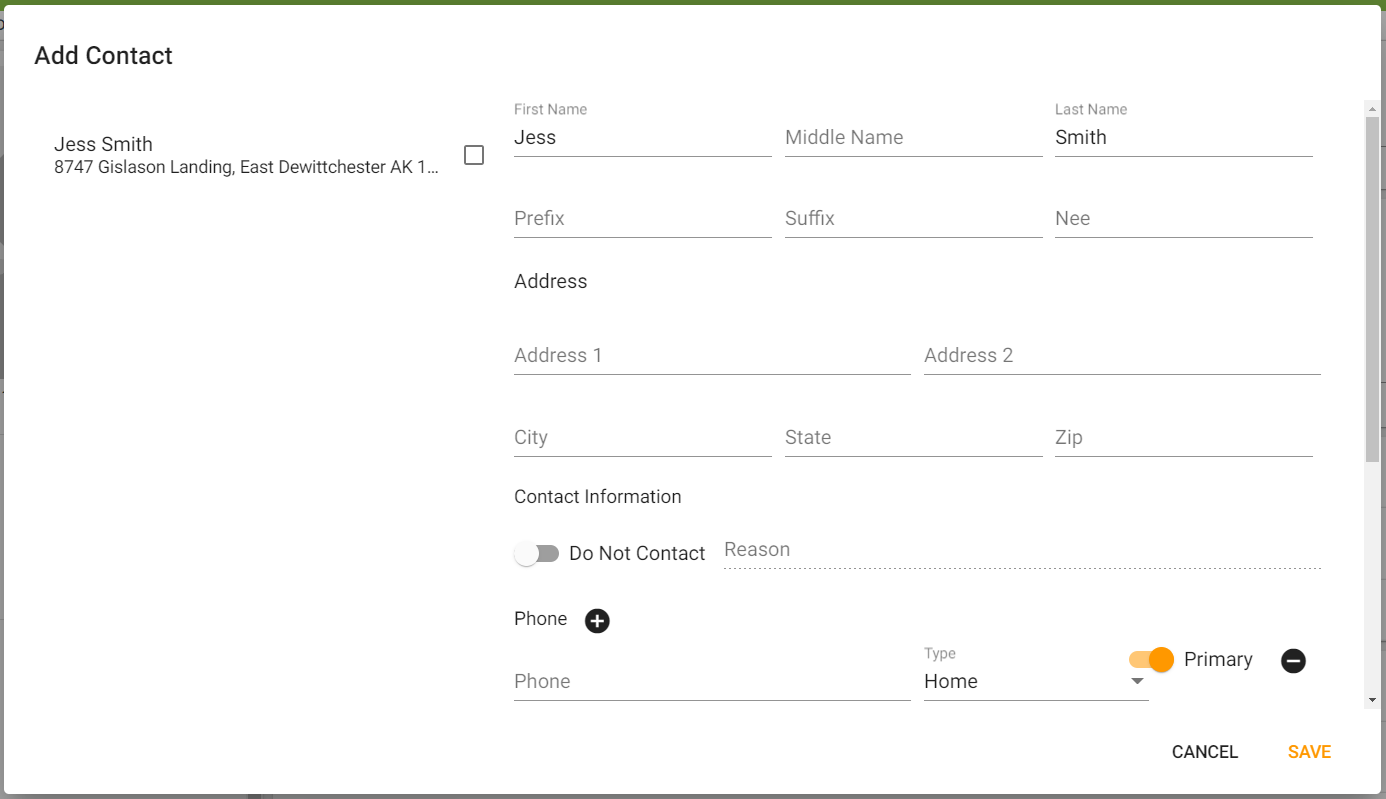
Type the name of the contact you wish to add. If this person is already a Contact, Customer, or Owner in your account, their name will auto-populate to the left side. If that happens, click the check box beside their name so that you avoid creating a duplicate record.
Step 7
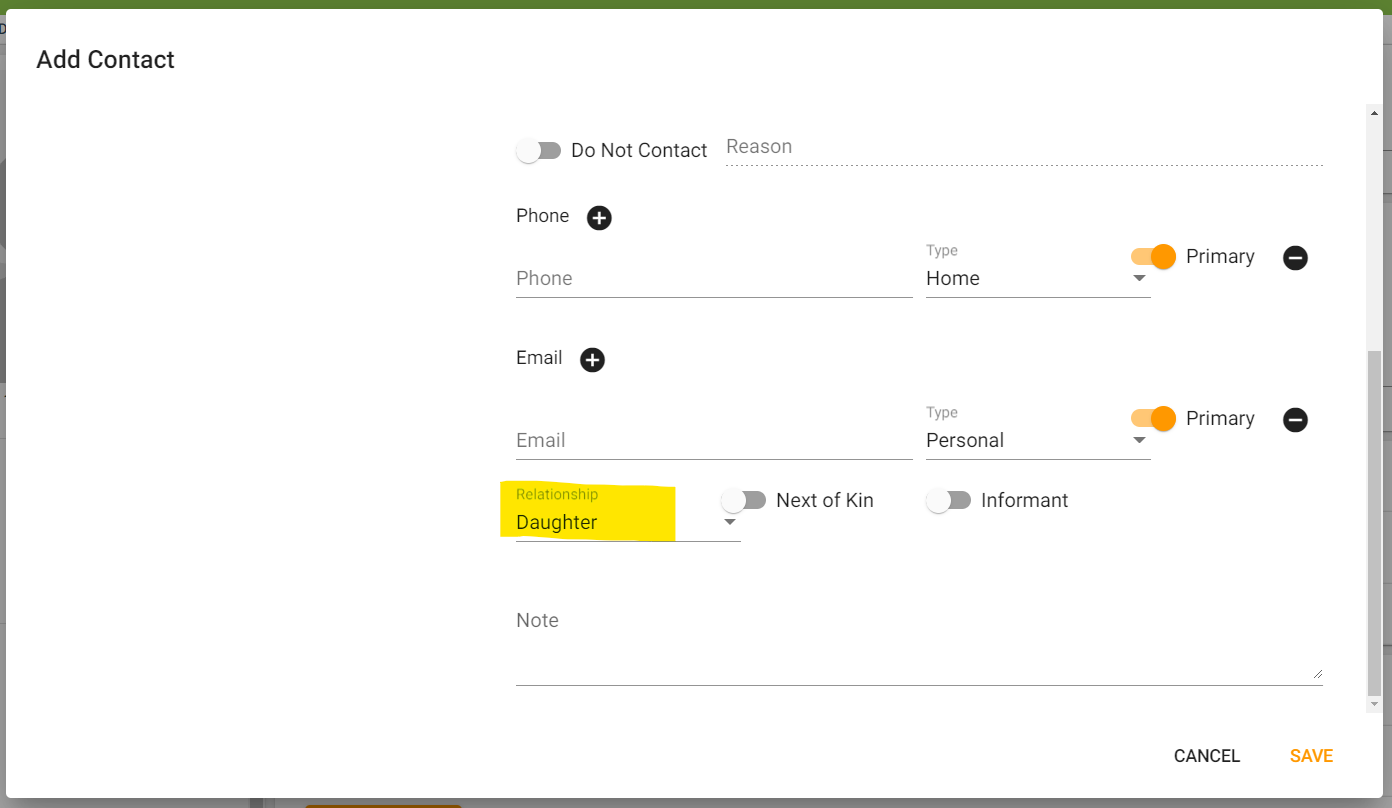
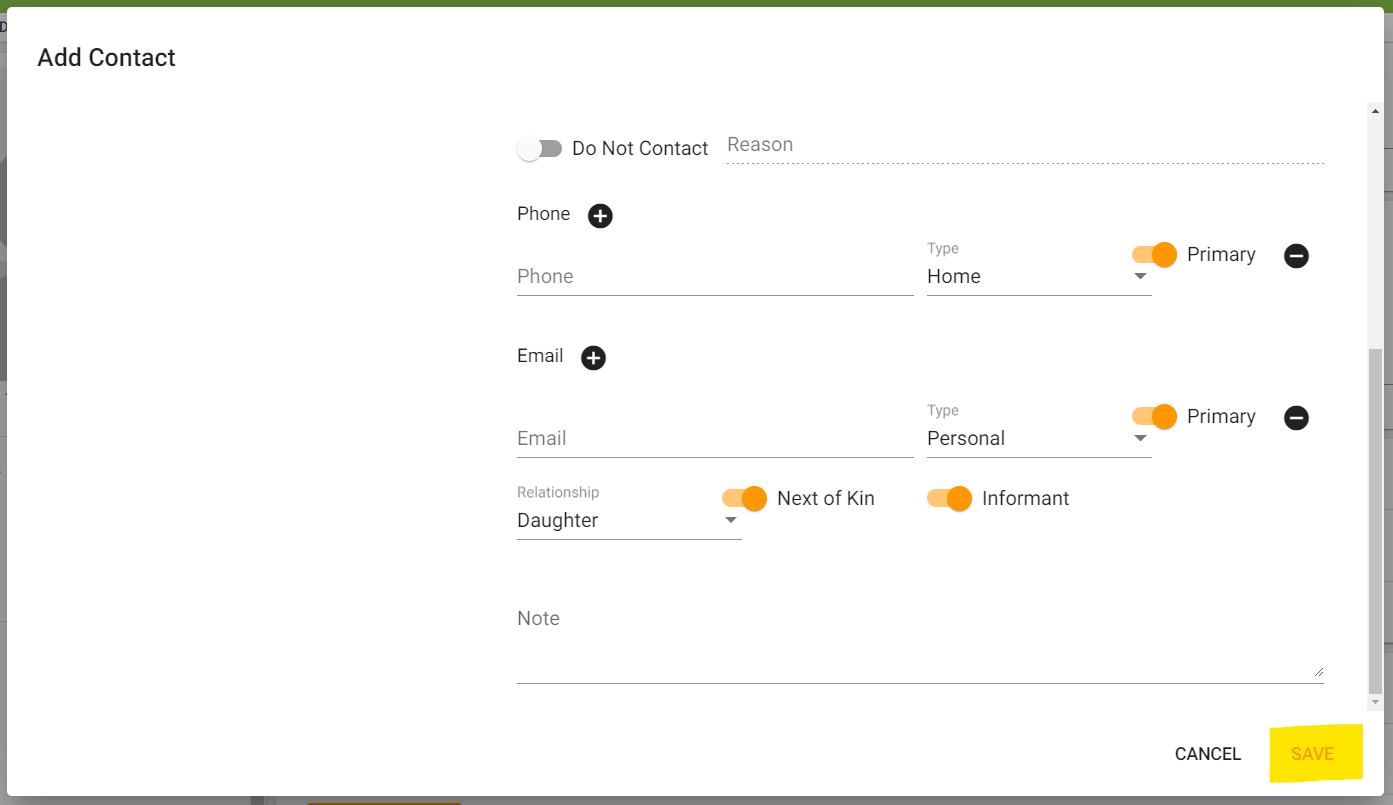
Scroll down. In the "Relationship" drop-down menu, choose the relationship type.
Step 8
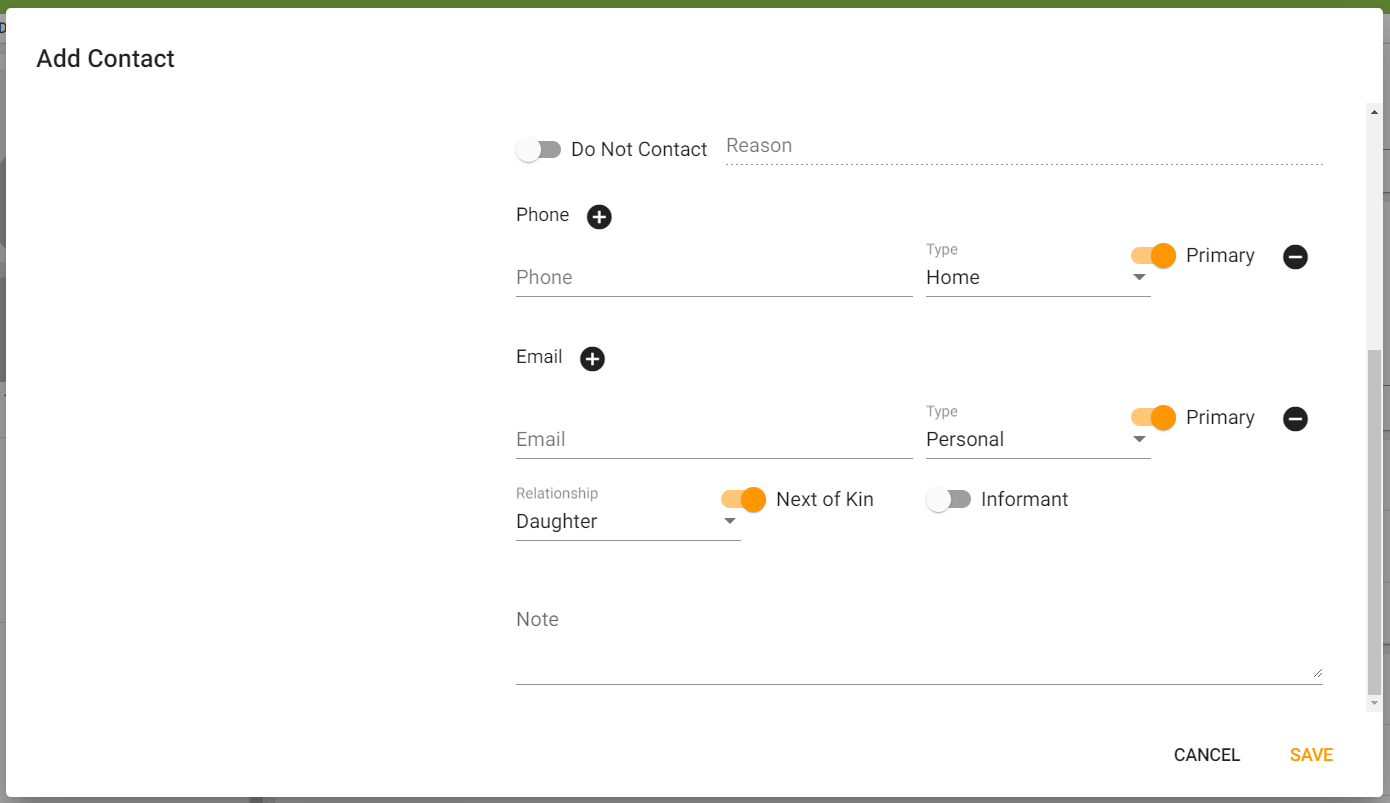
To mark this person as Next of Kin, click the toggle to the left of Next of Kin. It will turn orange, which means it is "on" to confirm that this contact is the next of kin to this deceased.
Step 9
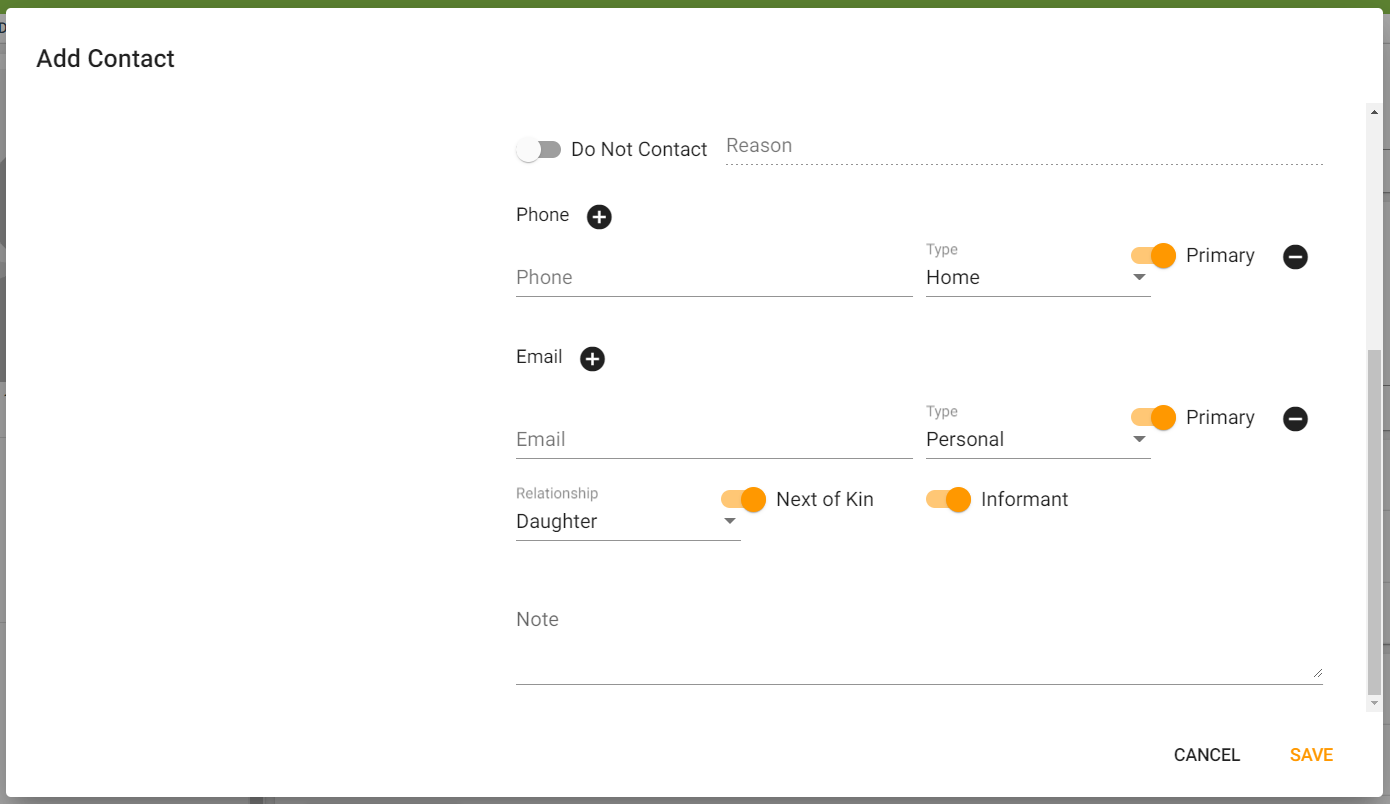
If this contact is also the Informant, click the toggle to the left of "Informant." It will turn orange, which means it is "on" to confirm that this contact is the informant for this deceased.
Step 10
Add any other notes you wish to add in the "Note" field. When complete, click SAVE in the bottom right corner.
Step 11
