How to Add a Map Area to a Work Order
Step 1
Log into webCemeteries Management.
Step 2
Hover over "Work Orders" on the left side menu and click "Search Work Orders".

Step 3
Click the work order that you would like to map.

Step 4
Click “Map Area.”

Step 5
A map will pop up for you to draw on.
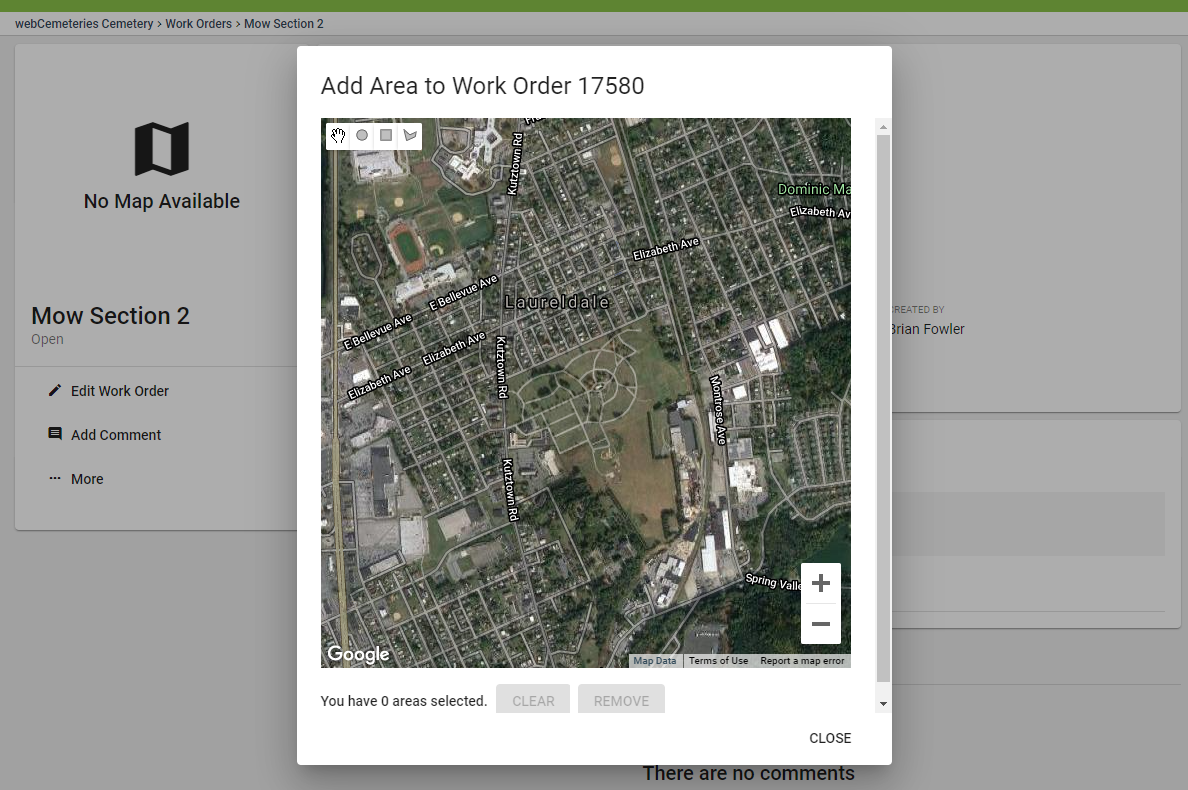
Step 6
Zoom to the area you wish to map.
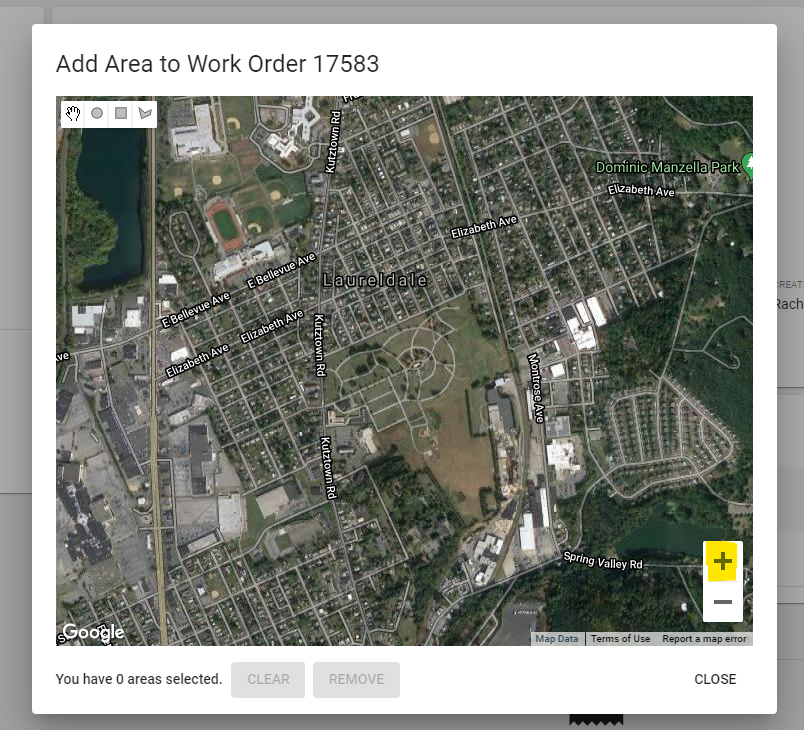
Step 7
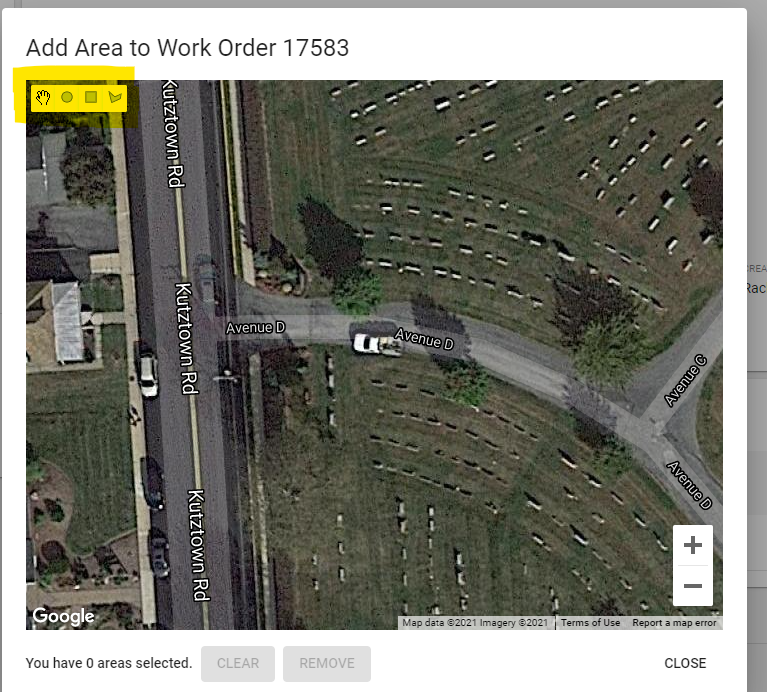
The tools at the top will help you. Use the hand to click and drag to the location you wish to navigate to. Use the circle to draw a circle map area. Use the rectangle to draw a rectangle map area. Use the polygon to draw any kind of shape of map area.
Drawing Multiple Shapes
You can include multiple shapes in your map area if needed.
Step 8
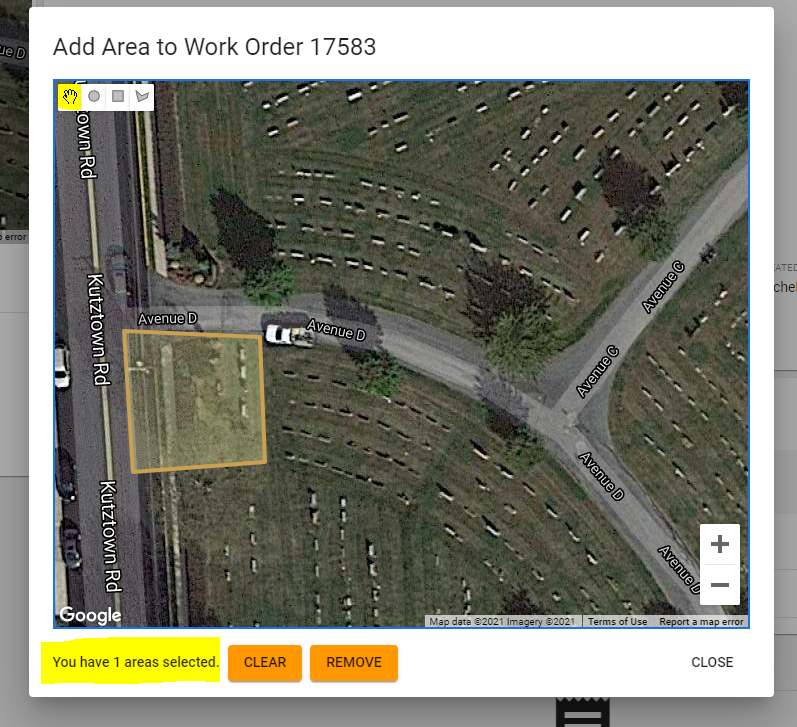
Once you've drawn your shape, you can click on it to select it. The message at the bottom left will let you know that you have selected a shape (or shapes).
Step 9
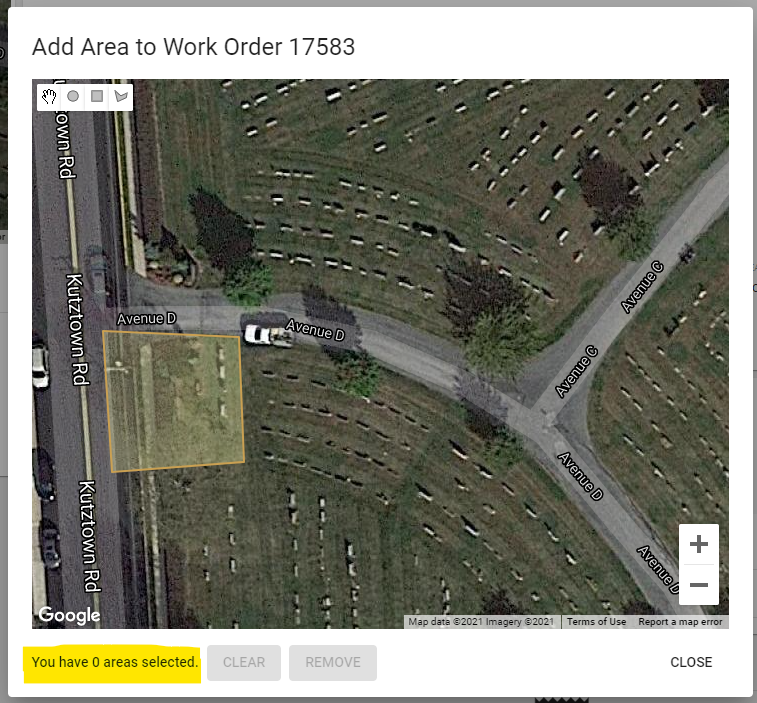
Click CLEAR to un-select that shape.

Step 10
After clicking CLEAR, you will see that you now have 0 areas selected.
Step 11
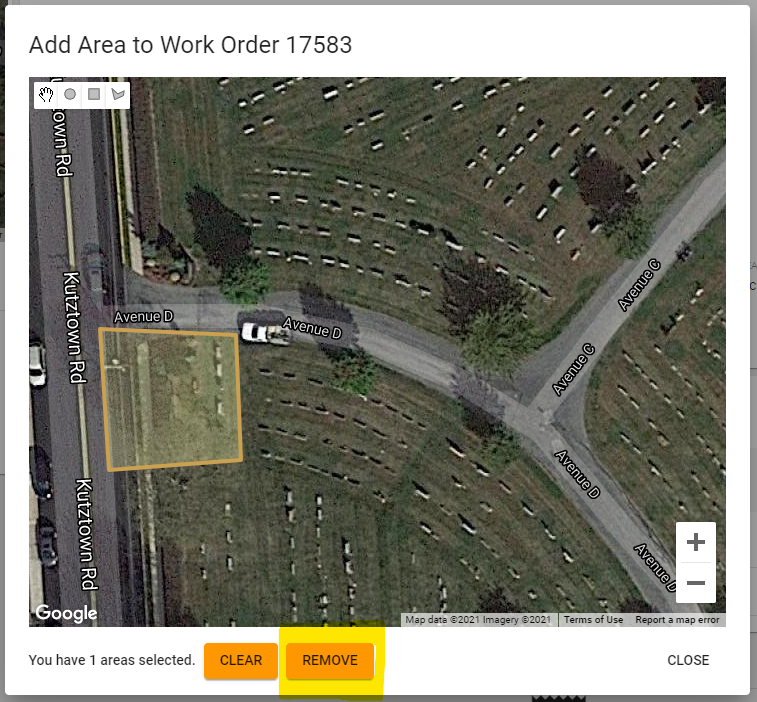
Click REMOVE to remove the shape from the map.
Step 12
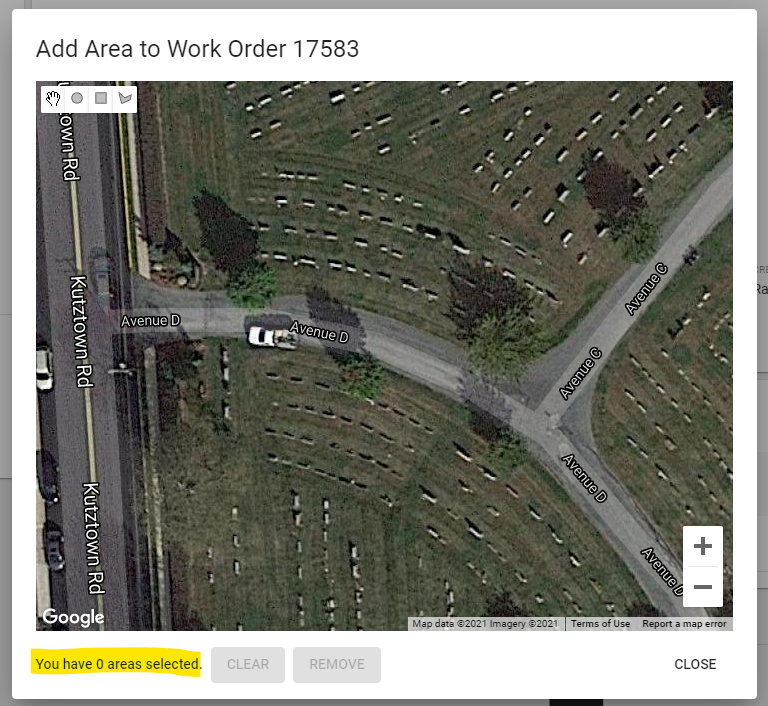
After you REMOVE the map area, you will have 0 areas selected
Step 13
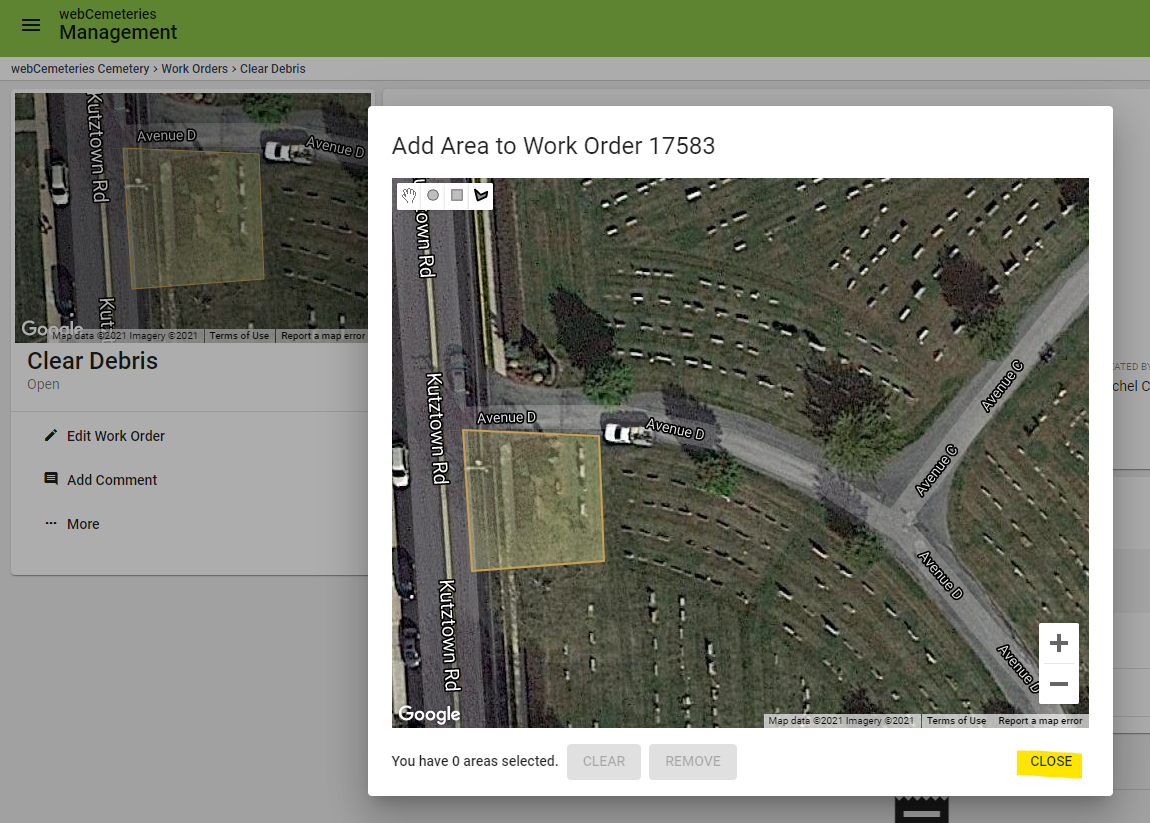
Once you have the area(s) you wish to map drawn, you can click CLOSE to successfully link them to your work order. You will now see the map area above the title of your work order in the top left corner.
Video Demonstration
