How to Add (or Update) a New Ownership Stakeholder to a Location
Step 1
Log into webCemeteries Management.
Step 2
Search by Location and view different location details to select a desired location. Or, if you know the space you’d like to add the owner to, simply click on the space from the search results (skip to step 4).
Step 3
While viewing location details of a desired location, click on the Interment Right under the "Grave Spaces" portion of the page. Clicking on the Interment Right number will take you to the Interment Right page and access detailed information about the Interment space.

Step 4
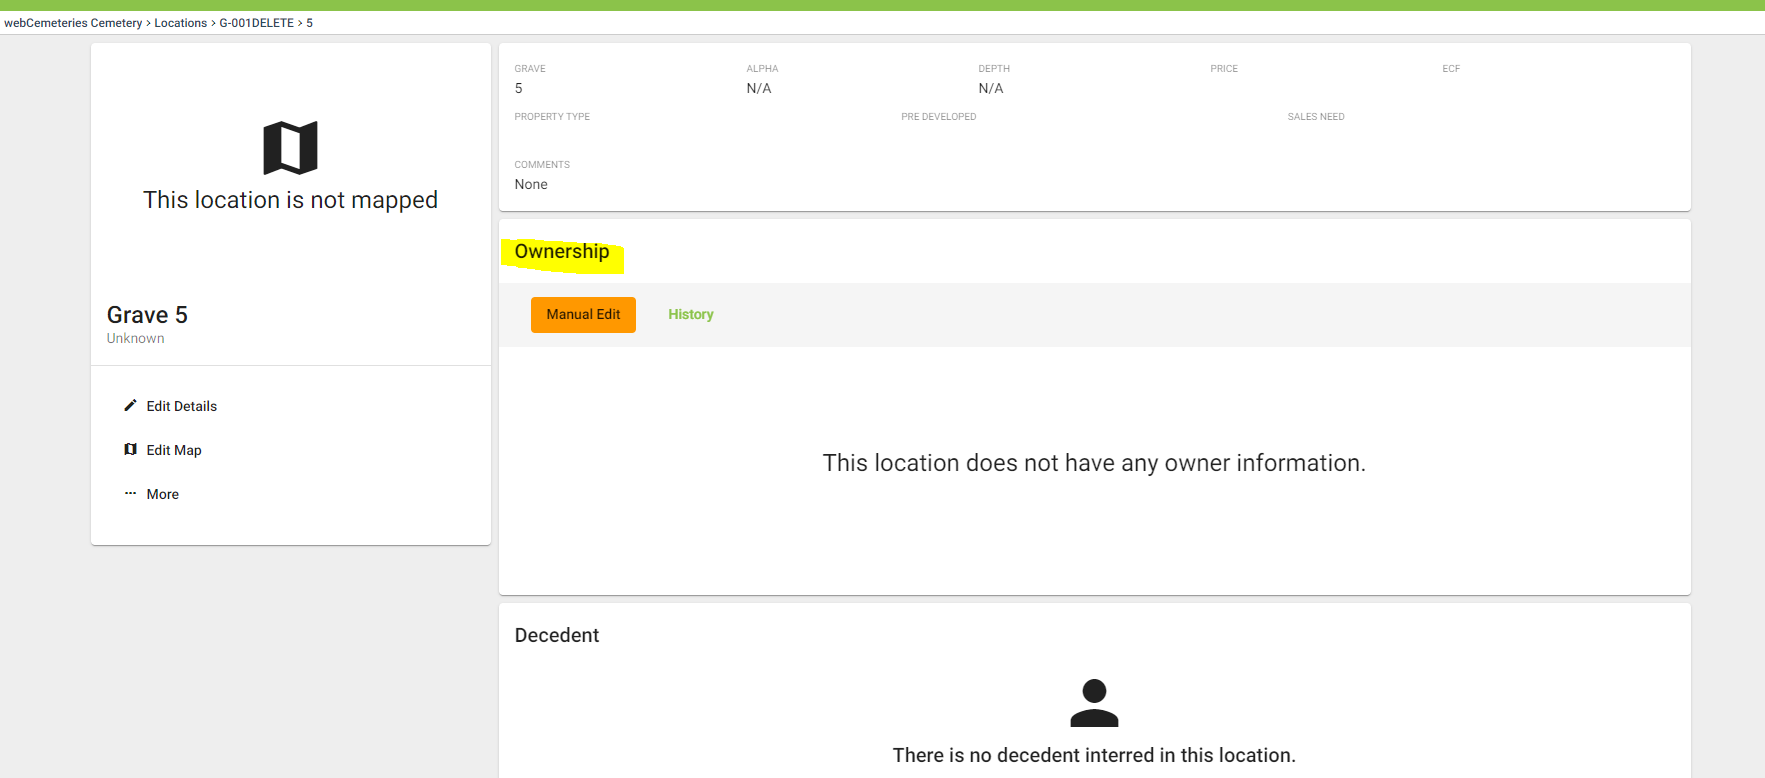
At the top of the Interment Right page, you will see the space information and ownership. To add an owner to the grave, click the orange "Manual Edit" button.
Step 5
Options will now appear at the top of the box. Click "Add Person" or "Add Institution" if you would like to add a new person or institution as an owner. An institution would be an organization that owns cemetery property. For example: a church or veteran association.

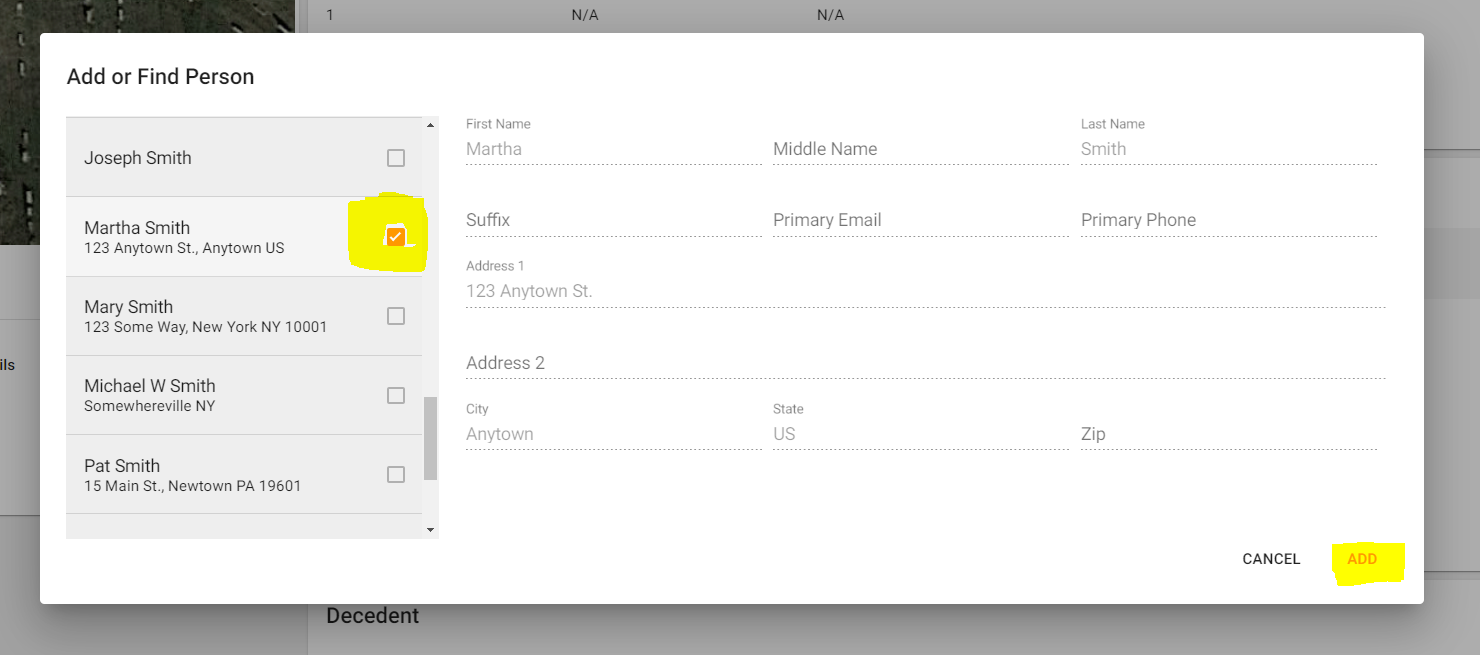
Add Person: Fill in the following fields to add a new person as an owner. Click "Create and Add" when you are finished adding details.

Ownership Integrating with CRM
If you have added the owner or contact into webCemeteries previously, your CRM will populate the previous contact’s information to the left, which you can easily select.
Add Institution: Fill in the following fields to add a new institution as an owner. Click "Create and Add" when you are finished adding details.

Step 6
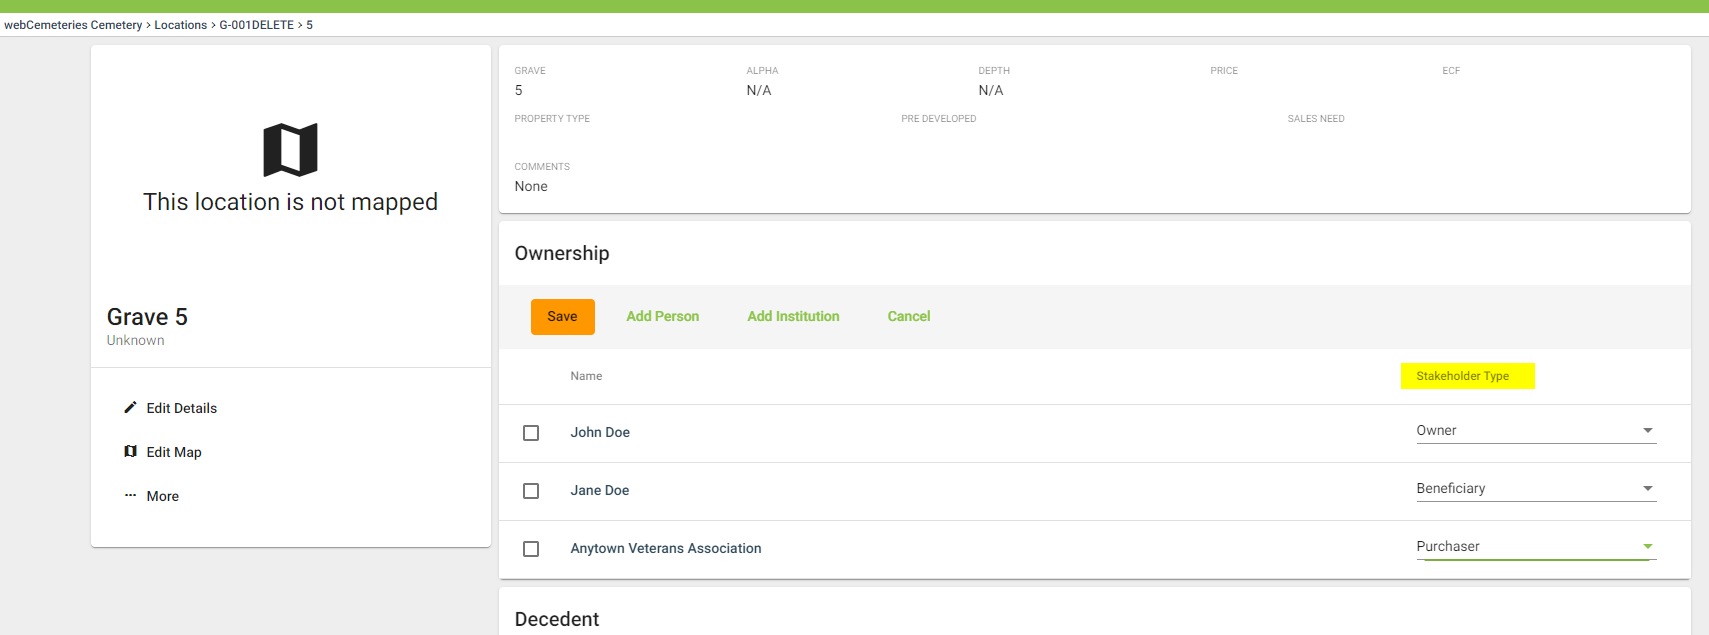
Once you add the new owner (or stakeholder) will display under Ownership. You can set the Stakeholder Type to Owner, Beneficiary, or Purchaser. Click the orange “Save” button under Ownership to save your changes.
Step 7
After clicking “Save,” you will need to note the reason for your change and click “Confirm” in order to successfully save your ownership changes.

Step 8
Your new Ownership details will now be saved to the location.

Step 9
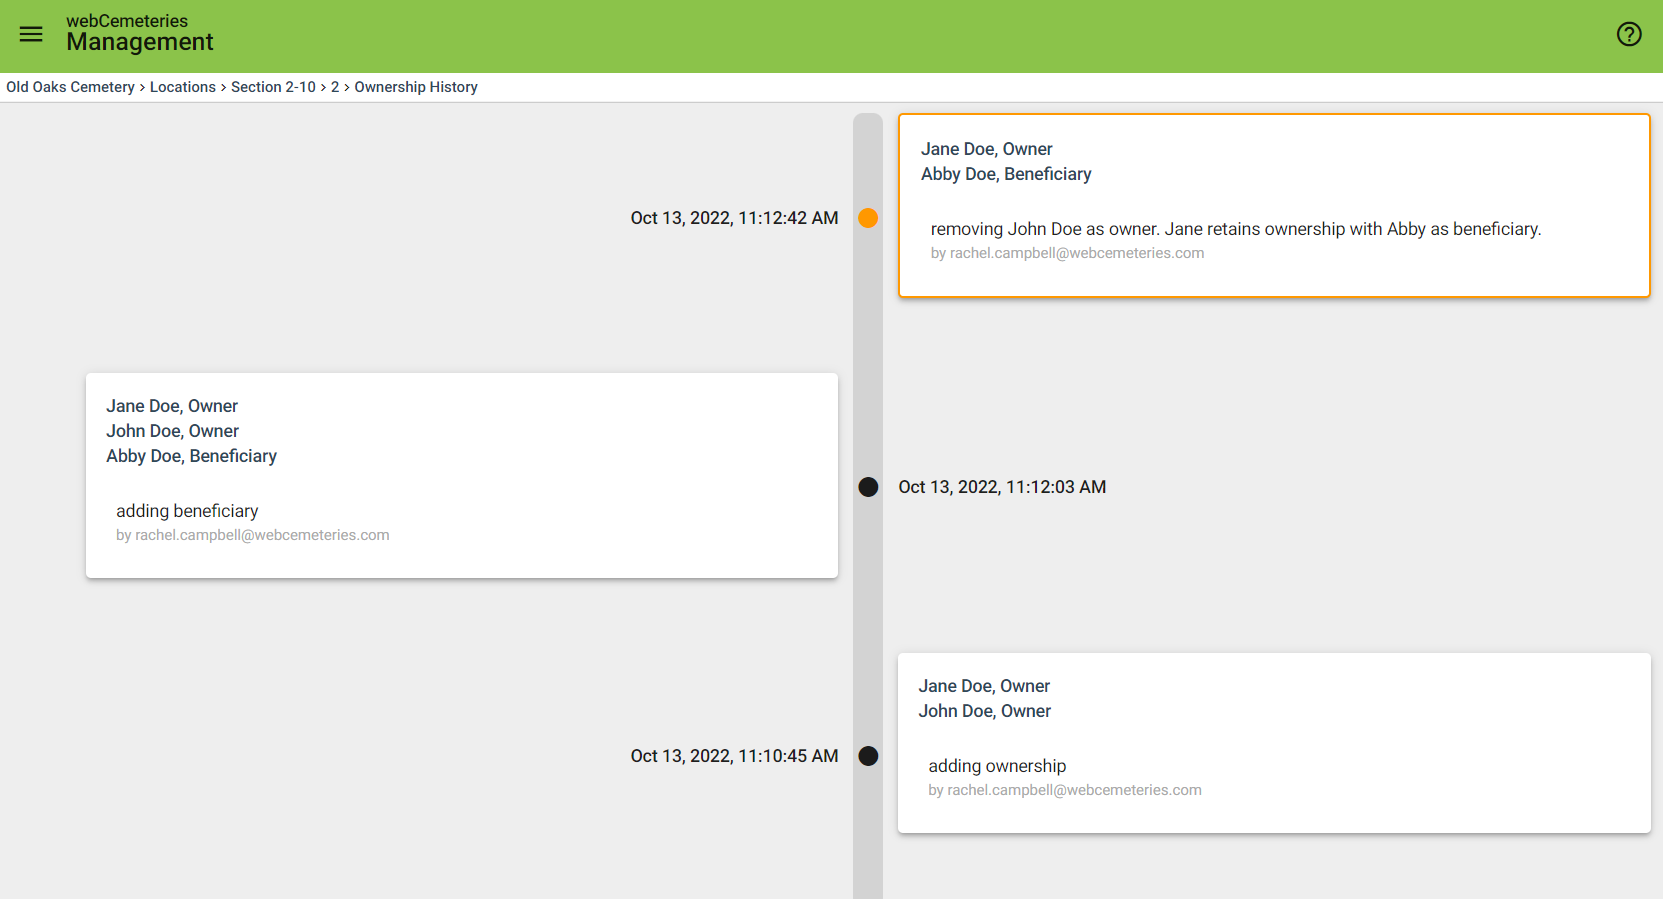
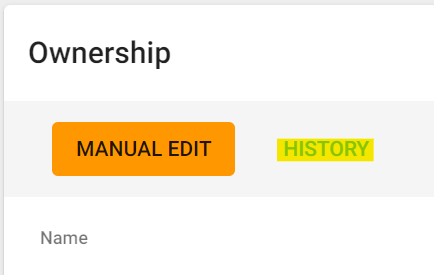
To see a history of ownership changes over time on a certain property, click the green "HISTORY" text to the right of the manual edit button.
Step 10
You will see a timeline of ownership changes, the reasons for the changes, and the user who made the ownership changes.
