Adding Interactions in the CRM
Are you new to the webCemeteries Customer Relationship Management (CRM) module? Check out this article which walks you through adding new interactions in the CRM. If you are not a webCemeteries Management customer you will not be able to access these special features. Contact us today to learn more about licensing Management.
Interactions show a log of the connections the organization has had with this contact. You can log the type (email, phone call, office visit, etc.) and the date/time of the interaction. Logging Interactions allows the organization to keep track of a timeline of contacting customers and store notes pertaining to a customer (such as changes pertaining to ownership and contracts).
Step 1
Log into webCemeteries Management.
Step 2
Hover over "CRM" on the left side menu and click "Contacts & Customers".

Step 3
Enter a name, email address or phone number to search for the person in your CRM.

Step 4
Click on the search result from the list to view the contact in detail and to see interactions.

Step 5
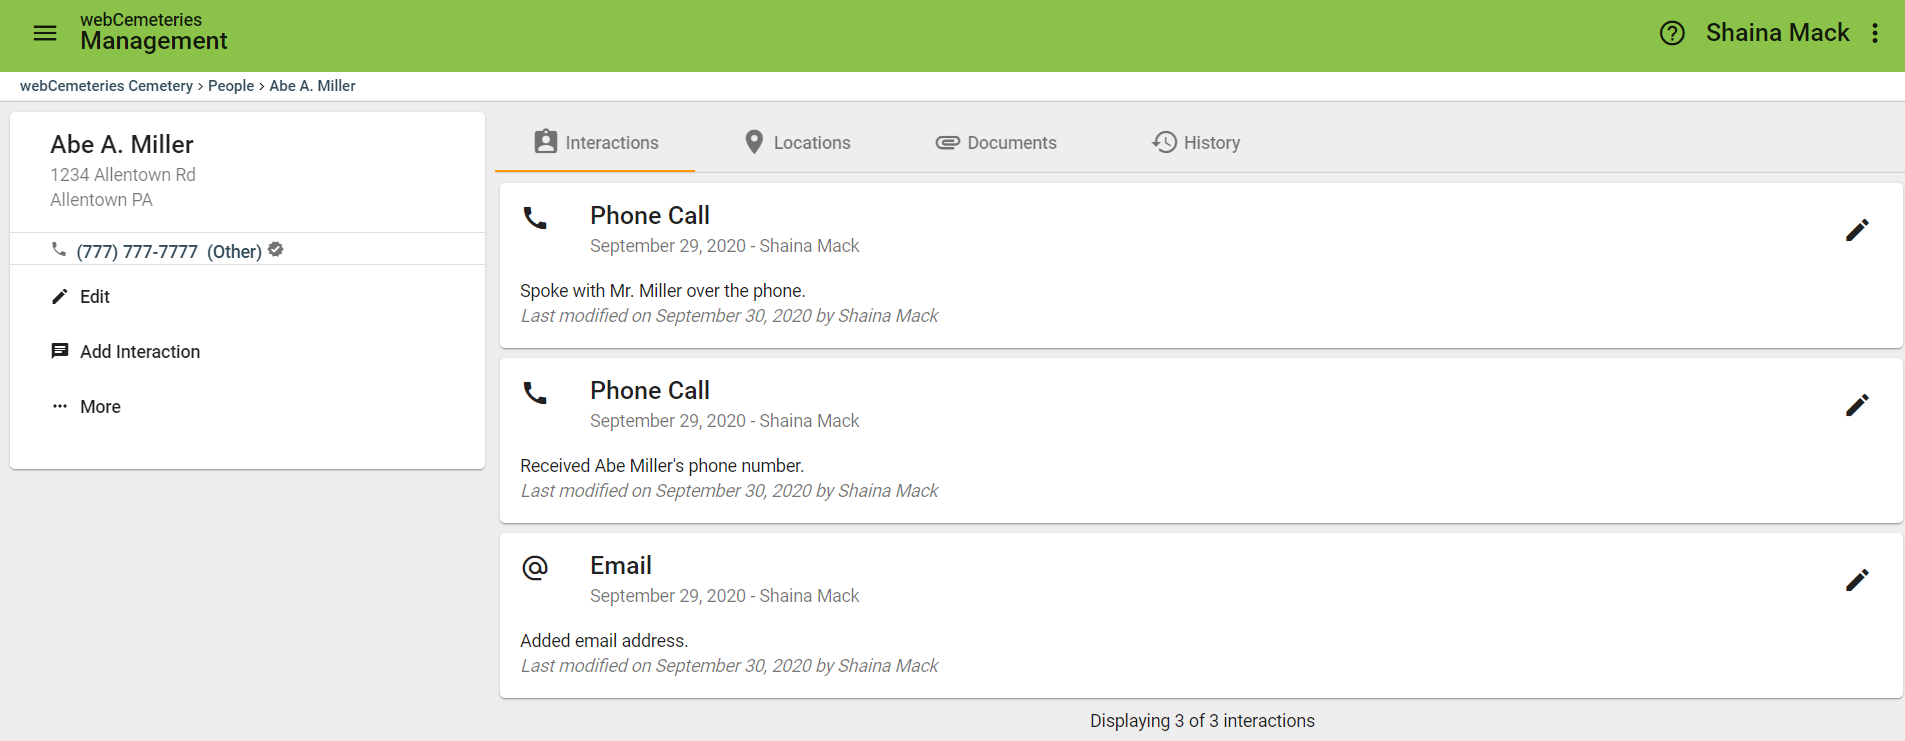
Interactions appear in the center portion of the screen by default when you open a record.

Step 6
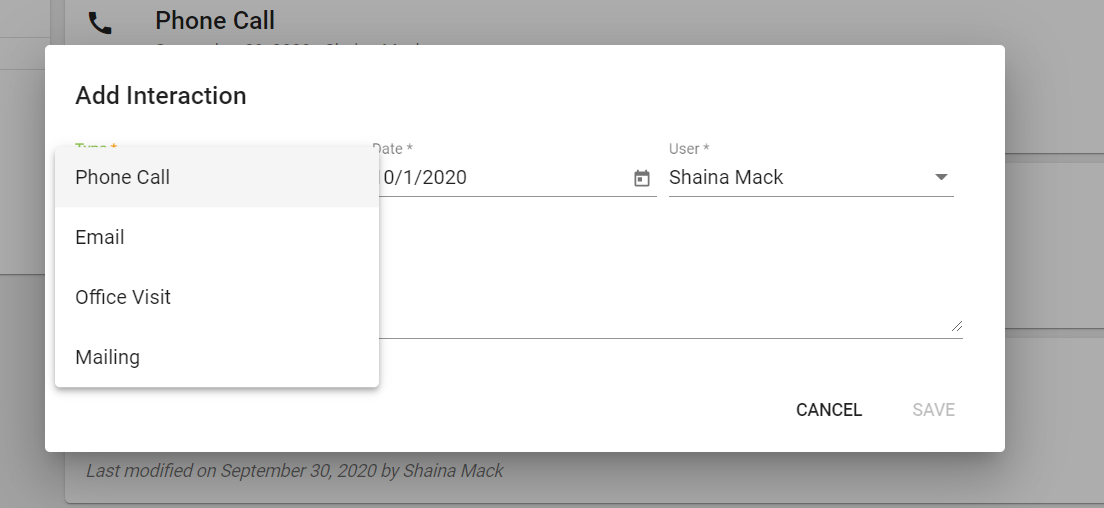
Click “Add Interaction” to log a call, email or office visit that may have occurred or is to occur in the future. Be sure to select the username from the list of users in order to keep track of who in your organization had this interaction.

Step 7
Click “Save” and enjoy seeing a full record of interactions with the contact.
Automatically Added Interactions
Some interactions are added automatically as you manage your records in webCemeteries Management. Examples of automatically added interactions include adding a contact as an owner and signing a property contract.
