How to Edit Documents: Shapes
Step 1
Log into webCemeteries Management.
Step 2
Search by location, owner or deceased to access the document that you would like to edit. (Example below is searching by owner).
Step 3
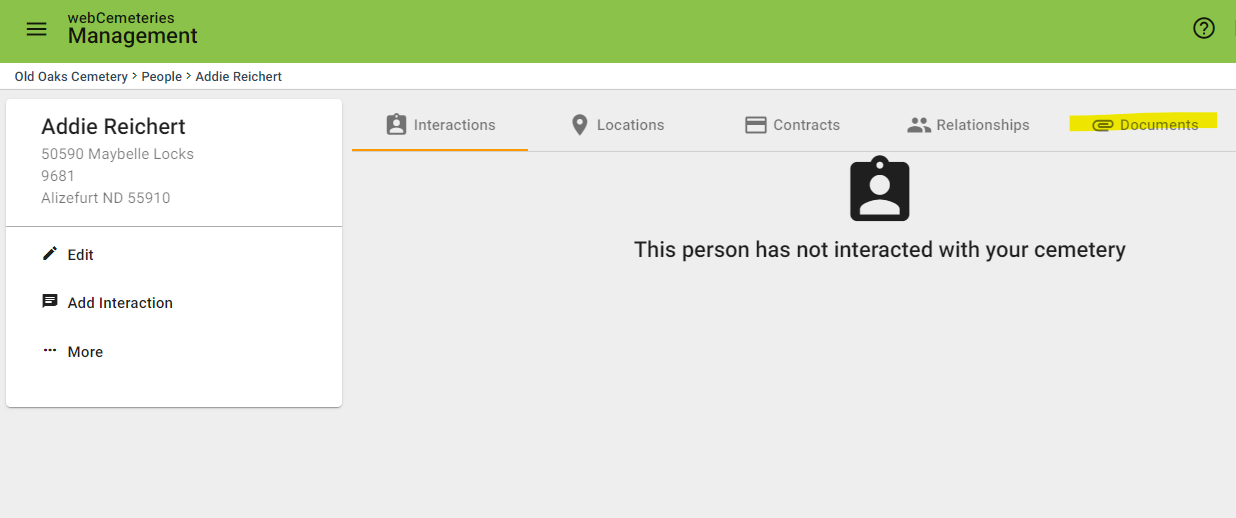
Click on the “Documents” tab.
Step 4
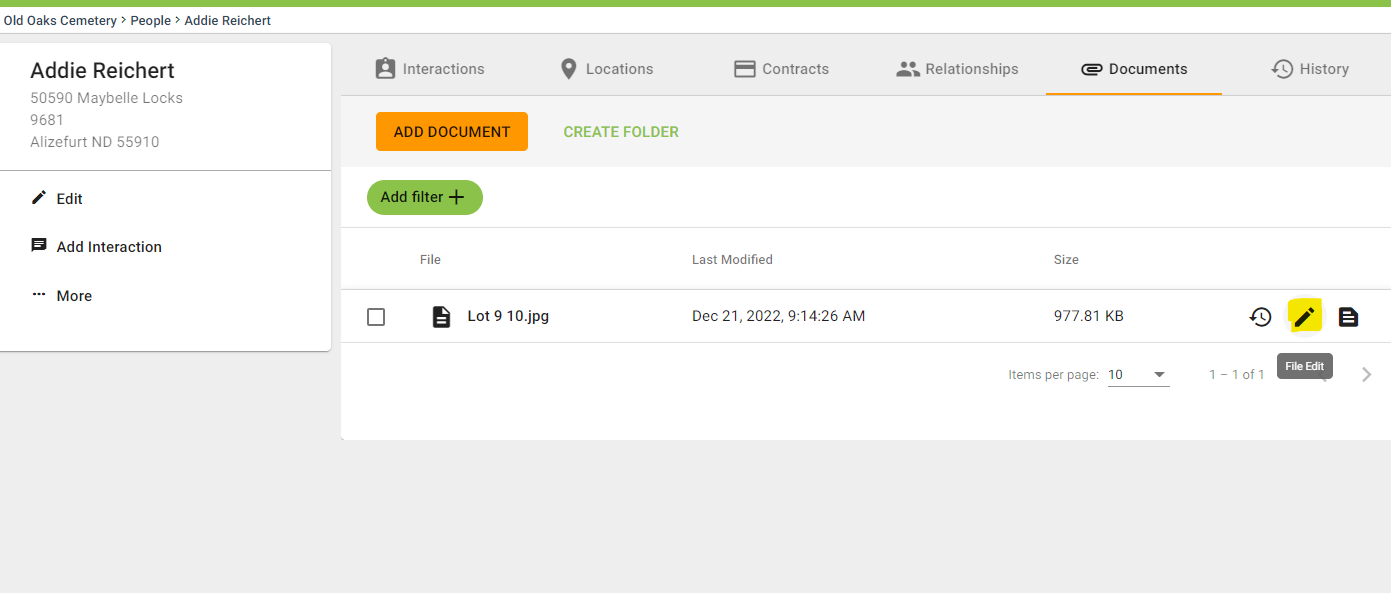
Hover over the row for which the document you want to edit. Click on the pencil icon to select “File Edit."
Step 5
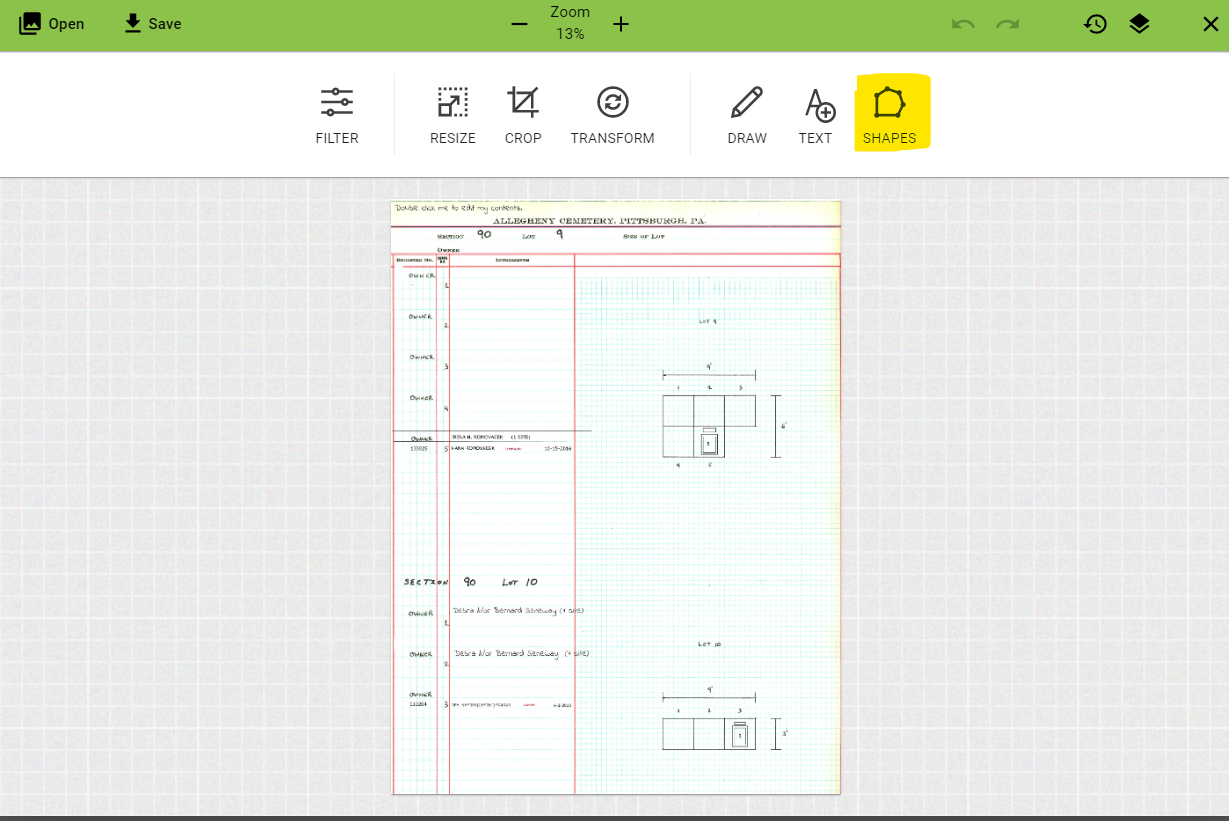
Click "SHAPES" at the top of the screen.
Step 6
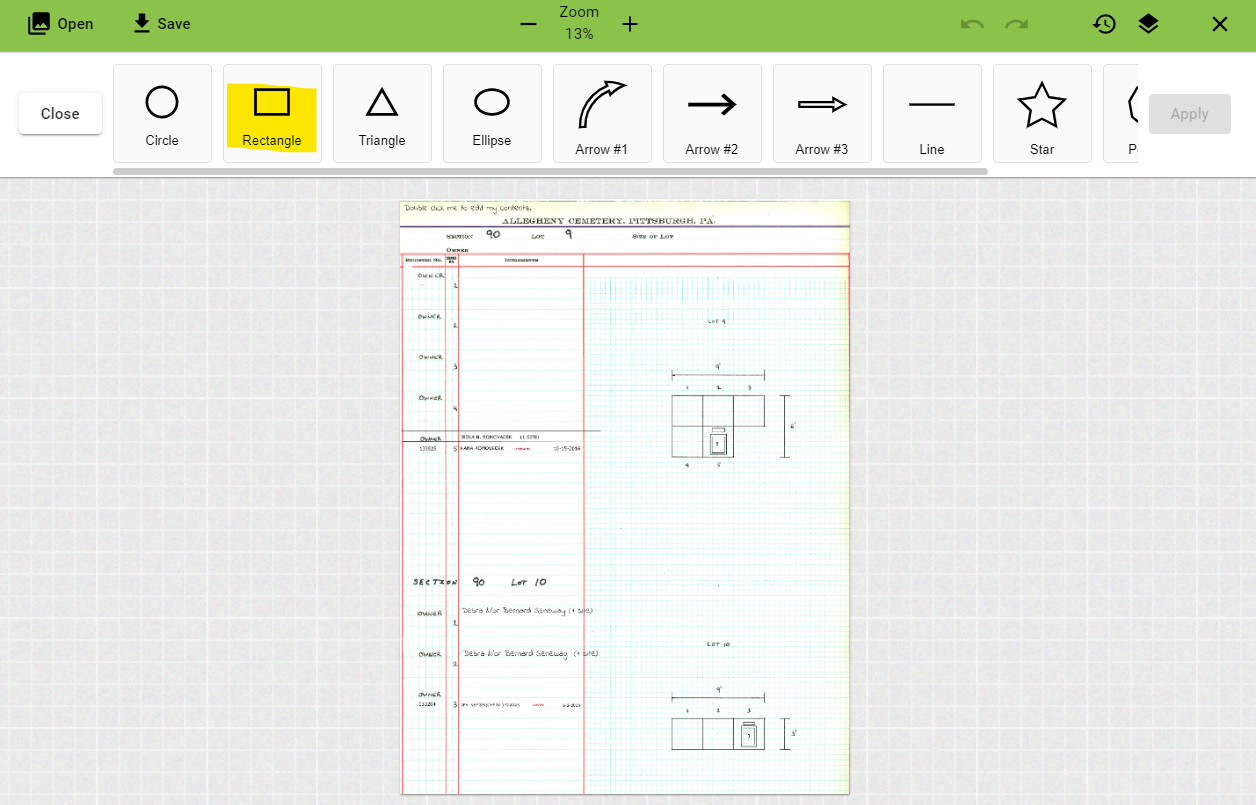
Select the shape you wish to add.
Step 7
The shape will appear. Click the green “Apply” button at the top of the screen.
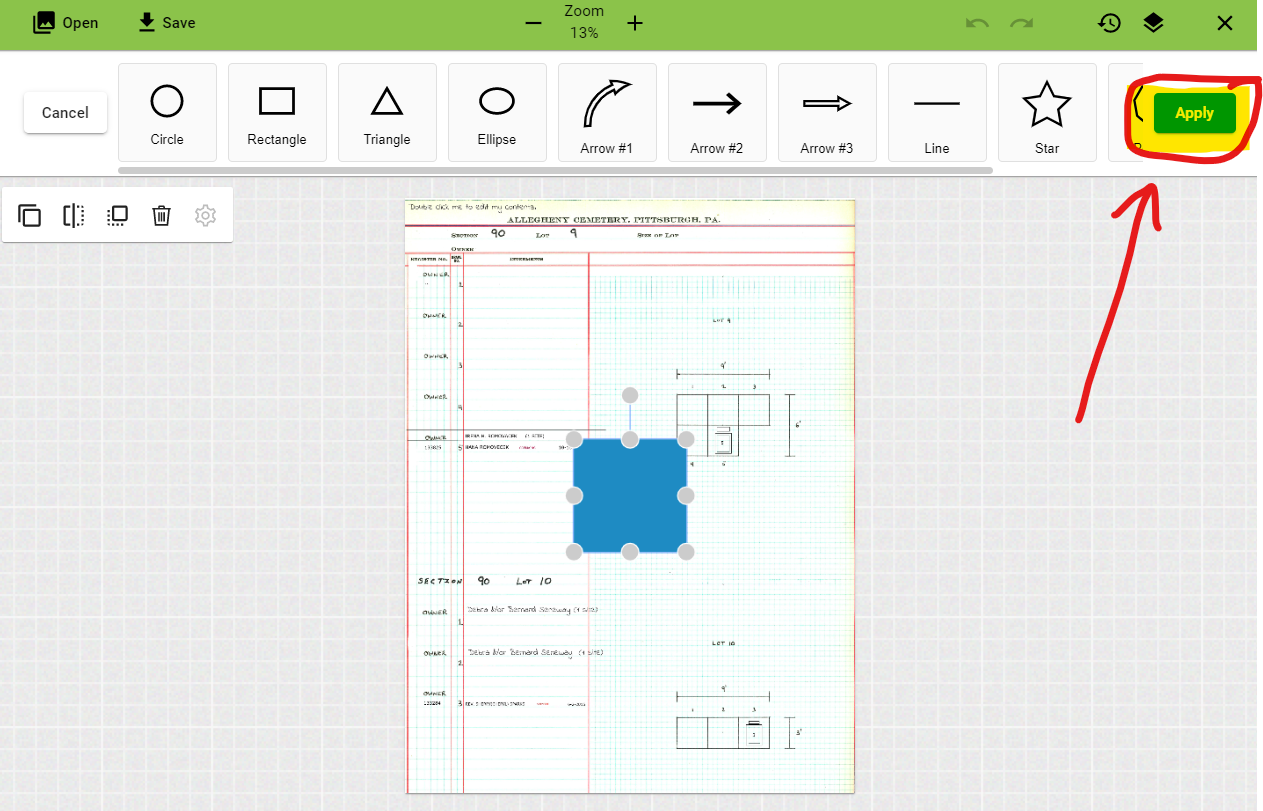
Step 8
Once you click Apply, then you can customize the shape with the buttons at the top (color, shadow, outline, background color, etc). You can also click on the shape and change the size, rotation, and placement. If you need to zoom in or out, use the plus (+) and minus (-) symbols in the green bar at the top center of the window .
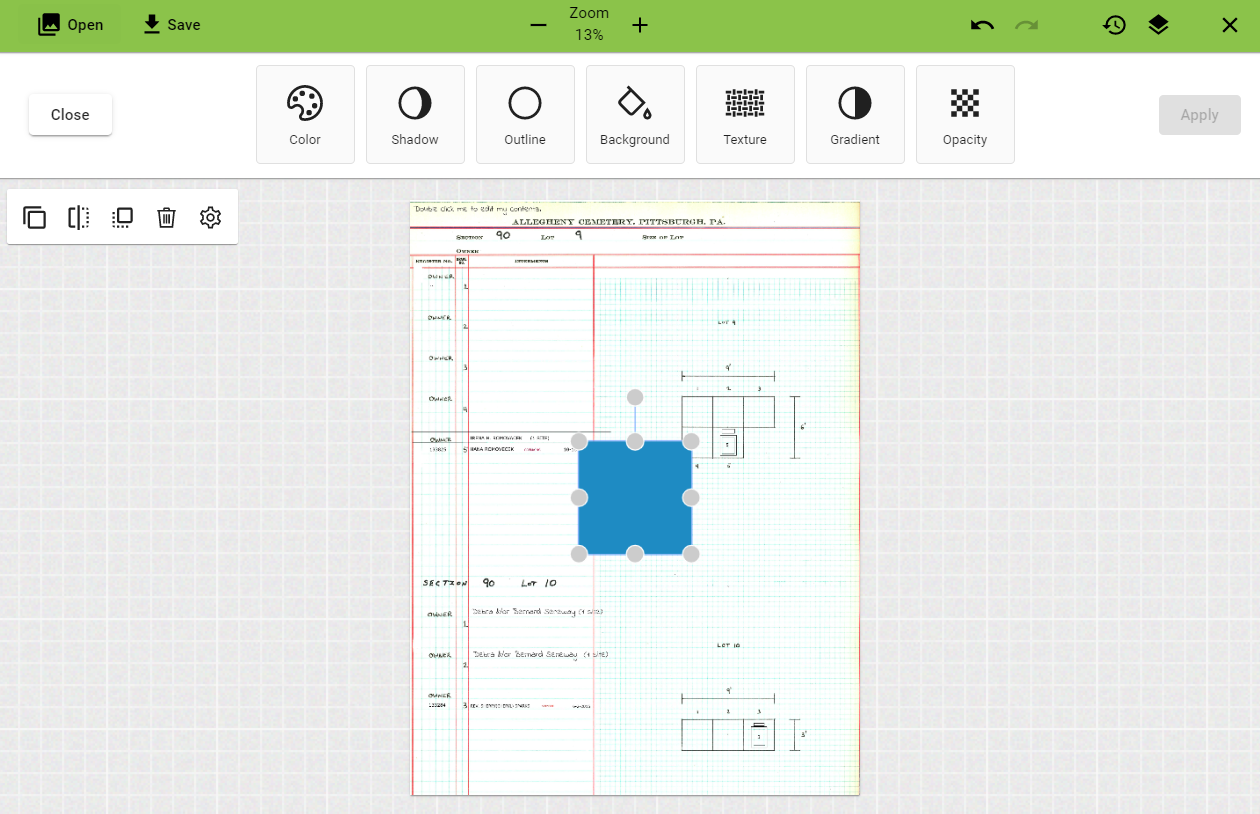
After certain steps, like changing the color or the outline, you will need to click Apply when it highlights in teal. If Apply stays grayed out, you don't need to click it.
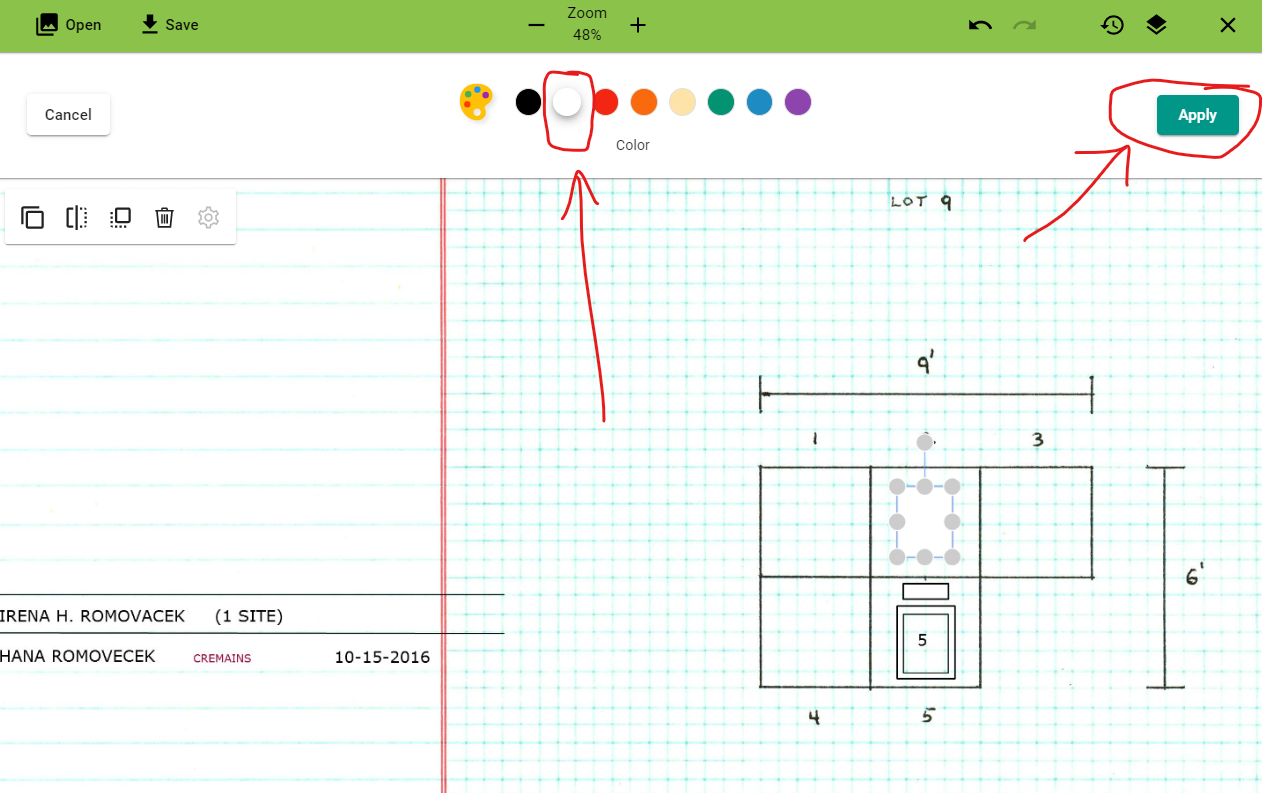
Step 9
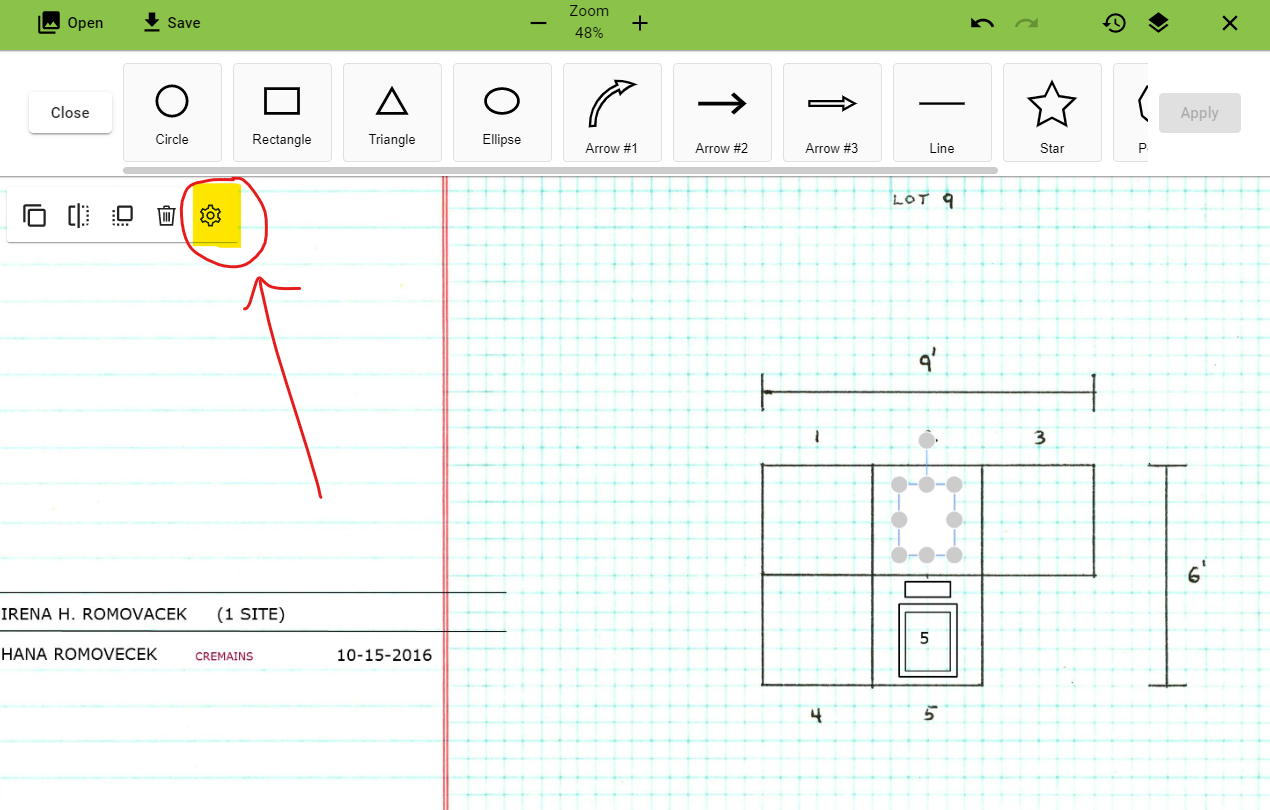
If you get out of shapes editor (the little gray circles are no longer there on the perimeter of the shape), and you want to edit your shape some more, click SHAPE again, click the shape you want to edit, and click the gear icon to customize your shape.
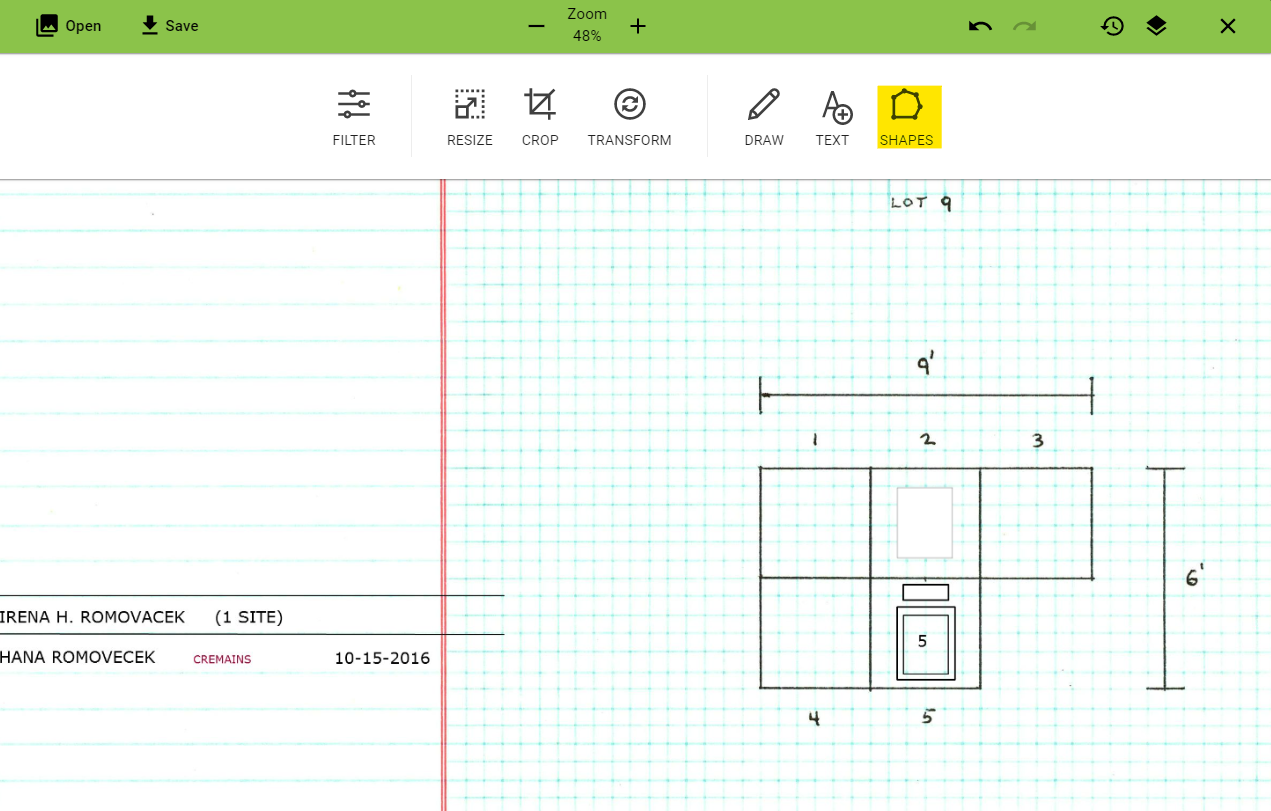
Keep a lookout for the apply button in the top right corner to highlight in teal. If it does, make sure to click it to apply your changes.
Step 10
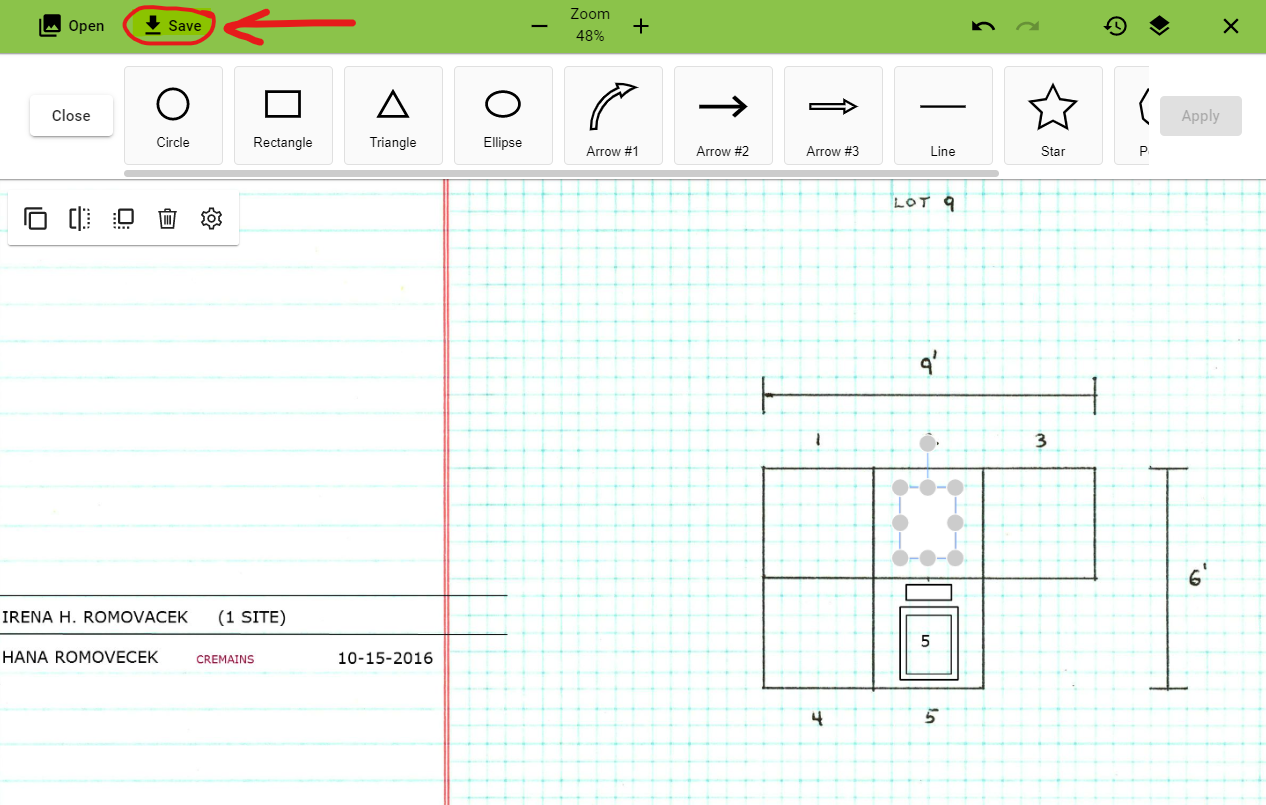
Click “Save” if you would like to save your changes to this document.
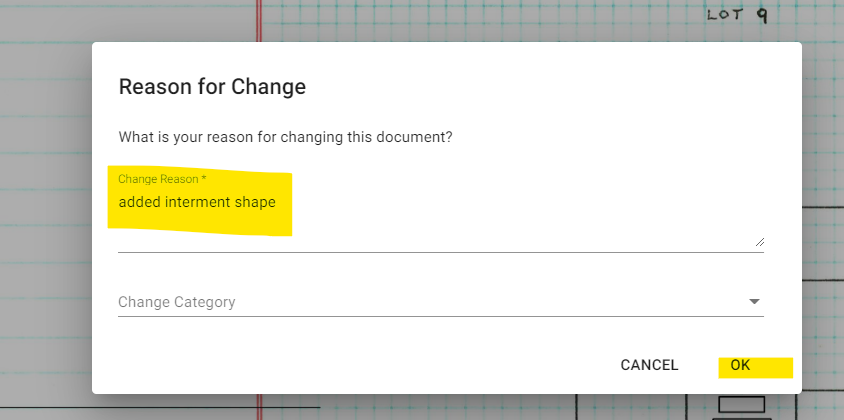
Once you hit save you will need to submit a reason for the change of the document and click OK
Step 11
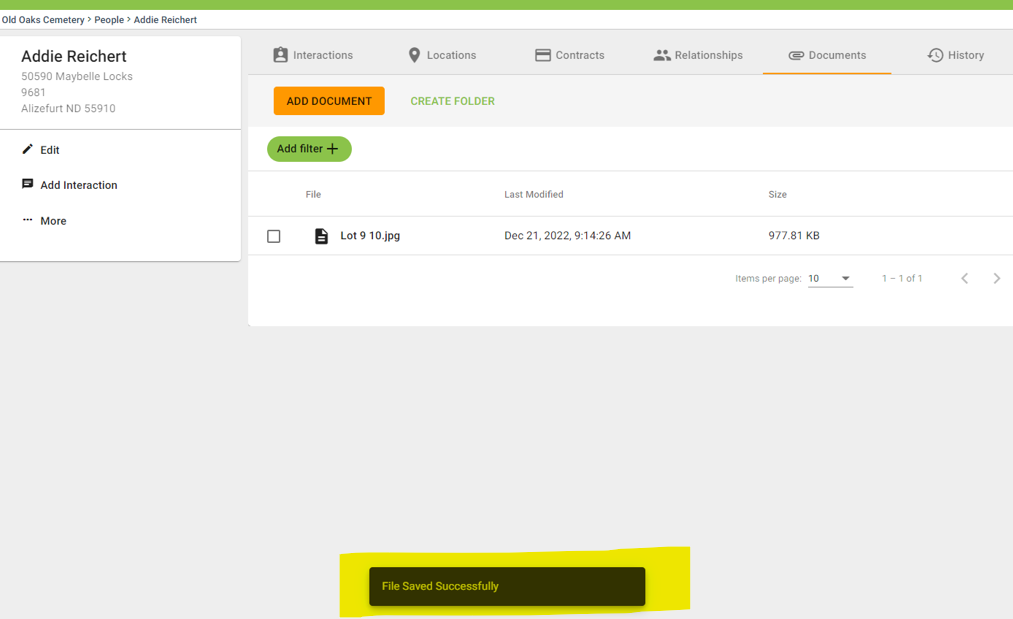
See that the file saved successfully.
Add Text to a Shape
To add text to a shape that you've drawn please see the How To Edit Documents: Adding Text article.
