Step 1
Log in to management.webCemeteries.com
Step 2
Hover over "CRM" on the left side menu and click "Contacts & Customers".

Step 3
Search for the customer you wish to edit.
Step 4
Click on the customer you wish to update.
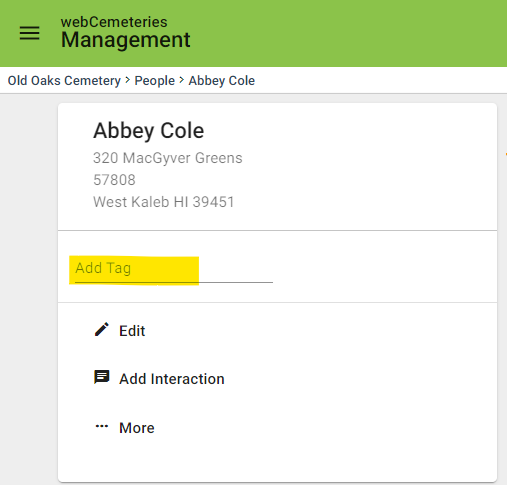
Step 5
Under the contact's name and contact details, click "Add Tag."
Step 6
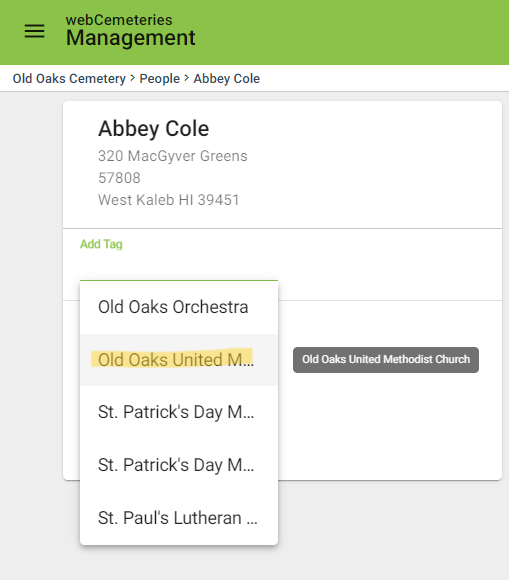
You will see a list of tags appear. If you don't see any tags appear or the tag you are looking for, then update your tags in your settings.
Step 7
Select the tag you wish to add to the CRM profile. If the tag name is long, hover over it and see the full name to the right in a gray box with white letters.
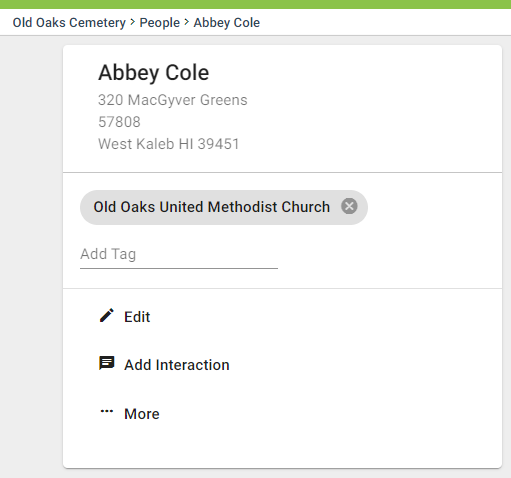
Step 8
See the selected tag appear. If you chose the wrong tag by mistake, you can click the X to remove it.